Einleitung
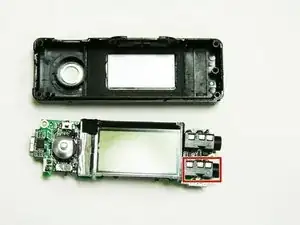
If you cannot hear sound from your device and have already tried cleaning it, follow these instructions to replace the headphone jack.
Werkzeuge
-
-
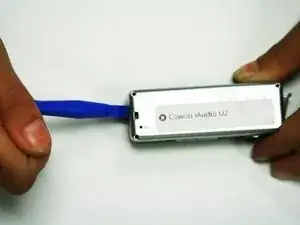
Use the plastic opening tool from the iFixit toolkit to separate the back from the front of the device. To do this, wedge the opening tool into the crack where the two sides of the device cover meet.
-
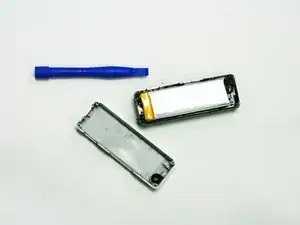
After the tool is wedged in, push down on the exposed end until the two sides come apart.
-
-
-
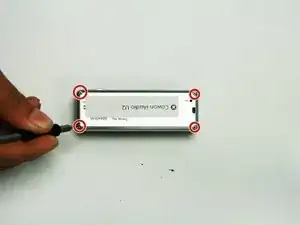
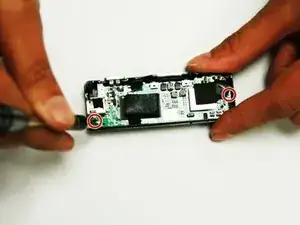
Using the PH000 drill bit from the iFixit toolkit, unscrew the 2 screws that attach the motherboard to the device.
-
-
-
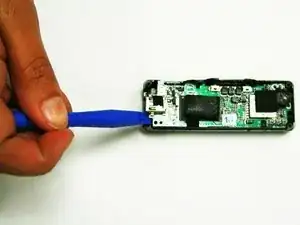
Using the plastic opening tool from the iFixit toolkit, insert the tool in between the device and the motherboard. Push down on the exposed end of the device to release the motherboard from the device.
-
-
-
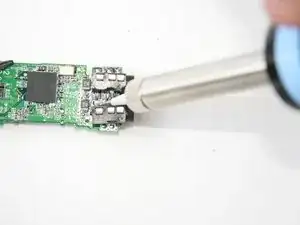
Using the soldering tool, remove the headphone jack from the device.
-
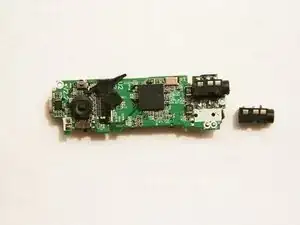
Using the soldering tool, replace the old headphone jack with a new one. Solder the new headphone jack into place.
-
To reassemble your device, follow these instructions in reverse order.
