Einleitung
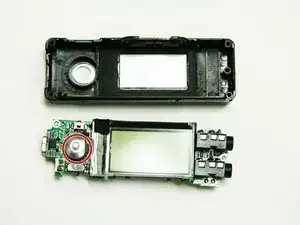
Before you can replace the joystick function of the device, follow the same steps as if you were replacing the Display Screen.
Werkzeuge
-
-
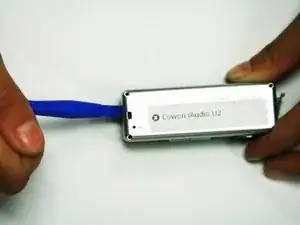
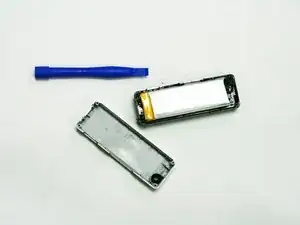
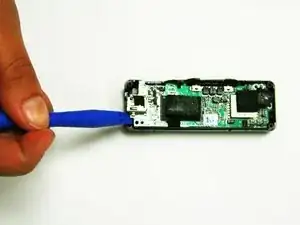
Use the plastic opening tool from the iFixit toolkit to separate the back from the front of the device. This can be done by wedging the opening tool into the space where the two sides of the cover on the device meet.
-
After the plastic opening tool is wedged into the space, push down on the exposed end until the two sides come apart.
-
-
-
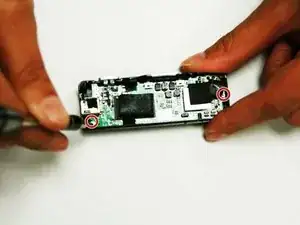
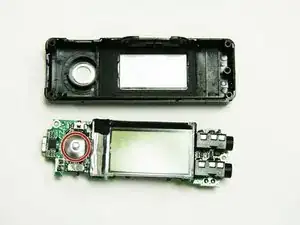
Using the PH000 drill bit from the iFixit toolkit, unscrew the two (2) screws to detach the motherboard from the device.
-
-
-
Wedge the plastic opening tool between the device case and the motherboard. Push down on the exposed end of the device, and the motherboard should pop up.
-
-
-
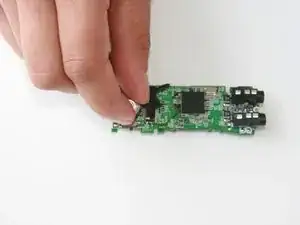
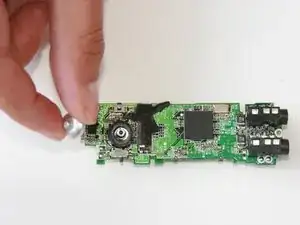
The silver plastic cover to the joystick will be on the front side of the device. Pull the cover off with your hand.
-
-
-
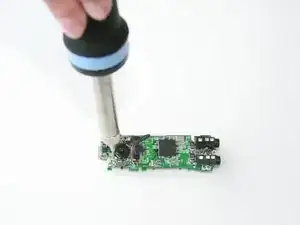
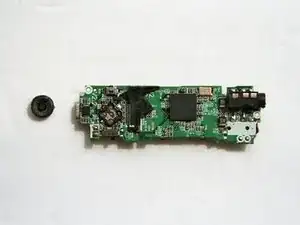
Using the soldering tool, remove the joystick control.
-
Once the original joystick is removed, solder the new joystick controller into place.
-
To reassemble your device, follow these instructions in reverse order.
