Einleitung

pre-req guide on opening the crankcase cover in preparation for service inside the crankcase chamber

  1. LJprNZigAHiOTmKi
    LJprNZigAHiOTmKi
    2dPCI5qOTUqYFMN2
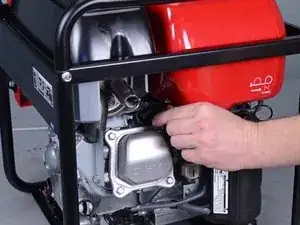
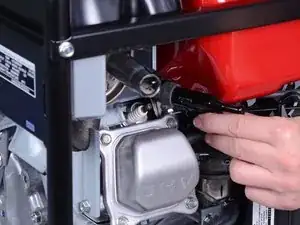
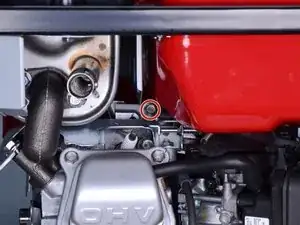
    • Before you begin, disconnect the spark plug connector from the spark plug.

  2. O2UPsGKAvGAqBR2Y
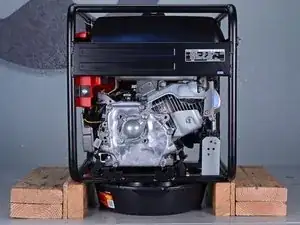
    • Elevate the generator on a set of stable risers, like wooden blocks.

    • Place a drain pan underneath the generator, between the blocks.

  3. TluShevmNJlwfyQc
    TluShevmNJlwfyQc
    tVvBJDkXZVjUrYUY
    RuWrLMyLEAALIjTI
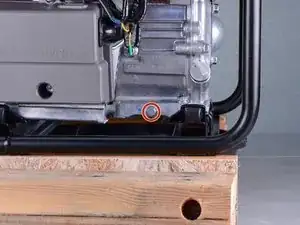
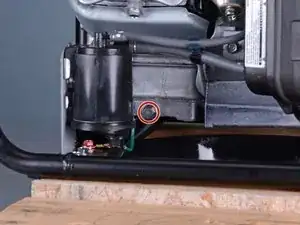
    • Use a 12 mm socket to remove the oil drain plugs from either side of the generator.

    • Give the oil a few minutes to drain from the cylinder and crankcase housing.

    • Tip the generator back and forth towards either drain hole to allow any last bits of oil to drain.

    • Once the oil is finished draining, replace the drain plugs.

    • Tighten the drain plugs to 13 ft-lb (18 N-m) of torque.

    • During reassembly, be sure to refill the engine oil:

    • Use up to 0.58 liters of SAE 10W-30 oil, until the dipstick is almost completely submerged.

  4. On46DbwNAwJpywGm
    On46DbwNAwJpywGm
    TT3ST4gCWwcL1kXC
    RJGqvNnQkEPltqhT
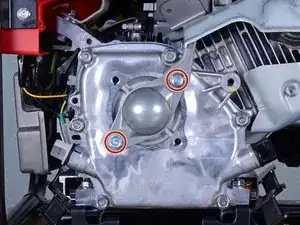
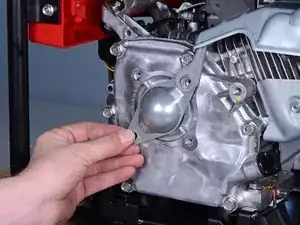
    • Use a 12 mm socket to remove the two 20 mm-long bolts securing the shaft guard to the crankcase cover.

    • Remove the shaft guard.

  5. faqbPQLraUGWRfAQ
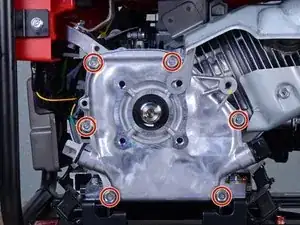
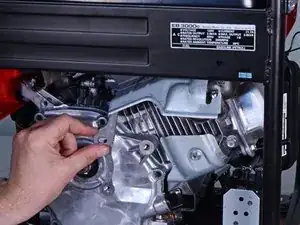
    • Use a 12 mm socket to remove the six 32 mm-long bolts securing the crankcase cover.

    • During reassembly, tighten these bolts down to 17 ft-lb (24 N-m) of torque.

  6. jyCUywO2hf1JQ2dx
    jyCUywO2hf1JQ2dx
    VjGsE5qjxTUFysMb
    3JNKiUTvQZoQombB
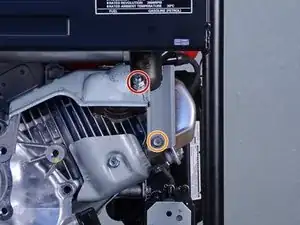
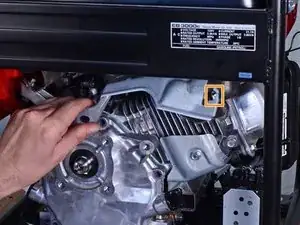
    • Use a 12 mm socket to remove the nut securing the upper cylinder shroud and air guide plate.

    • Use a 10 mm socket to remove the 12 mm-long bolt securing the air guide plate.

    • Remove the air guide plate.

  7. ei2afIY2GQwtmMEH
    ei2afIY2GQwtmMEH
    KTw5hacsZU1ZuyxX
    JwOOXygFcvTSomBD
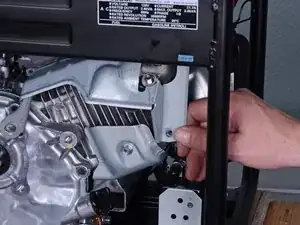
    • Use a 10 mm socket to remove the 12 mm-long bolt securing the upper cylinder shroud.

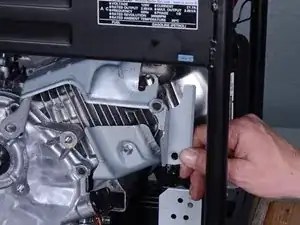
    • Tilt the upper shroud upward slightly so the hook on the right of the shroud is free from the bolt.

    • You may need to bend the hook out of shape slightly to reposition the shroud like this.

    • If you do bend the hook, simply use a pair of pliers to bend it back into place before refastening the nut during reassembly.

  8. MtFr56ItTJVRLVpH
    MtFr56ItTJVRLVpH
    dXKRoRMqZvjXQU6m
    KtQE2l26AE45xlAi
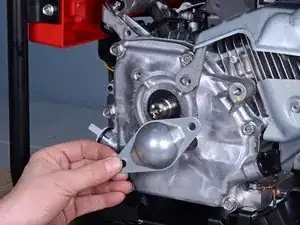
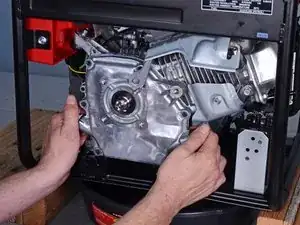
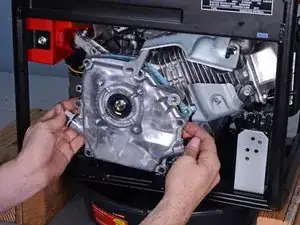
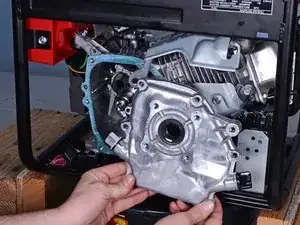
    • When the shroud is sufficiently out of the way, remove the crankcase cover.

    • Residual oil may leak when you remove the cover. Be ready to catch any spillage.

Abschluss

To reassemble your device, follow these instructions in reverse order.
Tarun Thiruma

Mitglied seit: 20/11/19

32532 Reputation

0 Kommentare