Einleitung
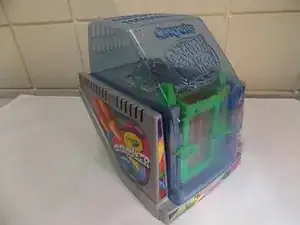
If lid is closing but not latching, read the instructions in this guide to help you determine and fix the problem.
Werkzeuge
-
-
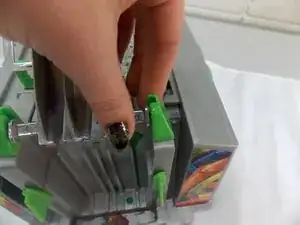
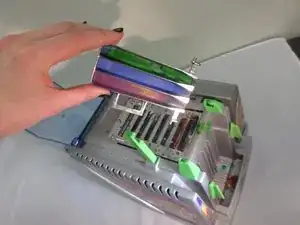
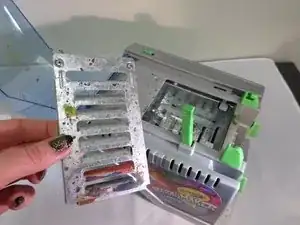
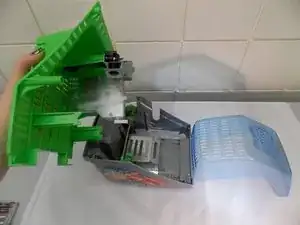
Press the green arm away from the melting tray. Remove the melting tray.
-
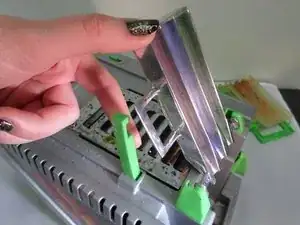
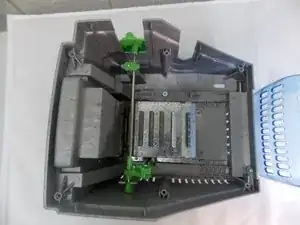
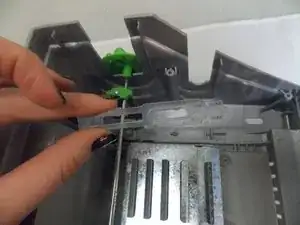
Pop the metal arms out of the green pivot support.
-
-
-
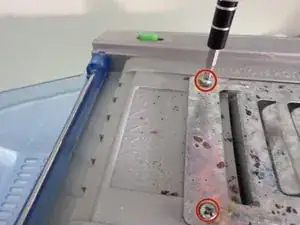
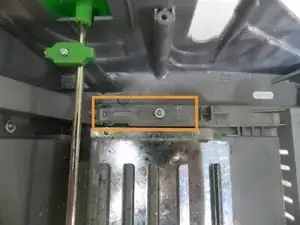
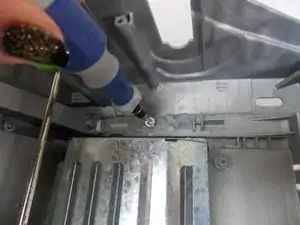
Remove the 2 screws (.75cm in length) currently securing the metal melting tray with a Phillips #2 screwdriver.
-
-
-
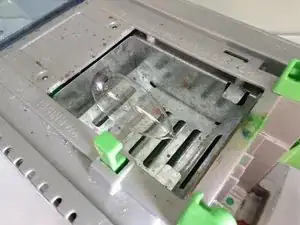
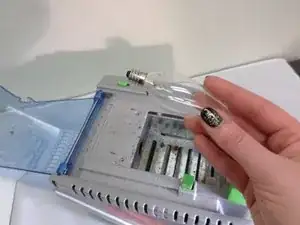
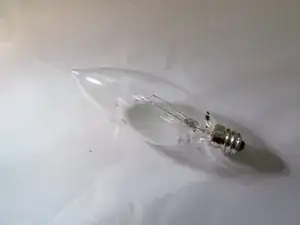
The light bulb should now be revealed. Unscrew the burned out bulb and replace with a new bulb.
-
-
-
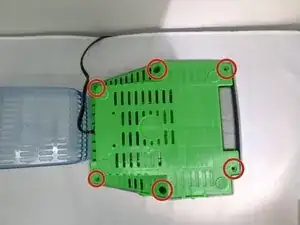
Flip the crayon maker.
-
Remove six screws (2 cm in length) with a spanner.
-
Remove the green base plate and set it aside.
-
-
-
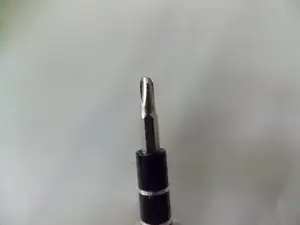
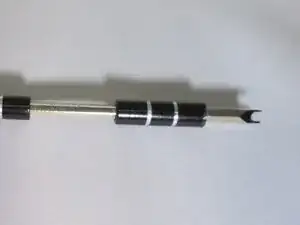
If necessary, unscrew the plastic arm with a Phillips #00 Precision screwdriver and readjust the arm until the desired position is reached.
-
If the plastic arm is broken, contact Crayola for replacement parts.
-
To reassemble your device, follow these instructions in reverse order.
