Einleitung

  1. gH3ICklAP6dQaUgL
    gH3ICklAP6dQaUgL
    2CF5nSSapEjF4Jjg
    Z4idUdNaTnqdul2f
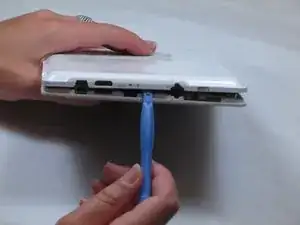
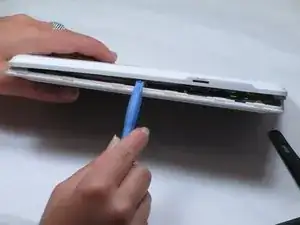
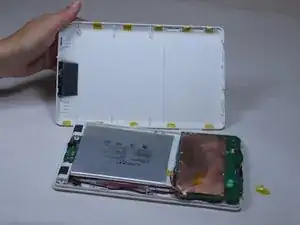
    • Remove the back panel by using the plastic opening tool to carefully pry around the panel's edges.

    • The volume control button and the top power button may fall out during this step.

  2. WkIyKxby4KojLY3w
    WkIyKxby4KojLY3w
    idvwlxNmOqZJ3UpO
    DRrHHmqUgDpsrLbB
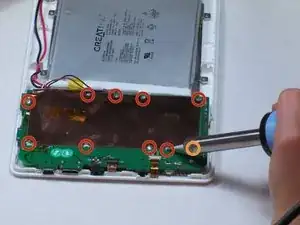
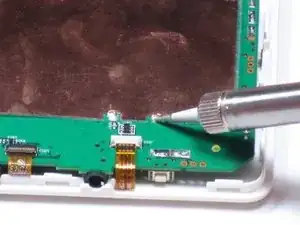
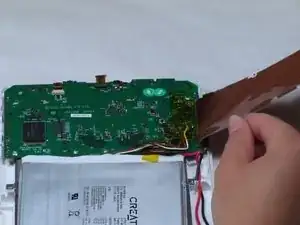
    • Remove the copper plate covering the motherboard by desoldering the ten solder points so that the copper plate is free.

    • The last point is hidden by the soldering iron.

    • Remove the copper plate once all the solder points are undone.

  3. fhes4BamkKKpMco6
    fhes4BamkKKpMco6
    bltV6LwAHjKMZeKs
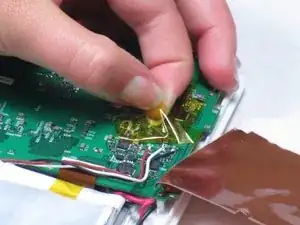
    • Remove adhesive tape covering the three wires connected to the motherboard.

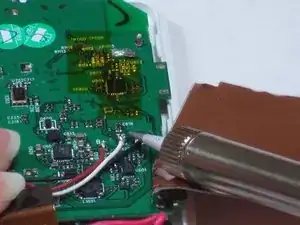
    • Desolder the solder points connecting the wires to the mother board.

  4. 46fbRtTq4MDgrGMR
    46fbRtTq4MDgrGMR
    O3AR11UyZsZFQ42R
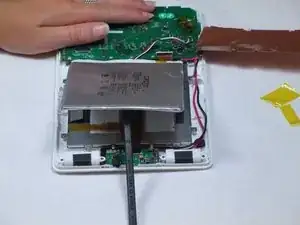
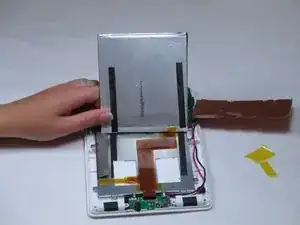
    • With a spudger, pry the battery from the back of the LCD screen.

    • The battery is attached with double sided foam tape. When prying, the tape will probably not come apart easy. This will result in the tape tearing and leaving residue.

  5. tKHDUR2cT1SHPL1J
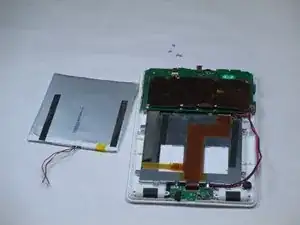
    • Remove old battery and dispose of it responsibly.

Abschluss

To reassemble your device, follow these instructions in reverse order.

Bryce Simmons

Mitglied seit: 17/04/13

147 Reputation

0 Kommentare