Einleitung
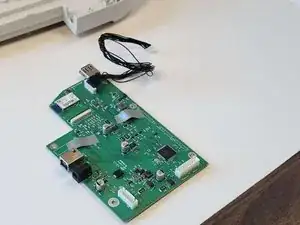
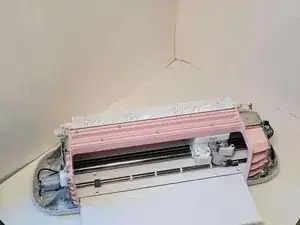
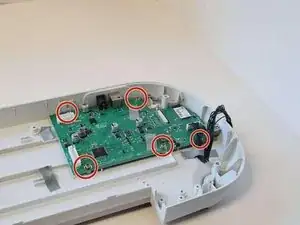
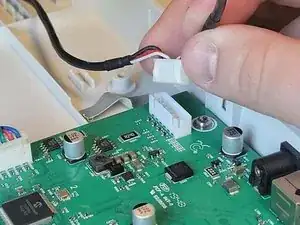
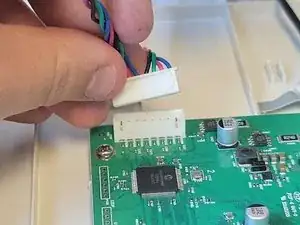
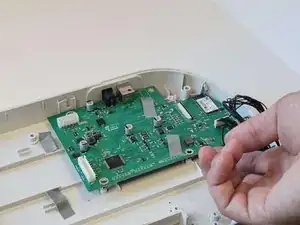
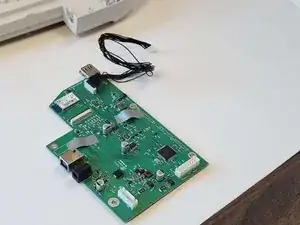
The motherboard of the Cricut Maker device is essentially the control panel for the machine.
That being said, if you are having difficulties concerning the proper functionality of your Motherboard or the USB port, this guide is for you!
Before beginning this repair, make sure to turn off the device and unplug it from the outlet.
Werkzeuge
-
-
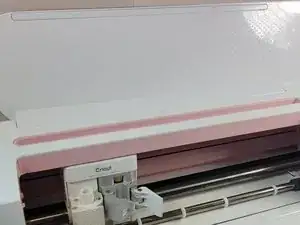
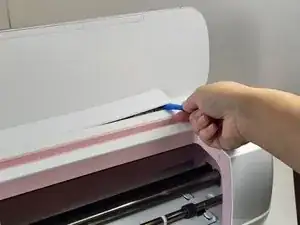
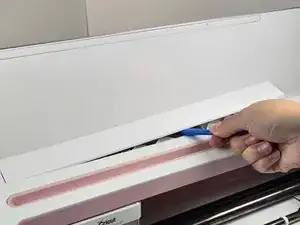
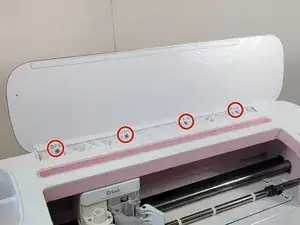
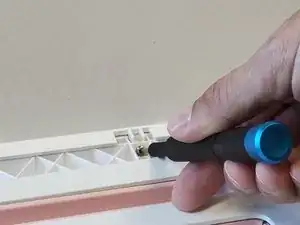
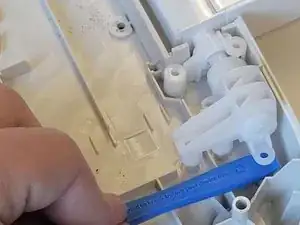
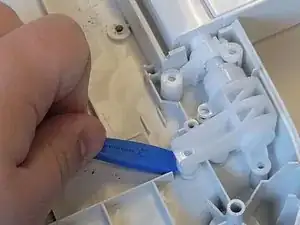
To remove the cover from the connecting joint, use an iFixit opening tool, and pry around the perimeter of the cover to release it.
-
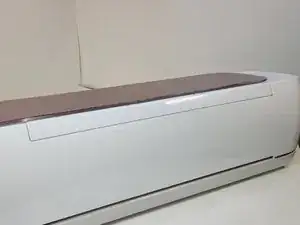
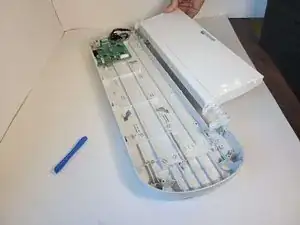
Remove the cover from the connecting joint and set it aside.
-
-
-
Turn the device around, so that the back is facing you.
-
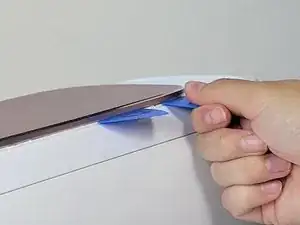
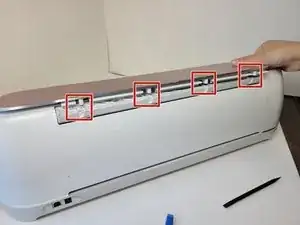
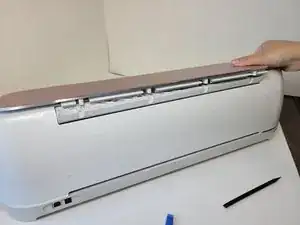
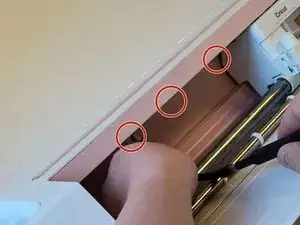
Wedge one or two iFixit opening picks in the seam connecting the Top Door to the device, and use the iFixit opening tool to pry upwards along the seam.
-
These actions should reveal the cylindrical connectors.
-
-
-
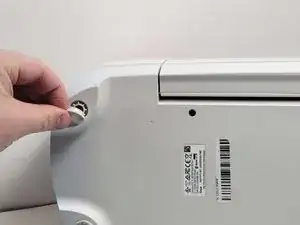
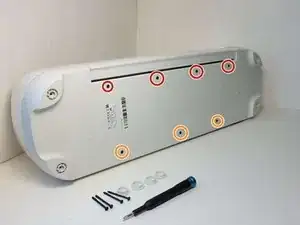
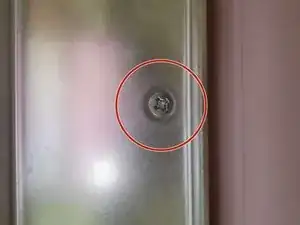
Using your hands or an opening tool, remove the four foot pads covering four screws.
-
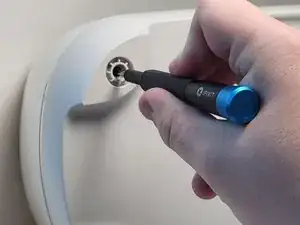
Use a Phillips #1 screwdriver to remove four 41 mm screws from the feet.
-
-
-
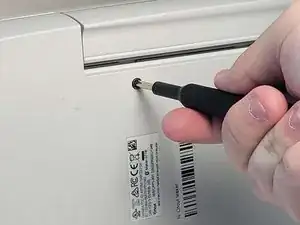
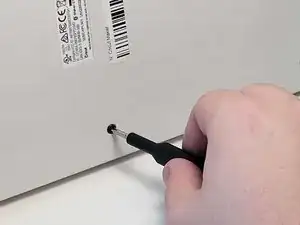
Remove the seven screws (Four 8.5 mm screws, and three 12.5 mm screws) on the bottom of the device, this will allow you to remove the cover later on.
-
Use a Phillips #1 screwdriver to remove the four 8.5 mm screws from the bottom of the device.
-
Use a Phillips #0 screwdriver to remove the three 12.5 mm screws.
-
-
-
Turn the device on its side.
-
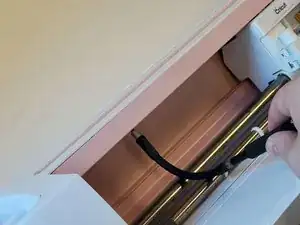
To remove the seven 10 mm screws from the underside of the top of the device, use a Phillips #1 screwdriver with the flex extension.
-
-
-
Use a Phillips #1 screwdriver to remove four 10 mm screws on the side of the device next to the motors.
-
Use a Phillips #1 screwdriver to remove the two 22 mm screws.
-
-
-
Use a Phillips #1 screwdriver to remove two 10 mm screws. These are parallel to one another, one on either side of the machine.
-
Use a Phillips #1 screwdriver to remove two 8mm screws, these are also directly parallel to one another on either side of the machine.
-
-
-
Unplug the bundled connector from the motor on both sides of the machine. To to avoid damage, coax the connector out of the socket gently using a spudger.
-
-
-
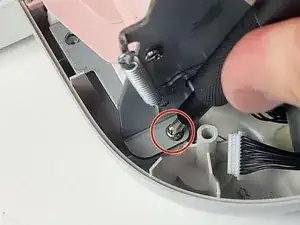
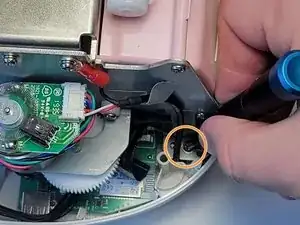
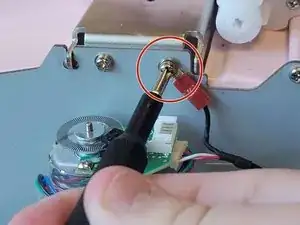
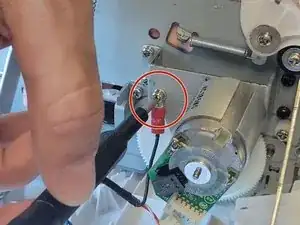
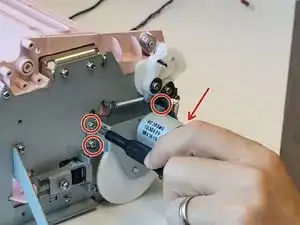
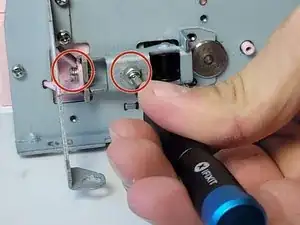
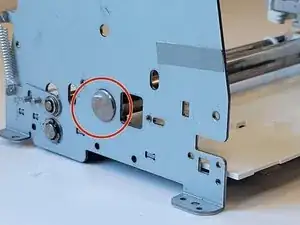
Using a Phillips #1 screwdriver, remove one 10 mm screw from both sides of the machine. This will release wires that are screwed into the sides of device.
-
-
-
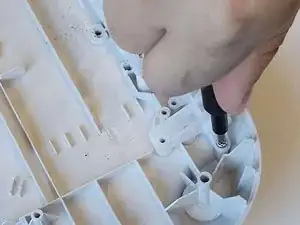
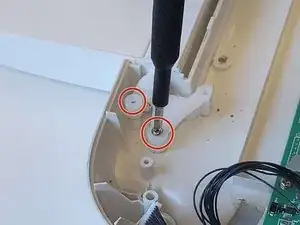
Remove a total of seven 10 mm screws from the underside of the door.
-
One side of the base has two 10mm screws.
-
The other side of the base has five 10 mm screws.
-
-
-
Pry the door from hinges using an iFixit opening tool.
-
Lift upwards and towards you, to remove the door from the hinges.
-
-
-
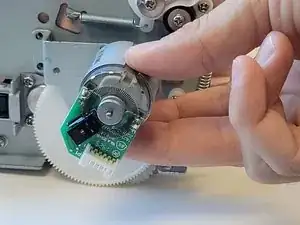
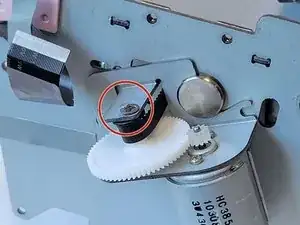
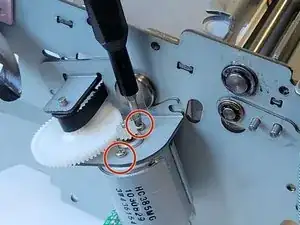
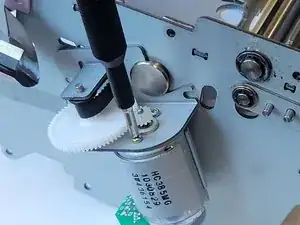
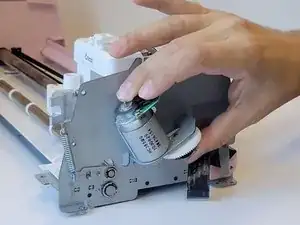
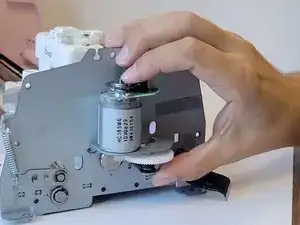
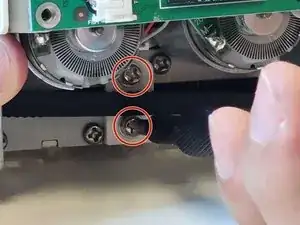
Use a Phillips #1 screwdriver to remove the four 5 mm screws that attach the motor on the left side of the machine.
-
-
-
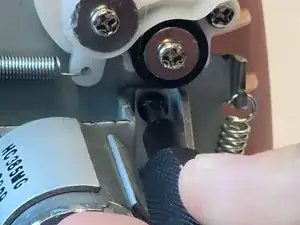
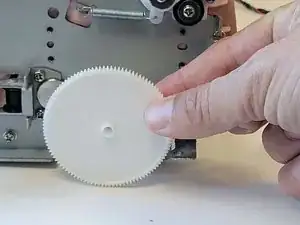
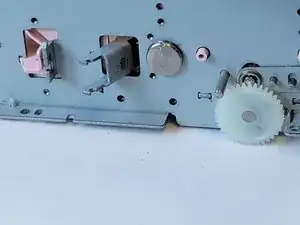
Under the motor there is a white plastic gear. To remove it, gently pull it off the axle.
-
-
-
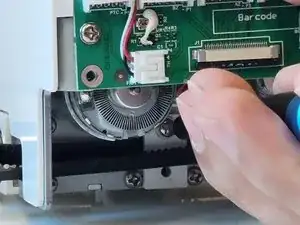
Remove the two 5 mm screws from the remaining motor on the opposite side, using a Phillips #2 screwdriver.
-
-
-
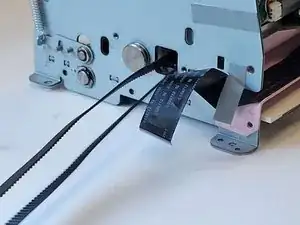
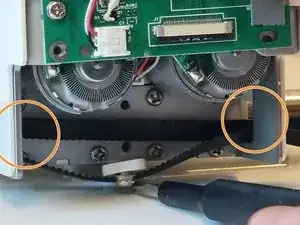
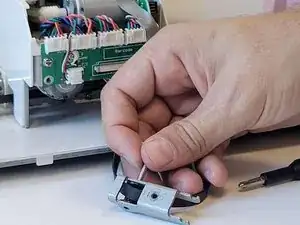
Pull the belt holder towards you, and twist it sideways to slide it neatly into the same hole the belt is emerging from.
-
-
-
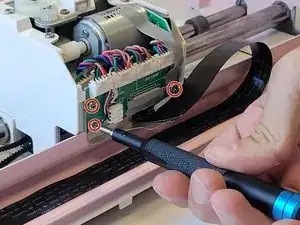
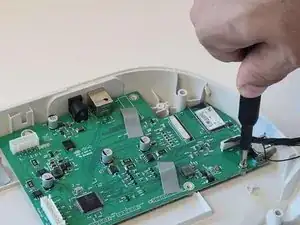
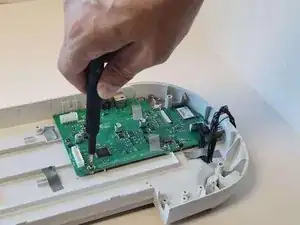
Use a Phillips #2 screwdriver to remove the four 10 mm screws from the board on the main motor.
-
-
-
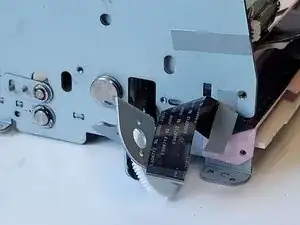
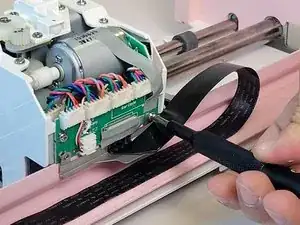
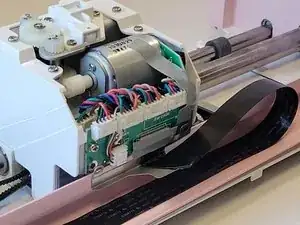
Remove the electrical tape from the connecting cable on the backside of the main motor.
-
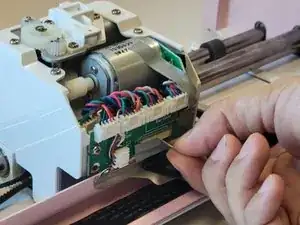
Use the tip of a spudger or your fingernail to flip up the small locking flap.
-
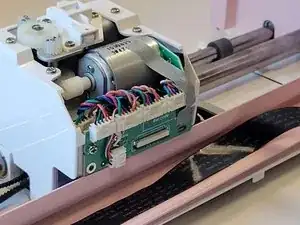
Pull the cable out.
-
-
-
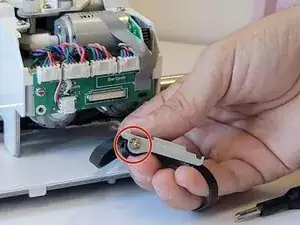
Use a Phillips #1 screwdriver to remove the two 7 mm screws from the belt holder under the main motor.
-
Slip it through the hole in the main motor frame.
-
-
-
Remove the washer securing the bar to the belt holder.
-
To remove it, simply twist and pull upwards to free it.
-
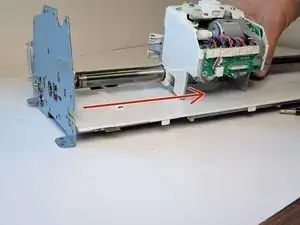
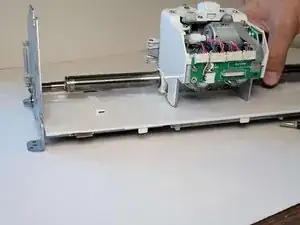
Remove the bar from the belt holder and then remove the belt holder.
-
Slip the belt out of the machine.
-
-
-
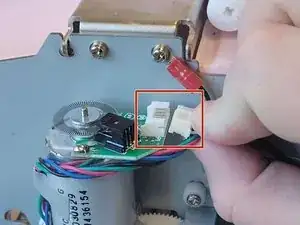
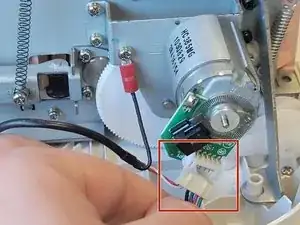
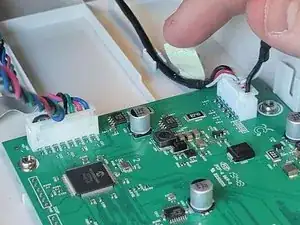
Unplug both cables from the corners of the motherboard by pulling them upwards from the base of the connectors.
-
To reassemble your device, follow these instructions in reverse order.
Ein Kommentar
So do you sell the motherboard or know where it buy one for cricut cxpl301
