Einleitung
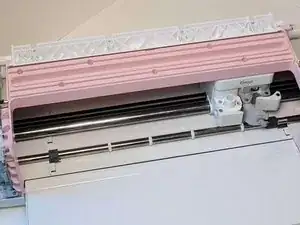
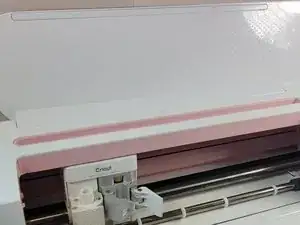
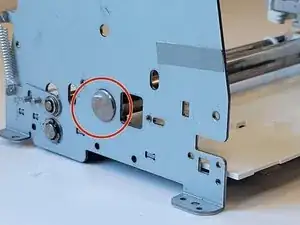
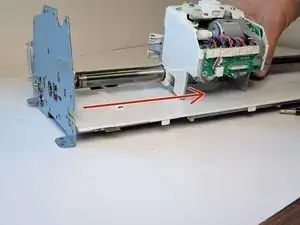
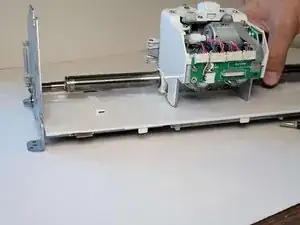
The roller bar mechanism of the Cricut Maker is the piece that allows the machine to create these designs and patterns. It rotates to keep the blades and engraving tips in line and precise.
If you find that your roller bar is not working, or it is damaged, this replacement guide is for you!
Before you begin the repair, be sure to turn the device off and unplug it from the outlet.
Werkzeuge
-
-
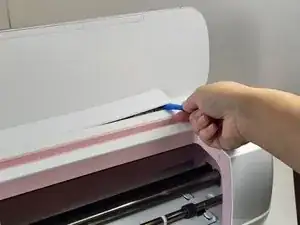
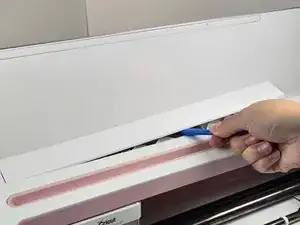
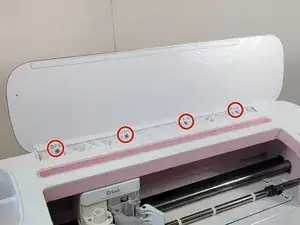
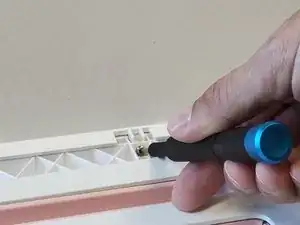
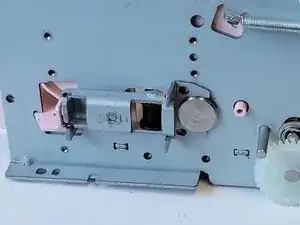
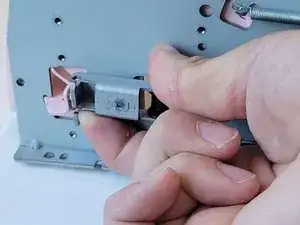
To remove the cover from the connecting joint, use an iFixit opening tool, and pry around the perimeter of the cover to release it.
-
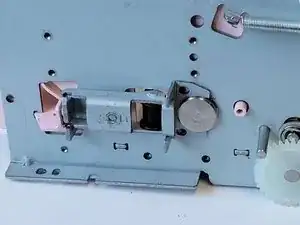
Remove the cover from the connecting joint and set it aside.
-
-
-
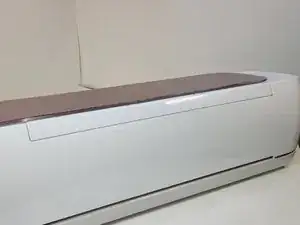
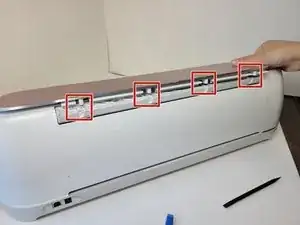
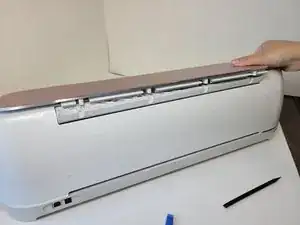
Turn the device around, so that the back is facing you.
-
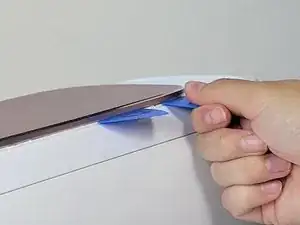
Wedge one or two iFixit opening picks in the seam connecting the Top Door to the device, and use the iFixit opening tool to pry upwards along the seam.
-
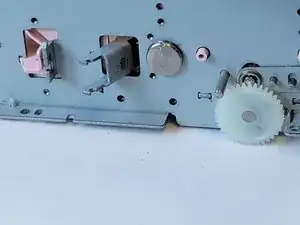
These actions should reveal the cylindrical connectors.
-
-
-
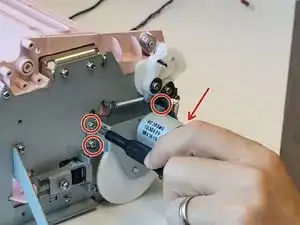
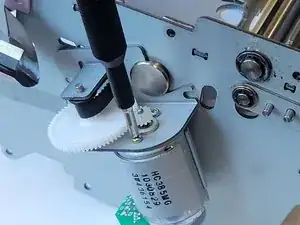
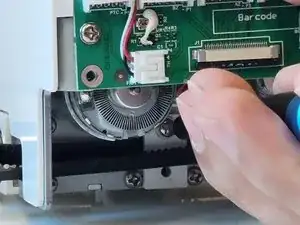
Use a Phillips #1 screwdriver to remove the four 5 mm screws that attach the motor on the left side of the machine.
-
-
-
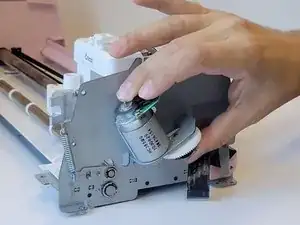
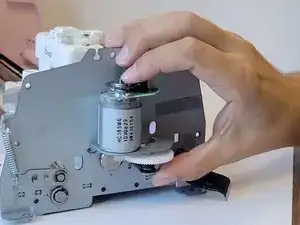
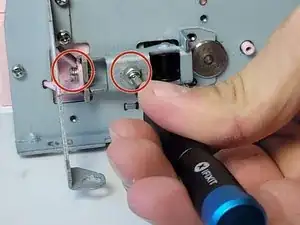
Remove the two 5 mm screws from the remaining motor on the opposite side, using a Phillips #2 screwdriver.
-
-
-
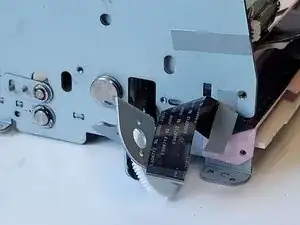
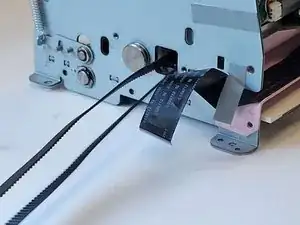
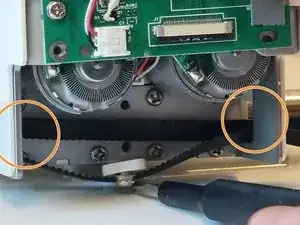
Pull the belt holder towards you, and twist it sideways to slide it neatly into the same hole the belt is emerging from.
-
-
-
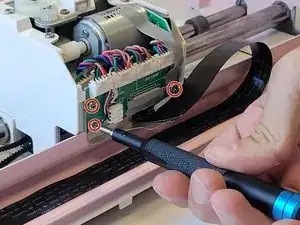
Use a Phillips #2 screwdriver to remove the four 10 mm screws from the board on the main motor.
-
-
-
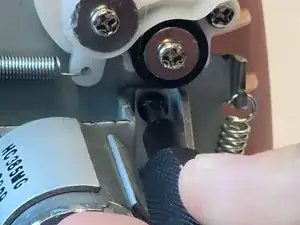
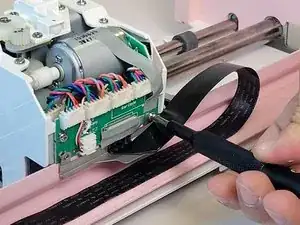
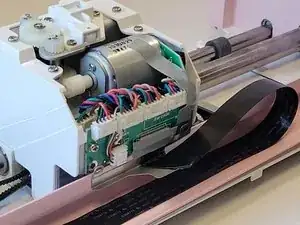
Remove the electrical tape from the connecting cable on the backside of the main motor.
-
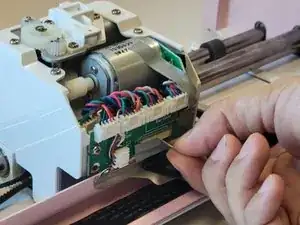
Use the tip of a spudger or your fingernail to flip up the small locking flap.
-
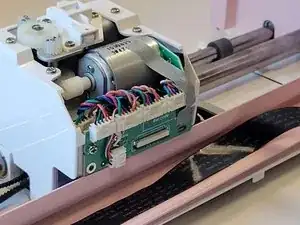
Pull the cable out.
-
-
-
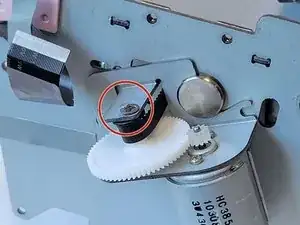
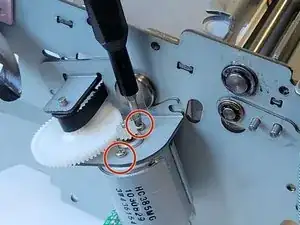
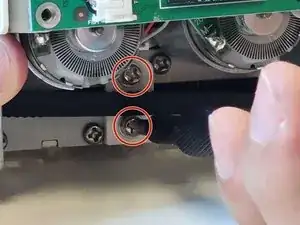
Use a Phillips #1 screwdriver to remove the two 7 mm screws from the belt holder under the main motor.
-
Slip it through the hole in the main motor frame.
-
-
-
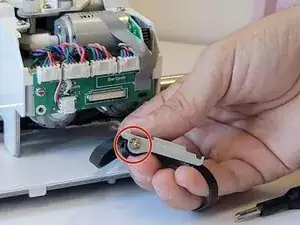
Remove the washer securing the bar to the belt holder.
-
To remove it, simply twist and pull upwards to free it.
-
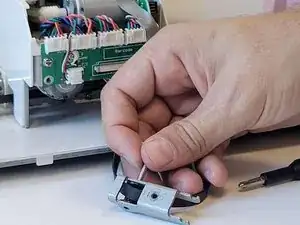
Remove the bar from the belt holder and then remove the belt holder.
-
Slip the belt out of the machine.
-
To reassemble your device, follow these instructions in reverse order.
