Einleitung
The heating element brings the device up to temperature allowing the pot to pressurize and cook. A failure of the heating element will cause the pot not to heat properly.
Werkzeuge
-
-
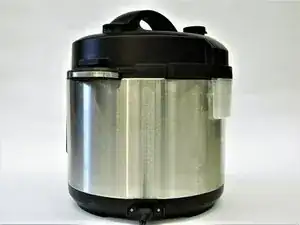
Orient the device with with the LED facing away from the user allowing access to the input jack of the power cord.
-
-
-
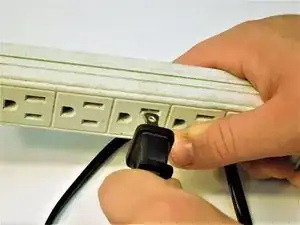
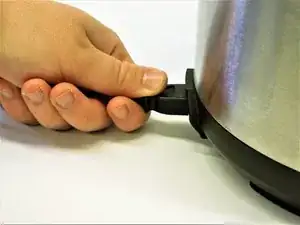
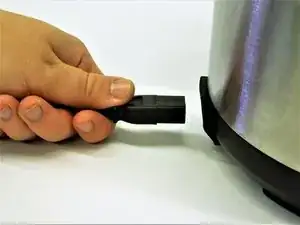
Grasp the power cord input connector firmly with forefinger and thumb.
-
Without tugging, apply pulling force until the connector is free from device
-
-
-
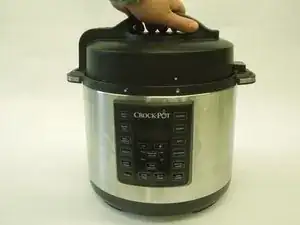
Orient the crock pot where the lid locked and unlocked icons are visible.
-
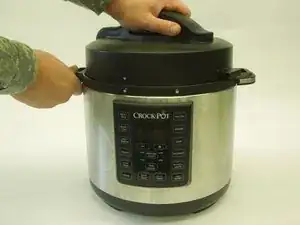
Grasp the handle firmly and turn the lid clockwise until the arrow and the lid unlocked icon are facing each other.
-
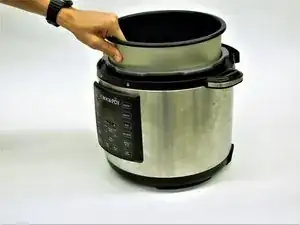
Remove the lid.
-
-
-
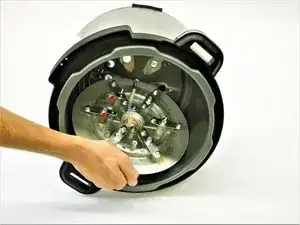
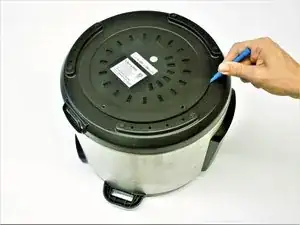
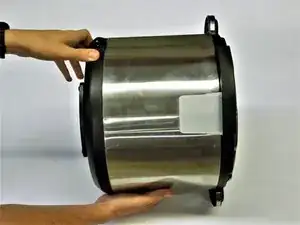
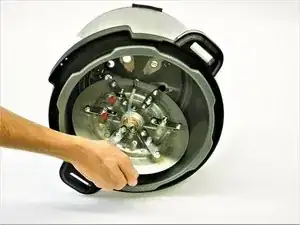
Carefully rotate the Crock-Pot so that the bottom is facing upward, allowing access to the electrical panel.
-
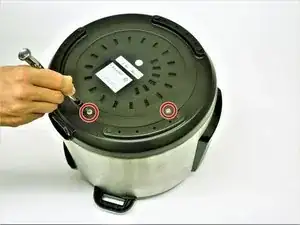
Remove the two 12.4 mm screws with a Phillips #2 screwdriver.
-
-
-
Rotate the electrical panel cover counter clockwise and pull up until the panel comes free.
-
-
-
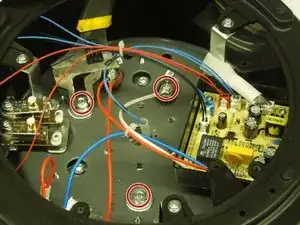
Remove 3 nuts, 3 washers, 3 spacers, and 3 lock washers using an adjustable wrench to free the heating element from the Crock-Pot housing.
-
-
-
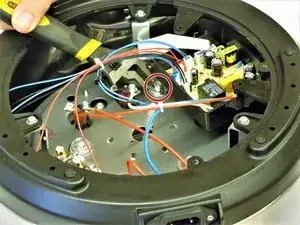
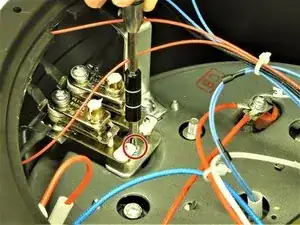
Remove the 10mm screw and metal plate beneath the electrical nodes using a Phillips #2 screwdriver.
-
-
-
Remove the 2 red wires from the terminal post by unscrewing the 10mm screw using a Phillips #2 screwdriver and label terminal post as red.
-
Remove 1 white wire from terminal post by unscrewing the 10mm screw using a Phillips #2 screwdriver and label terminal post as white.
-
-
-
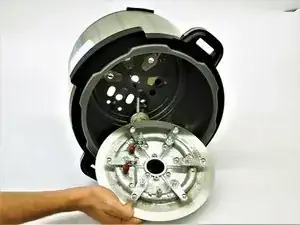
Carefully pull the heating element out and rotate it until bottom side is facing up out of the pot.
-
-
-
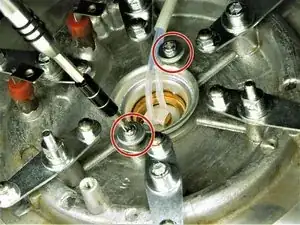
Remove both 19mm screws from the cutout switch housing using a Phillips #2 screwdriver, freeing the heating element from the device.
-
Carefully remove the heating element from the device.
-
To reassemble your device, follow these instructions in reverse order.
Ein Kommentar
where do you get a heating element?
