Einleitung

This guide will teach you how to replace the switch board inside your Cuisinart Smart Stick. If power is not being supplied to the Smart Stick, the electrical cord could be faulty.

  1. EtIwFe6mcEfMKWKB
    EtIwFe6mcEfMKWKB
    kFvu1sSN3MdWucUf
    Cg6bjjOGWQyv5XsU
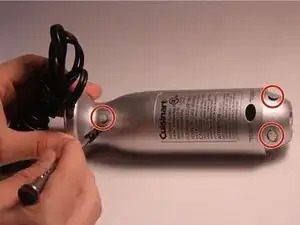
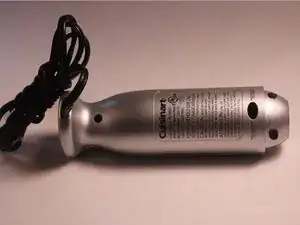
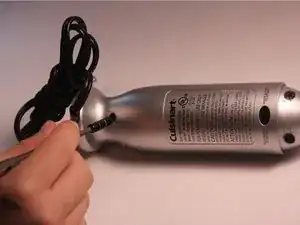
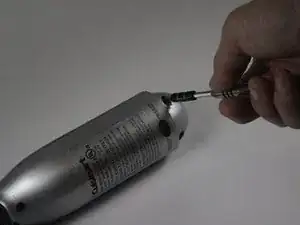
    • Located on the back of the motor body are three screw covers. To remove the three grey screw covers, use a Flat Head Screwdriver (1.0mm or 1.5mm).

    • After prying these off, the screws will be exposed.

  2. vfRnL1jSQg4GN3fG
    vfRnL1jSQg4GN3fG
    mWLuFBiTNCWgWVQG
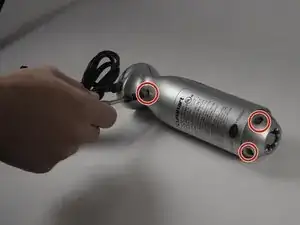
    • Remove three 13.3 mm Phillips PH#2 screws.

  3. W3cEGlse1VBaFcay
    W3cEGlse1VBaFcay
    FRuKYFOYGPHKPLlP
    WZuteSWKRIBGPKPC
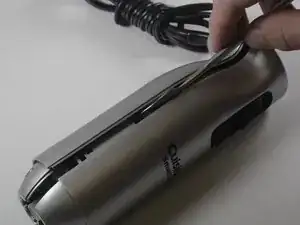
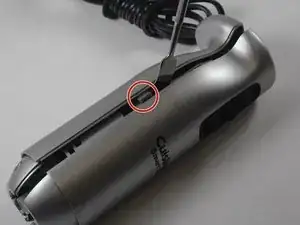
    • Pry open Cuisinart using a plastic opening tool.

    • The metal spudger is great when you need serious prying power, but the regular black nylon spudger or a plastic opening tool should be used whenever possible.

    • Make sure to pry open near the clips of the smart stick for easy opening.

  4. x5TVVWxhdGABM5xF
    x5TVVWxhdGABM5xF
    UqHwfXrJMHYPavCJ
    eVEsKu5Q5wXIT5eN
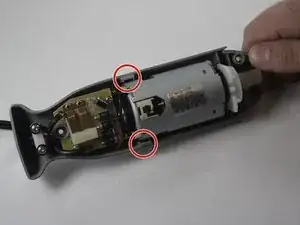
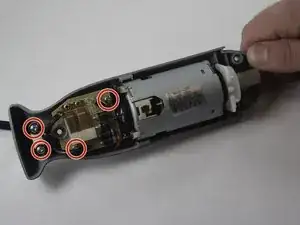
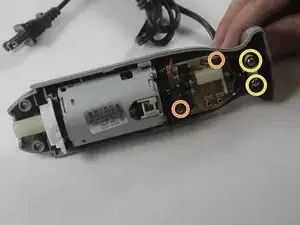
    • Unscrew the 4 screws on the inside.

    • Remove 2 13.3mm Phillips PH#2 screws.

    • Remove 2 17.5 mm Phillips PH#2 screws.

    • Unscrewing these screws will isolate the switch board.

  5. YHnWIy4nDumXLHDE
    YHnWIy4nDumXLHDE
    ipv5baHGpmkOLNYA
    QYKfQeJeLXORoutr
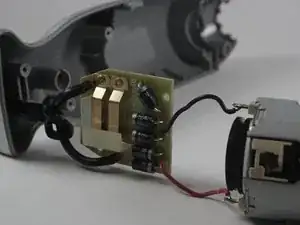
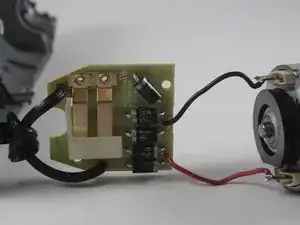
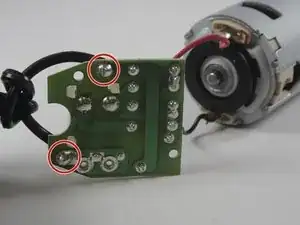
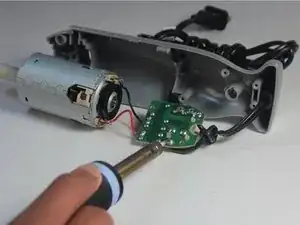
    • Refer to these steps on Soldering to replace the electrical cord in the smart stick.

    • Be careful when soldering; it gets very hot.

Abschluss

To reassemble your device, follow these instructions in reverse order.
Jordan Robinson

Mitglied seit: 02/09/15

542 Reputation

0 Kommentare