Einleitung
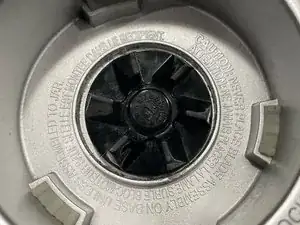
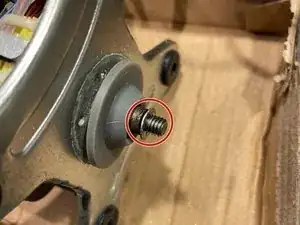
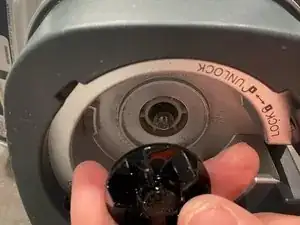
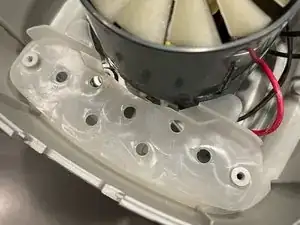
If your blender runs but the blades don’t spin the clutch might need to be replaced.
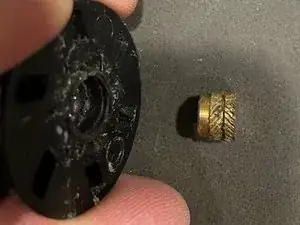
The connection where the metal and the plastic might have worn out and no longer connect.
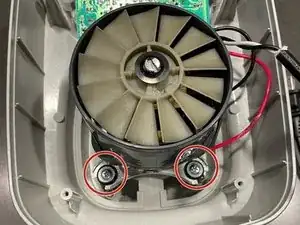
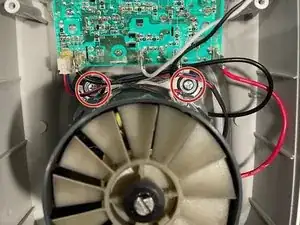
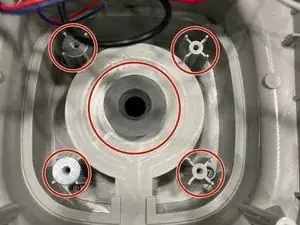
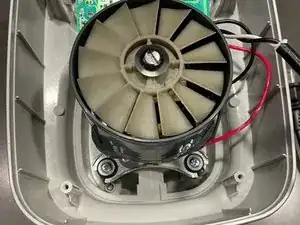
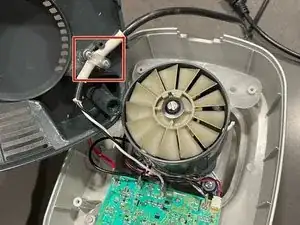
This tutorial will go through tear down and replacement of a blender clutch on a Cuisinart Velocity Utlra Trio. Model BFP-650C
Other model might be similar to how this one is designed.
Werkzeuge
Ersatzteile
-
-
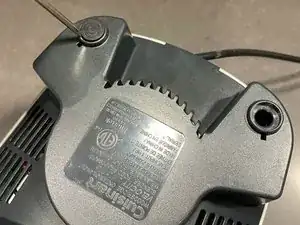
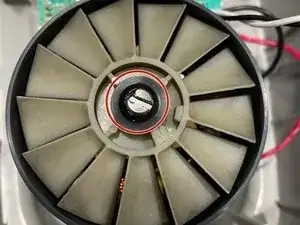
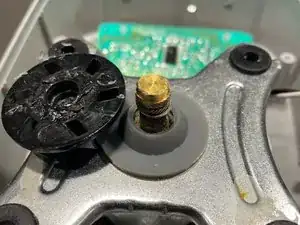
To remove the clutch you will need to use the flat head screw driver and twist the clutch clockwise as the thread to tighten it are reverse threaded.
-
The clutch could be worn out and not be gripping the screw and might need to be pulled off.
-
*This might be a difficult step as you are still connected to the top. If you want to try a bit of heat to melt the clutch plastic might be a solution.
-
-
-
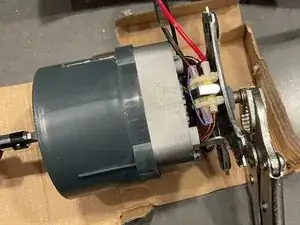
If the clutch didn't come off in one piece and you need to remove the nut. You will need to turn it clockwise as it is reverse threaded.
-
Using vise grips helped hold onto the nut while you can use a screw driver to turn clockwise or hold the plastic fans blades. * Because to not break a blade off as it will cause the motor to be off balance.
-
-
-
Make sure to no lose the washer.
-
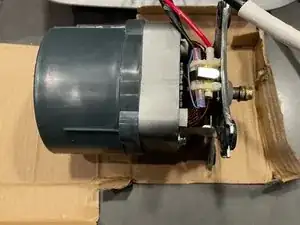
Move the rubber seal to the top so you won't get any leaks into the blender.
-
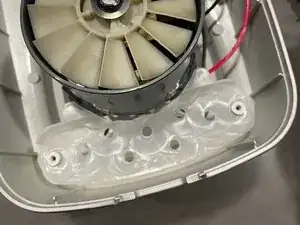
Replace the four washers.
-
Replace motor and tighten four screws.
-
-
-
Turn on side.
-
Make sure washer and rubber seal are in the correct position.
-
Tighten clutch by turn counter clockwise as it is reverse threaded.
-
* You don't need to over tighten as the use of the blender will cause the clutch to tighten.
-
-
-
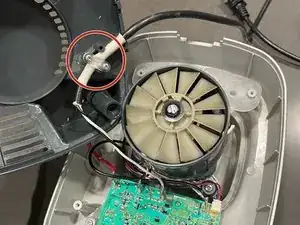
Connect power cord to base and tighten.
-
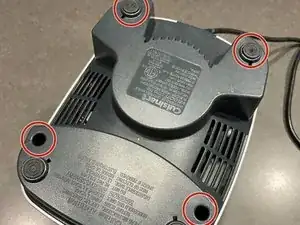
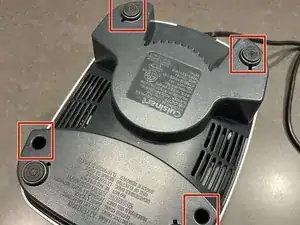
Tighten four screws and insert rubber feet.
-
Test blender and enjoy!
-
To reassemble your device, follow these instructions in reverse order.
