Einleitung
Does dismantling a key scare you? And yet, nothing could be simpler!
/!\ Attention, the key systems vary from one version to another. /!\
-
-
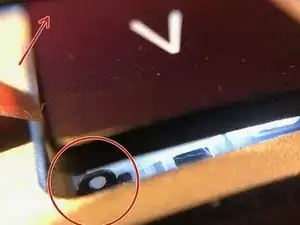
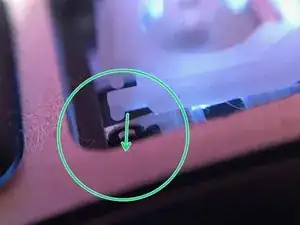
The small lug that holds the button's hinge pin is clearly visible in the circled area, and the other half of the pair is pointed to by the arrow.
-
-
-
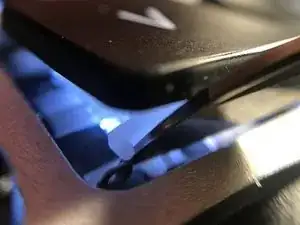
The video demonstrates how to insert the blade of a knife carefully behind the lug and push it in far enough for the pin to clear the lug.
-
-
-
Once the key is freed from the left side mechanism, it is still connected on the right side.
-
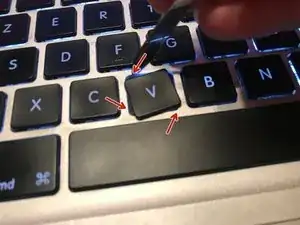
Release the key by rotating it counterclockwise with a tool or your fingers.
-
-
-
Unclip the lever arm by carefully inserting a spatula or a knife (be careful, the metal can damage the fingerboard).
-
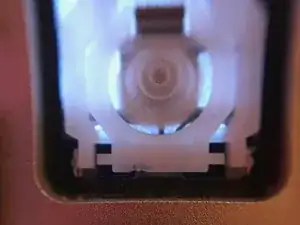
Detach the white part of the key. Take this opportunity to clean any dust or debris from the key or the hinge mechanism.
-
-
-
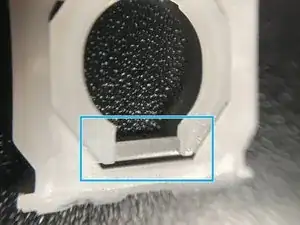
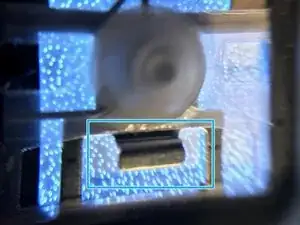
Insert the hinge (framed in the photo) into the metal slot in the keyboard as shown in the second photo.
-
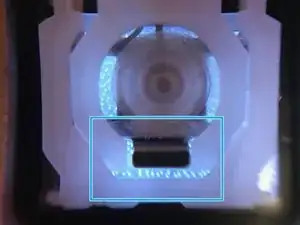
The third photo shows the hinge mechanism properly in place.
-
-
-
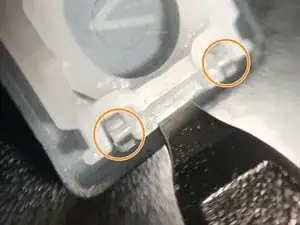
The final step is to place the key on the hinge mechanism and press hard on it so that the key clicks into place; the sound of the clips locking will be perceptible. There are four clips holding the key cap.
-
Congratulations; you can now remove and replace most any key on the keyboard.

