Einleitung
The lens and the focus and keystone levers are used to adjust the projected image. If the lens becomes dirty or scratched, the projected image could become distorted or blurry. Clean or replace the lens using this guide.
Werkzeuge
-
-
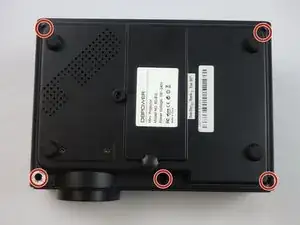
Place the projector upside down to access the screws on the bottom.
-
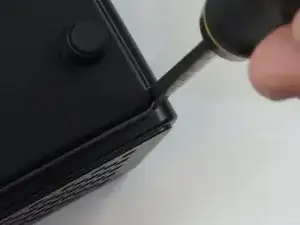
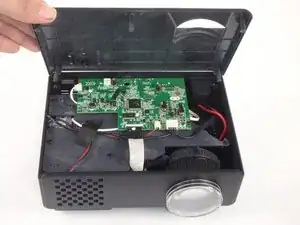
Remove the five 7mm long screws using a #3 Phillips screwdriver at least 2 inches long.
-
-
-
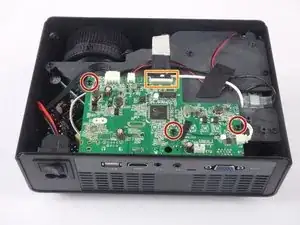
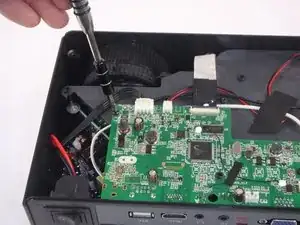
Remove the three 6mm PH2 phillips head screws.
-
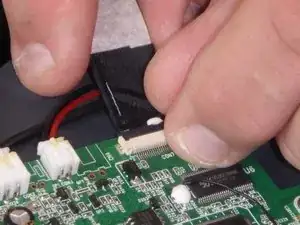
Disconnect the ribbon cable by flipping up the latch on the connector and then pull the ribbon out.
-
-
-
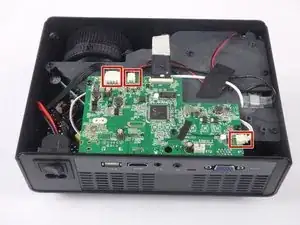
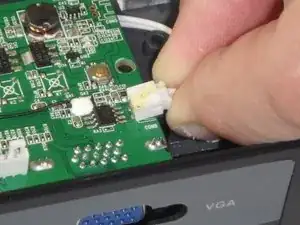
Disconnect the three wire connectors. Grasp both sides of the connector and pull apart.
-
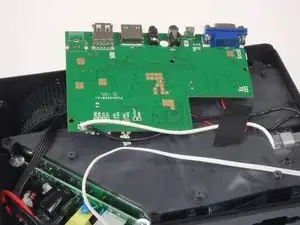
Lift the motherboard up and place it out of the way.
-
-
-
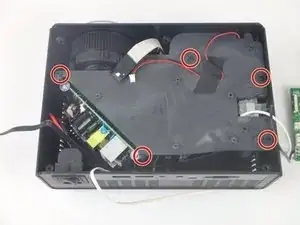
Remove the five 7mm PH2 phillips head screws on the black plate and lift the plate out.
-
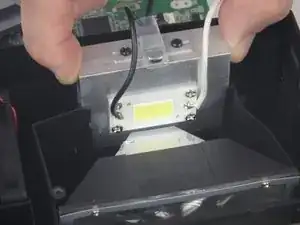
Lift the aluminum heat sink up to remove it from the projector.
-
-
-
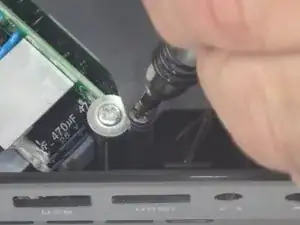
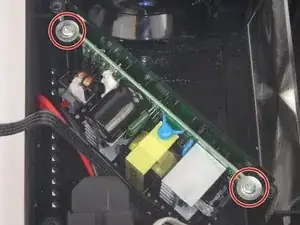
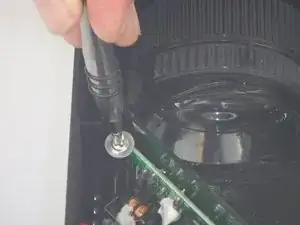
Remove the two 9mm PH2 phillips head screws.
-
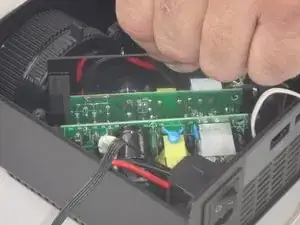
Lift the mirror behind the power supply circuit out to gain access to the circuit board.
-
-
-
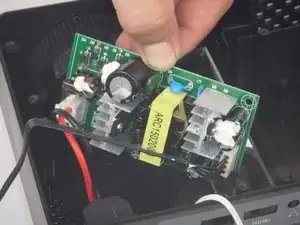
Lift the power supply circuit board out of the projector.
-
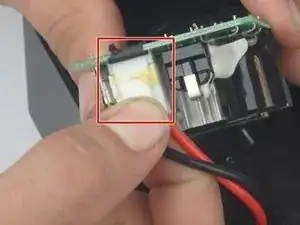
Disconnect the cable connector by pulling the two sides of the connector apart.
-
-
-
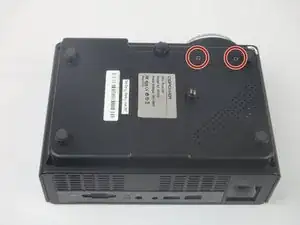
Flip the projector over and remove the two 6mm PH2 phillips head screws.
-
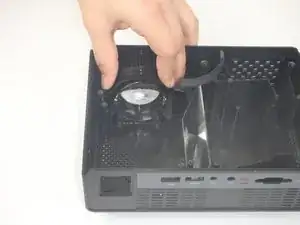
Flip the projector over so that the opening is facing up.
-
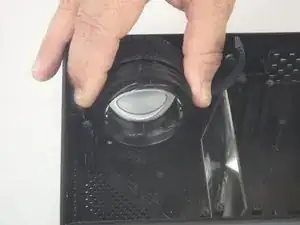
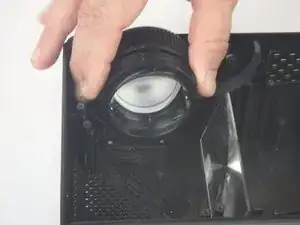
Lift the lens up slightly and then move it towards the interior of the projector before lifting it up and out of the way.
-
To reassemble your device, follow these instructions in reverse order.
