Einleitung

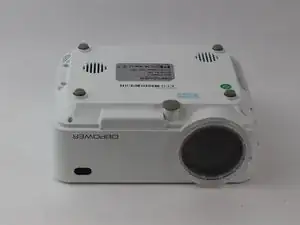
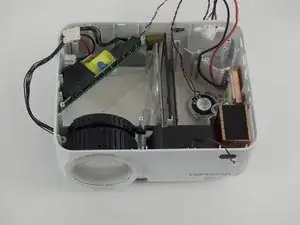
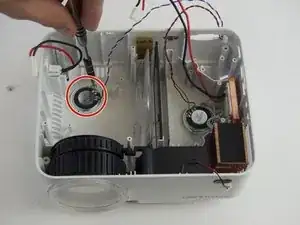
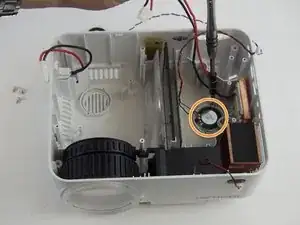
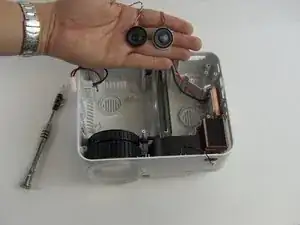
Follow the remaining steps in this guide in order to locate and replace the speakers locate on the interior bottom of the device housing. Take care not to confuse the speakers with batteries, as they look similar.

  1. EWsMPA6kyq5dmO4b
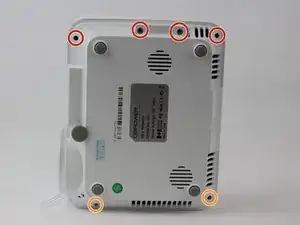
    • Flip the device and lay flat.

  2. tbGKi5YOBUPMMkUO
    • Remove the four (9 mm) screws with a PH2 screwdriver.

    • Remove the two (7 mm) located with a PH2 screwdriver.

  3. 4VJodpDJZlvPRqFD
    4VJodpDJZlvPRqFD
    ZSSUp2hSamESYMSV
    XjdUujnaf5LZB4n6
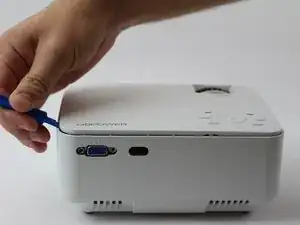
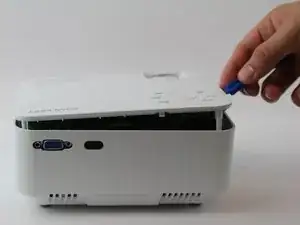
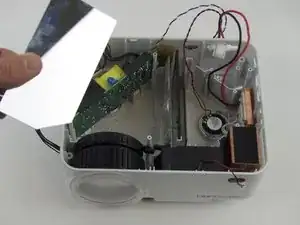
    • Flip the device over and pry the top off with a plastic opening tool.

  4. EXWaF2ou5NcX1lYF
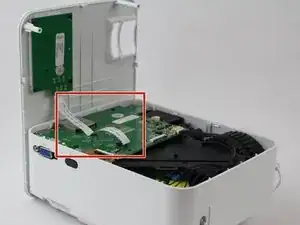
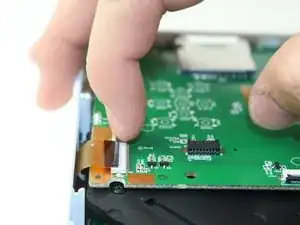
    • Remove the ribbon cable connecting the motherboard to the button control board by gently pulling it from its connector.

  5. fWYsIxUnQjGA2Kyx
    fWYsIxUnQjGA2Kyx
    j4LHonCJvPoNTF1O
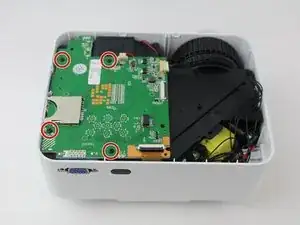
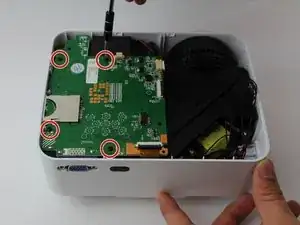
    • Remove four (6 mm) screws connecting the motherboard using a J0 screwdriver.

    one of the screws have been stripped, I’ve tried the rubber band and the glue trick, it didn’t work. What do I do to remove it? please respond

    arman waggoner -

  6. trRAUNLES2IFlrKD
    trRAUNLES2IFlrKD
    vQkSSglA43265rNO
    OcQnJ5HSa6hoNBOA
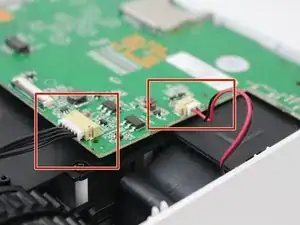
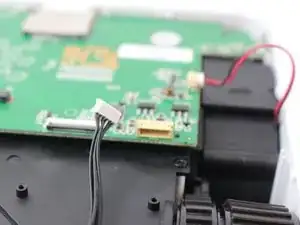
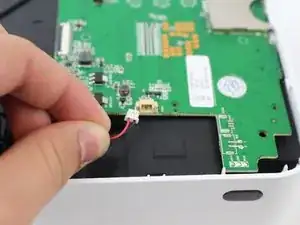
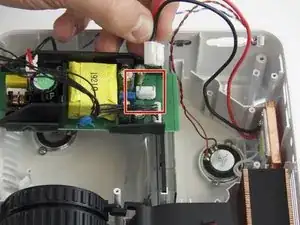
    • Remove the two cables connected to the motherboard: black power cable and the red/black fan cable.

    • the black cable requires more force to remove than the other cables.

  7. joEhEZpGBaYLpUcM
    joEhEZpGBaYLpUcM
    BOHRrUVkxpouFQeU
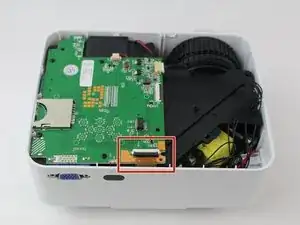
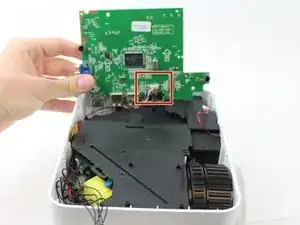
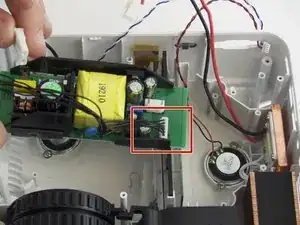
    • Lift the black latch on the ZIF connector and remove the ribbon cable that attaches the digitizer to the motherboard.

  8. PI4iXGIZQqnlLOHb
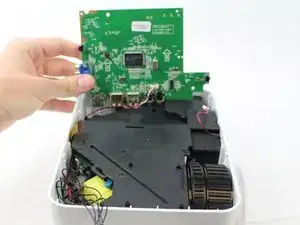
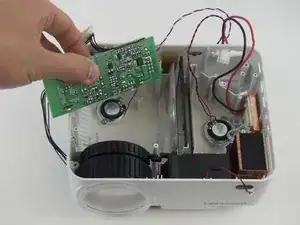
    • Raise motherboard by lifting sideways and then up to avoid the ports.

  9. SZxjwAKmBROTtIES
    SZxjwAKmBROTtIES
    m24f1a2qX3U2OCYs
    • Remove wires attaching the piezoelectric speakers to the motherboard.

  10. PIuyVcthnU1aInaI
    PIuyVcthnU1aInaI
    JottcDMKwepGPKZh
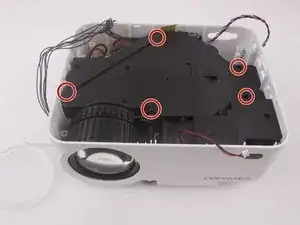
    • Remove the five screws securing the black plastic cover with a J0 screwdriver.

    • Lift up and out to remove.

  11. mT1RcyxPae6DSKiZ
    mT1RcyxPae6DSKiZ
    P1jHxN5AHdpt3oQp
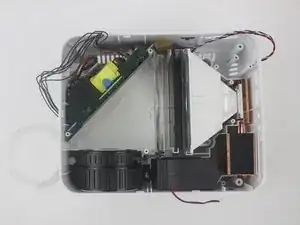
    • Remove the two (3 mm) screws connecting the bracket down and pull out the reflector, using a J0 Philips Head Screwdriver.

  12. GxukFtWOLnvRYcUU
    GxukFtWOLnvRYcUU
    ixJ2xdijHGXdFNOQ
    vvEPwH2CIGKsD26S
    • Slide the mirror straight up to remove.

  13. VxvME2YA5nLEoLcY
    VxvME2YA5nLEoLcY
    RqTq3GLeCqILMGGa
    lZKoIsCu5E1VmXP3
    • Slide out the power source and disconnect its cables from the power jack and the light.

  14. lGV4NBY13cMVMkMK
    lGV4NBY13cMVMkMK
    LxSR4QmwVrLAZotQ
    o11OuYVqbDIurbOK
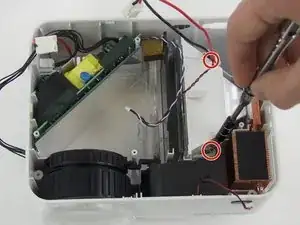
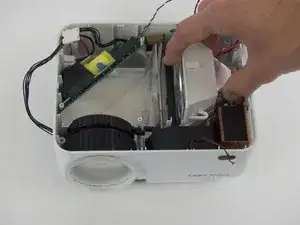
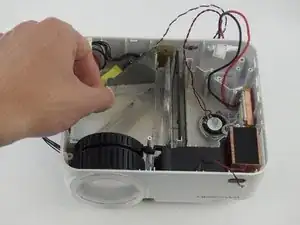
    • Remove the screws holding down the first speaker with a J0 screwdriver.

    • Remove the screws holding down the second speaker down.

Abschluss

To reassemble your device, follow these instructions in reverse order.

Ryan Goldin

Mitglied seit: 15/02/18

245 Reputation

0 Kommentare