Einleitung

Use this guide to replace an Electronic Speed Controller (ESC) in your DJI Phantom Drone 2 Vision+. The ESC receives power from the central board, and a PWM control signal from the flight controller. There is one ESC for each motor, for a total of four. Removing an ESC requires soldering.

Note: the drone used in this guide probably looks different from yours! It's just a custom paint job, otherwise it's completely stock.

  1. kGC1D1LkLxydxTHl
    kGC1D1LkLxydxTHl
    cpXIwKCjjJwVGcO3
    joy4vRV6s2bhCo6S
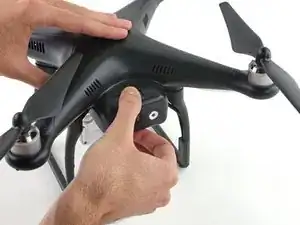
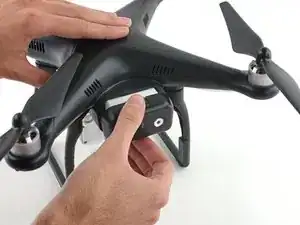
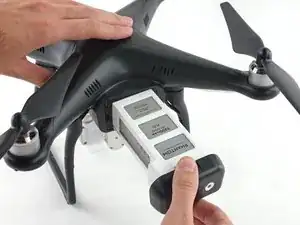
    • Pinch the top and bottom tabs of the battery case, pull the battery straight out to remove it.

    • The metal connectors form a stiff mechanical connection with the battery, you will need quite a bit of force to remove the battery. Hold the Phantom Vision+ with one hand and remove the battery with the other.

  2. EhV1BKelBsfdiCVE
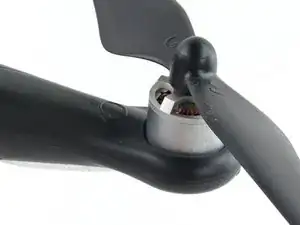
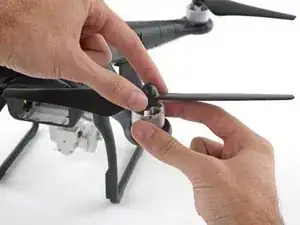
    • Determine if the propellor is clockwise or counter-clockwise rotating.

    • Each arm is labeled with a rotation icon that shows the direction of propellor rotation.

    • If this icon is missing or you can't read it, you can determine the direction of rotation by examining the propellor.

    • A clockwise rotating propellor pushes air down while rotating clockwise, and the opposite is true for a counter-clockwise rotating propellor, and the propellor blade slopes up in the direction of rotation.

  3. 1VgXZqRUQZWXecAX
    1VgXZqRUQZWXecAX
    Mt4uhFUVBYwKKEmb
    DpLFKRBCwGHn33xY
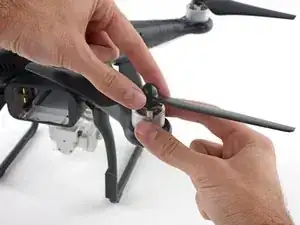
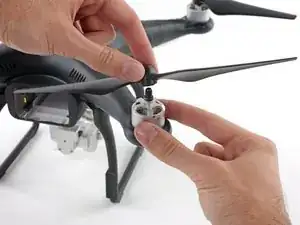
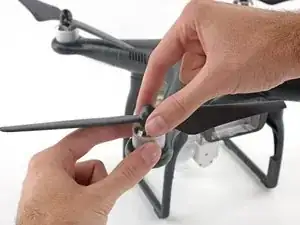
    • Loosen a clockwise rotating propeller by holding the motor with one hand and spinning the propellor clockwise.

    • Remove the propellor.

  4. pH64bGushqpgu6kS
    pH64bGushqpgu6kS
    ddsqEBsk5EhSwEuE
    HY4xVqnrncMoMAdD
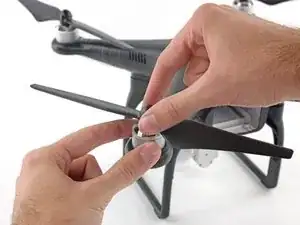
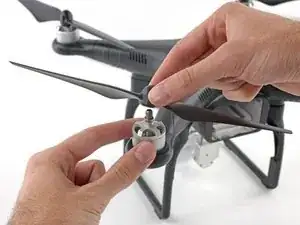
    • Loosen a counter-clockwise rotating propeller by holding the motor with one hand and spinning the propellor counter-clockwise.

    • Remove the propellor.

  5. DX242yuC4MNSK1Uh
    DX242yuC4MNSK1Uh
    AyVBilA33uYkSYwD
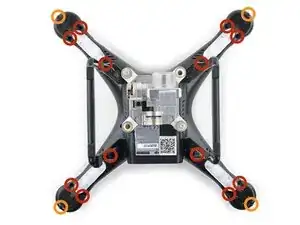
    • Remove the following screws from the underside of the Phantom:

    • Twelve 2.0 mm hex bolts

    • Four Phillips #00 screws

  6. O4VwFMV3nTkMAKkW
    O4VwFMV3nTkMAKkW
    Qoo6HGGJGvsXHwWD
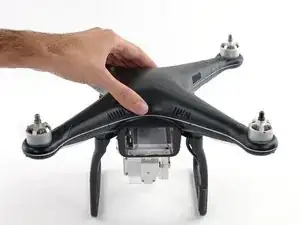
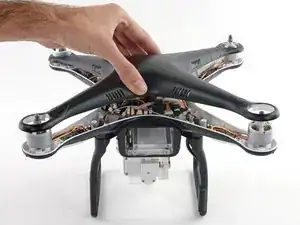
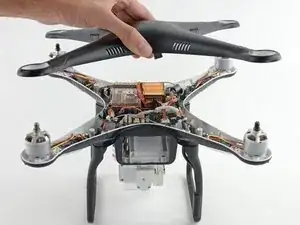
    • Gently lift up the top shell case.

    • Do not attempt to fully remove the top shell. The GPS cable is still attached to the mainboard, avoid lifting the case too high or you may damage this connection.

  7. yQ6vVerdmTqCCISE
    yQ6vVerdmTqCCISE
    LMyRmDXefk2WvtcA
    RQIx6EjshflIgJEU
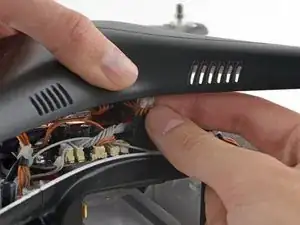
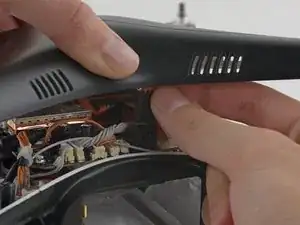
    • The GPS cable molex connector is located on the backside of the mainboard, near the battery opening.

    • Pull the GPS connector straight up out of its socket.

    • Lift the top shell case up and remove it from the body of the Phantom.

  8. 5ELeqG6TgxiJDGwQ
    5ELeqG6TgxiJDGwQ
    1TlpAu3SfqxgrHDi
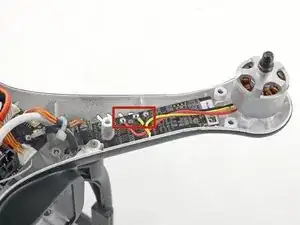
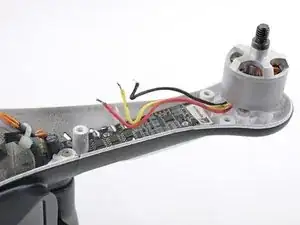
    • Desolder all three motor wires.

    • When replacing a motor, be sure to solder the new motor in following the same wire color order as when you removed it.

    • The motor spin direction is dependent on the order of the wires, and may not match this image exactly. If you forgot the order, check the arm directly opposite for reference.

  9. 6KMbvUP4UKG32X4L
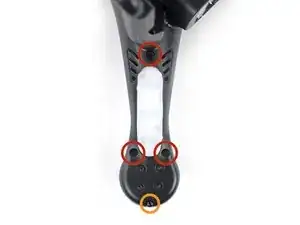
    • Remove the four 2mm hex motor bolts.

  10. vDSpPZ2ElfNMDnXQ
    vDSpPZ2ElfNMDnXQ
    SGAjbJtdWGvLjGra
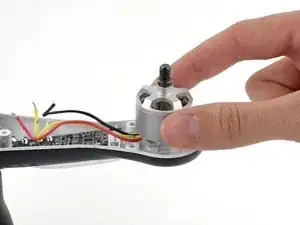
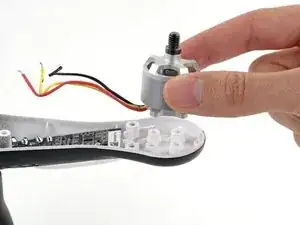
    • Remove the motor from the motor mount.

  11. ciQGgs6BnQbr1vYQ
    ciQGgs6BnQbr1vYQ
    quiexaR2XrLWCxnX
    h1Io5GZcmfup5WGX
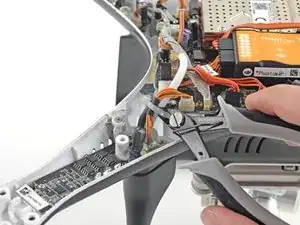
    • Cut the zip-tie securing the signal and power cables.

    • Unplug the ESC signal cable molex connector from the ESC.

  12. ek1V2wRxIqtFpNYF
    ek1V2wRxIqtFpNYF
    MEEQZaBYHDjmU5Tt
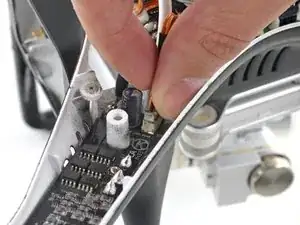
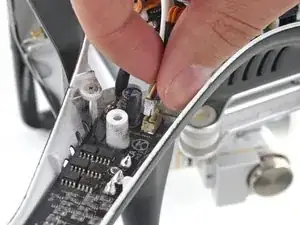
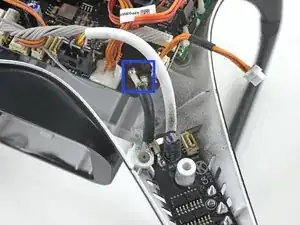
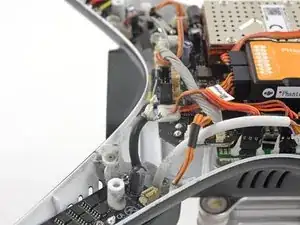
    • Desolder the ESC ground and voltage wires from the mainboard.

    • Be careful not to melt the plastic case bottom shell with your soldering iron or damage any electronic components.

    • You can remove in-the-way cables by unplugging them and moving them aside. This will protect them from the warning above.

    • Be sure to plug these cables back in before reassembling your Phantom 2.

  13. LP5WA5Q2x5dCibOp
    LP5WA5Q2x5dCibOp
    HkbIXVnRRAbWLQyb
    pVDXPryT6YIxO5OS
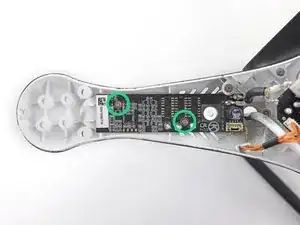
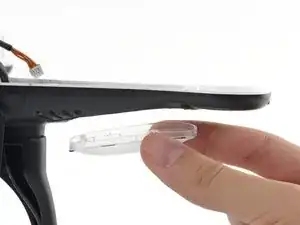
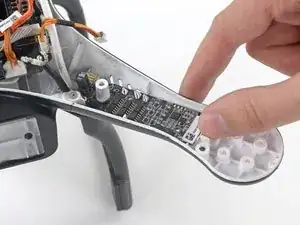
    • Remove the two ESC securing screws.

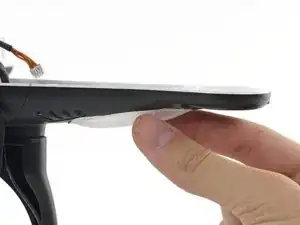
    • The clear plastic LED cover will either drop from the underside or need to be loosened with a plastic spudger.

  14. KSxSKmAZkJgCBIEc
    KSxSKmAZkJgCBIEc
    JioFgSWm6MPwXrXM
    XucotYVsxwolJfQM
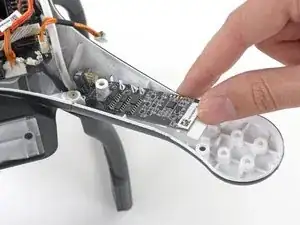
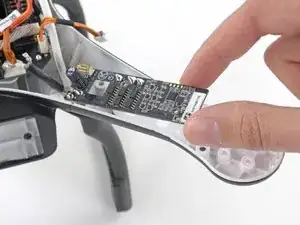
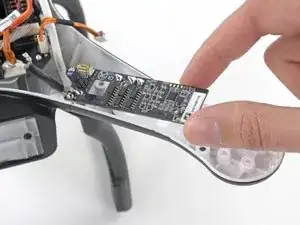
    • With the ESC no longer secured to the airframe, lift it up and remove it.

Abschluss

To reassemble your device, follow these instructions in reverse order.

David Hoyt

Mitglied seit: 09/04/10

3936 Reputation

Ein Kommentar

Is it a difference between ESC from different versions (1.0, 2.0 and 3.0) of Phantom 2?
jarbas_sjo -