Einleitung
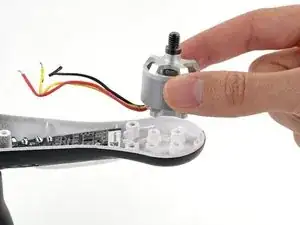
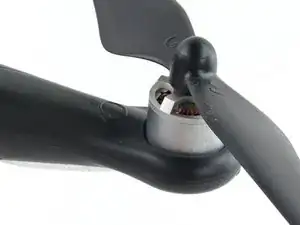
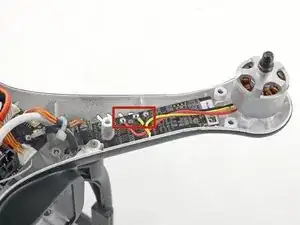
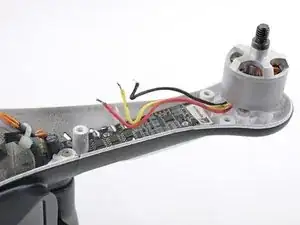
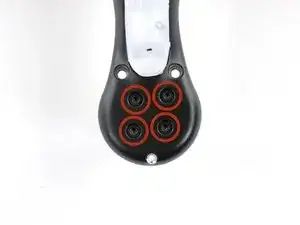
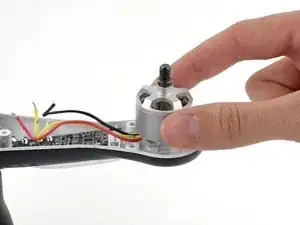
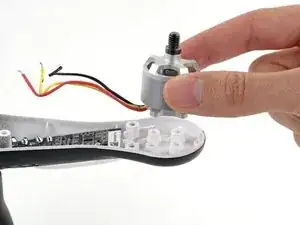
Replace or upgrade your Phantom motors. This guide requires soldering. Each motor's direction is determined by the order of its leads on the ESC, so during the replacement, be sure to match the original order. Motors on opposite arms will have the same direction, so check the opposite arm for a wiring reference.
If you're ordering a replacement, be sure to get the right thread direction for your motor, or the propellor collet will loosen during flight.
Note: the drone used in this guide probably looks different from yours! It's just a custom paint job, otherwise it's completely stock.
Werkzeuge
Ersatzteile
-
-
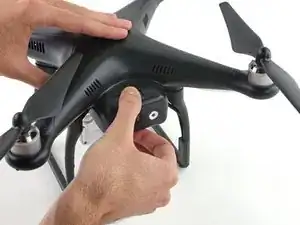
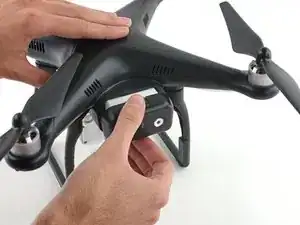
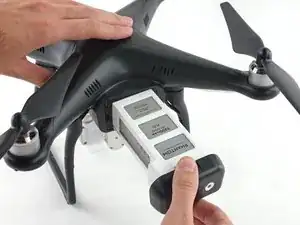
Pinch the top and bottom tabs of the battery case, pull the battery straight out to remove it.
-
-
-
Determine if the propellor is clockwise or counter-clockwise rotating.
-
If this icon is missing or you can't read it, you can determine the direction of rotation by examining the propellor.
-
-
-
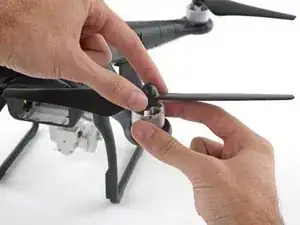
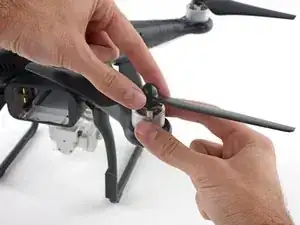
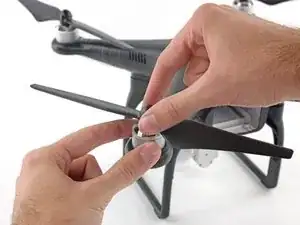
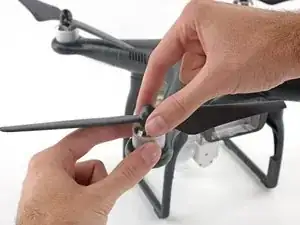
Loosen a clockwise rotating propeller by holding the motor with one hand and spinning the propellor clockwise.
-
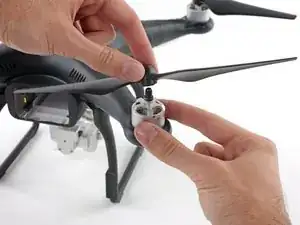
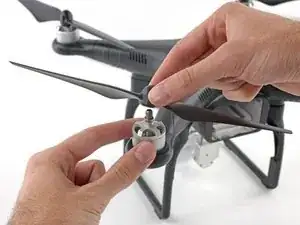
Remove the propellor.
-
-
-
Loosen a counter-clockwise rotating propeller by holding the motor with one hand and spinning the propellor counter-clockwise.
-
Remove the propellor.
-
-
-
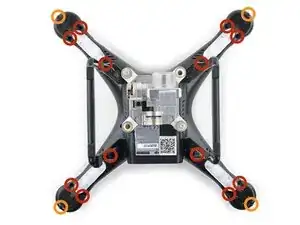
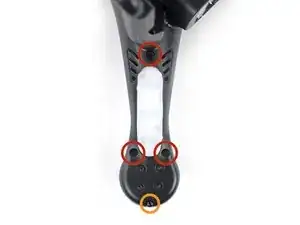
Remove the following screws from the underside of the Phantom:
-
Twelve 2.0 mm hex bolts
-
Four Phillips #00 screws
-
-
-
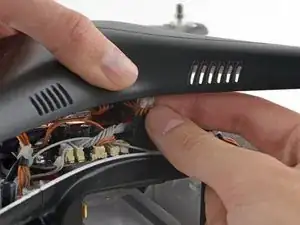
The GPS cable molex connector is located on the backside of the mainboard, near the battery opening.
-
Pull the GPS connector straight up out of its socket.
-
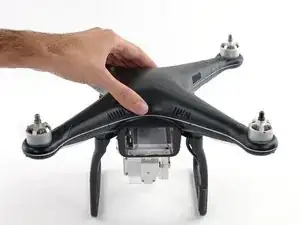
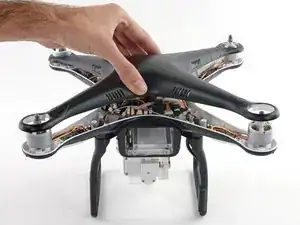
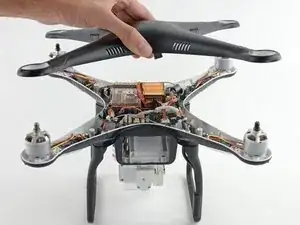
Lift the top shell case up and remove it from the body of the Phantom.
-
To reassemble your device, follow these instructions in reverse order.
