Einleitung

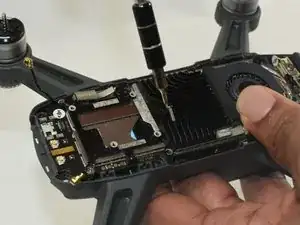
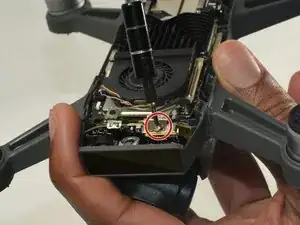
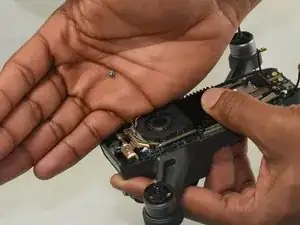
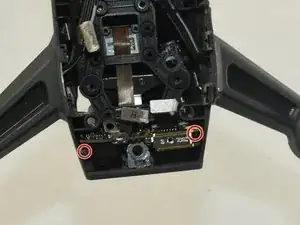
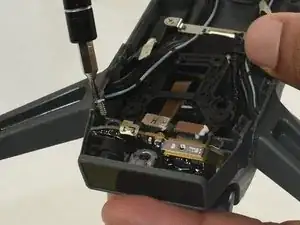
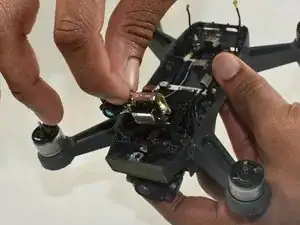
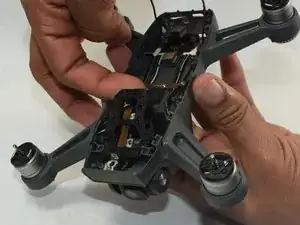
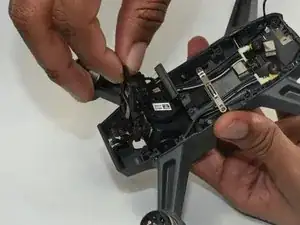
If you need to replace the camera of your DJI Spark (model CP.PT.000903) because it is no longer taking photos or recording as required, use this guide. The camera of the DJI Spark allows the user to take photos with a resolution of 3968×2976p and videos with a resolution of 1920×1080 at a rate of 30p. If the camera is no longer working, it may be unable to save any new videos or pictures taken, or may not be able to take photos or videos at all due to damaged cables.


  1. QYCvGqDAquBd3NRy
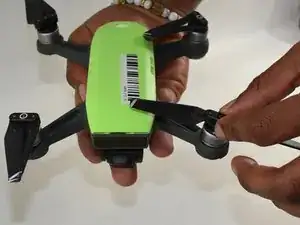
    • Push down on the propeller that is being replaced.

    Just a warning, I just tried this guide and it is missing tons of steps, so be careful when you try yourself.

    MisterGuy’s Channel -

  2. BanolPXfJibnAqL6
    BanolPXfJibnAqL6
    ZHHIWOjrHQIA4vWC
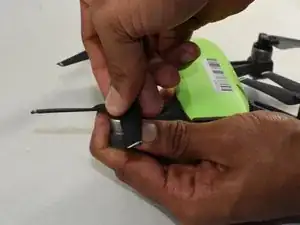
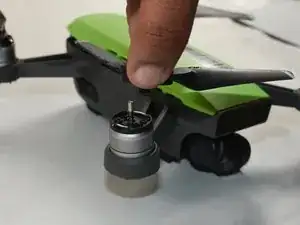
    • Twist the propeller until it feels loose.

    • Pull on it until it comes off.

  3. AIqrSBOgrHHKTrfB
    AIqrSBOgrHHKTrfB
    QcfytPg3uqkEvKWZ
    oj5OOFFEuvlXQ1ri
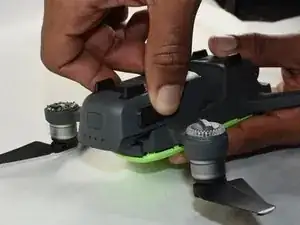
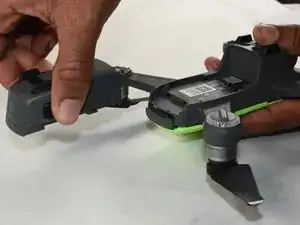
    • Flip the drone over.

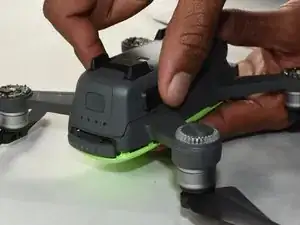
    • Grip the left and right sides of the battery.

    • Slide firmly forward until it pops out.

  4. gWYX4WulWZvpaAvE
    gWYX4WulWZvpaAvE
    uplUruLlaTyEwWrK
    EFkVAfVdChxcEpue
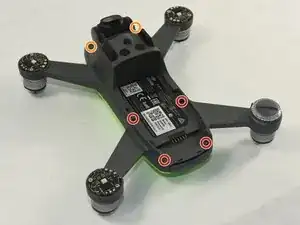
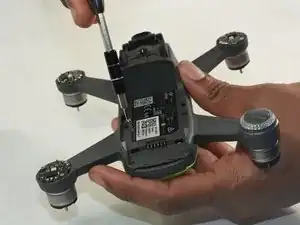
    • Flip the drone over.

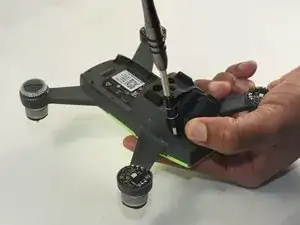
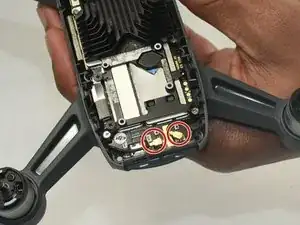
    • Remove the four 1.5mm Hex screws.

    • Remove the two 1.5mm Hex screws near the camera head.

    • You may need to remove plastic nubs from the hex screws using a spudger first.

    The middle two screws appear to have their hex holes plugged with clear plastic.

    Basil Yokarinis -

    How do you remove it?

    Daniel Montes -

  5. Gos4joW5ECPwWYDP
    Gos4joW5ECPwWYDP
    MxINtYCYxIKVCvRc
    KIa6NCZ6BbpJo6Z6
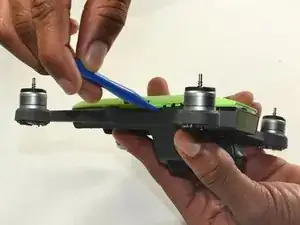
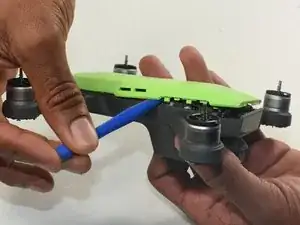
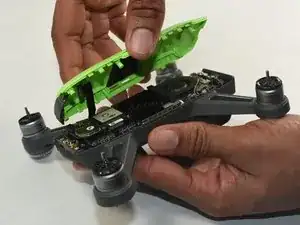
    • Hold the drone so the lid is facing up.

    • Insert the plastic opening tool into the side of the drone.

    • Slide the tool around the perimeter until you can lift the top off.

  6. Dqn1rlTbsMPBAFUx
    Dqn1rlTbsMPBAFUx
    p4IJLtW1OZtKNTmB
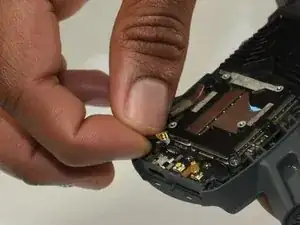
    • Disconnect two gold antenna next to the internal GPS while removing the motherboard.

  7. wuWxdH1tB4TDOKQU
    wuWxdH1tB4TDOKQU
    aMxbRECGhxVQHLvq
    kRBjQddFHiBdQfbR
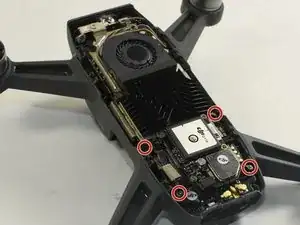
    • Remove all the Phillips #0 screws attaching the motherboard to the drone.

    • It is the piece with both the fan and GPS module on it.

    One screw circle is off by a bit

    MisterGuy’s Channel -

  8. tQGHHEBICrQ3hFPe
    tQGHHEBICrQ3hFPe
    wY13K2DQNprpmxIK
    • Remove the 3.0 mm Phillips #000 screw.

    There is no steps for removing the logic board. Just find the flex cables under the foam and remove them, then you can move the logic board out. Hope this helps!

    MisterGuy’s Channel -

  9. U6uKV4ads5wtdBeU
    U6uKV4ads5wtdBeU
    WqtlHoalG6Cud6ga
    KrLXov2nWnbDflqG
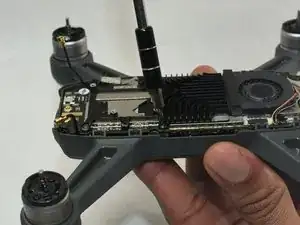
    • Remove the two Phillips #0 screws on the right and left sides.

    • Once removed, pull the front facing sensor out.

  10. l1FcLFrI25tbiWeZ
    l1FcLFrI25tbiWeZ
    1JGPHoUTIlUESFg1
    bCJmg3FSehL1dUZT
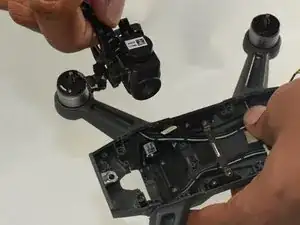
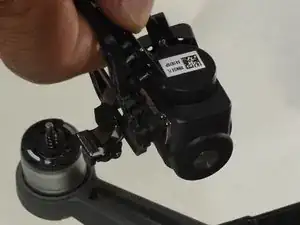
    • Gently remove the gimbal along with the camera from the top of the device.

Abschluss

To reassemble your device, follow these instructions in reverse order.

Amelia Hagberg

Mitglied seit: 21/10/19

403 Reputation

2 Kommentare

Good start, but missing many steps and details.

Basil Yokarinis -

I am now going to try and fix my drone. thank you so much
sebasnavarro1116 -