Einleitung
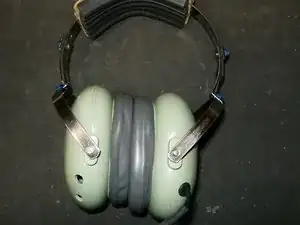
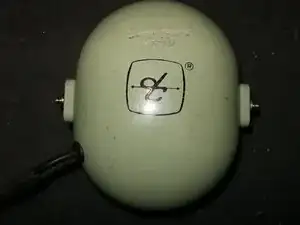
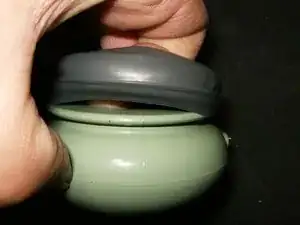
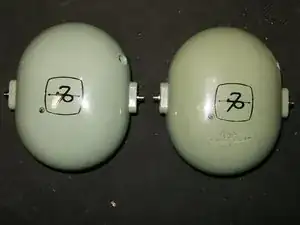
I received this headset at a garage sale. At 10$ the price was right. From comparing picture on the internet this seems to be a H10-36 set. That is the best identification I could find. The headset has seen better days and was well used. Both the left and right dome were loose, the left dome was cracked and has been replaced. The right dome has the same suspicious rattle as the left dome. The crossover cable had been previously repaired and was just hanging between the left and right dome.
Werkzeuge
Ersatzteile
-
-
This is the headset that will get both domes replaced. This guide is for the right side dome only.
-
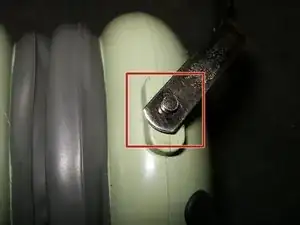
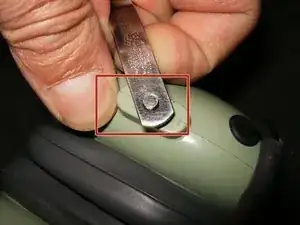
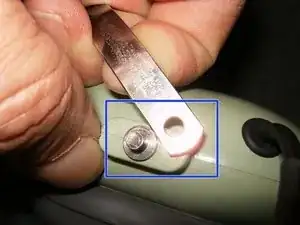
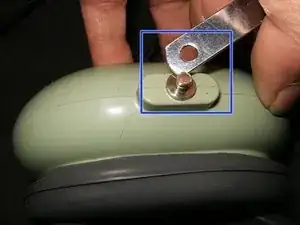
Missing retainer pins are obvious.
-
This is where the retainer rings would be normally sitting to hold the dome to the stirrup
-
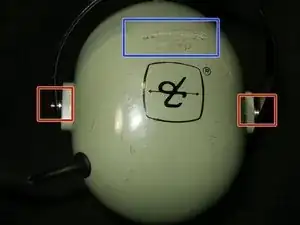
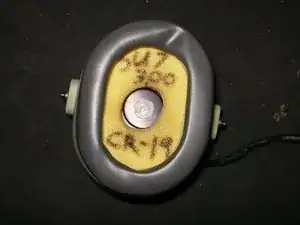
I always wonder who owned the equipment before and what the story is behind those initials
-
-
-
Since the retainers are missing, just pulling up on the stirrup
-
will release the dome.
-
Same thing on the other side
-
-
-
Here is the dome free of the stirrup.
-
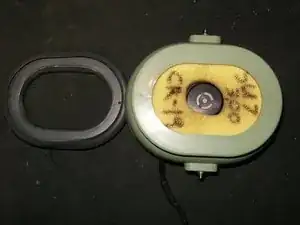
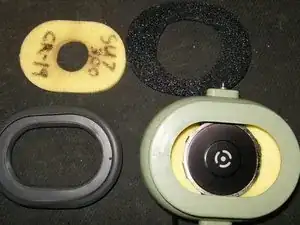
The earseal is in decent condition. The filter (foam) shows plenty of wear and markings.
-
The earseal is held on by a groove in the dome. Simply pulling it off will release it.
-
-
-
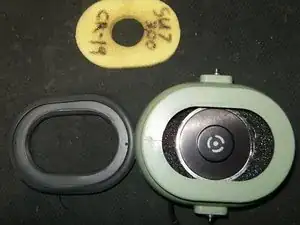
Earseal removed from dome, filter visible.
-
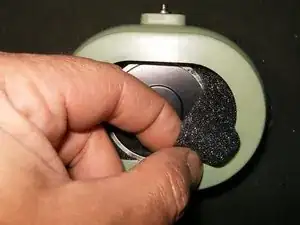
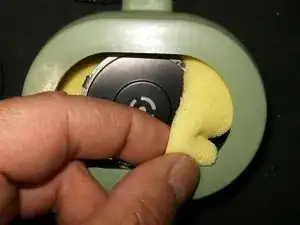
Next remove the filter (foam) to visualize the speaker.
-
Remove the next filter (foam) that is layered around the speaker
-
-
-
Filter removed, and another filter is visible around the speaker. The original headset will have three filters
-
Remove the next filter
-
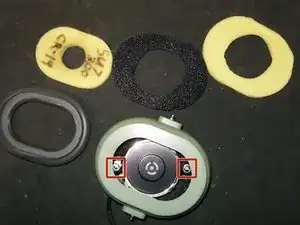
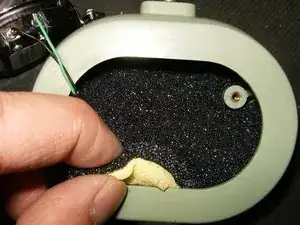
One more filter under the speaker that needs to be removed.
-
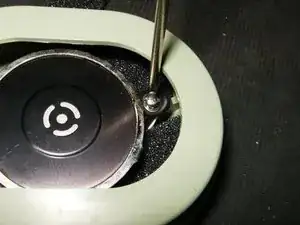
The two screws that hold the speaker to the dome are clearly visible
-
-
-
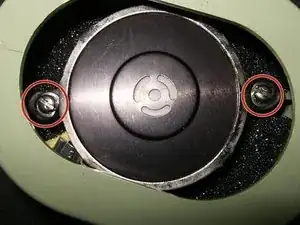
These are the two slotted screws that hold the speaker to the dome
-
Remove those with a flathead screw driver
-
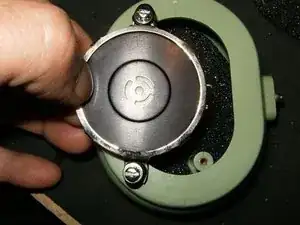
Once the two screws are loose, lift the speaker out of the dome.
-
-
-
Flip the speaker out of the dome to remove the last filter.
-
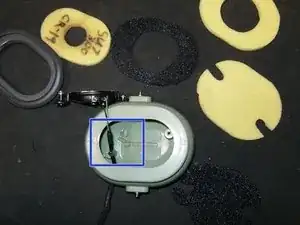
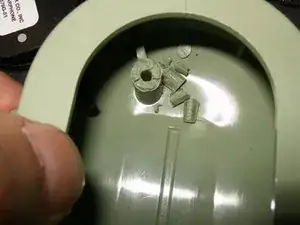
With the speaker and the filter removed, damage to a standoff for the speaker becomes evident
-
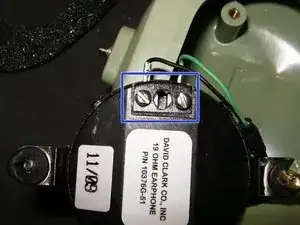
The speaker wires are held in place by two slotted screws
-
-
-
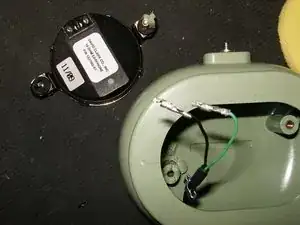
Loosen the two screws to remove the speaker
-
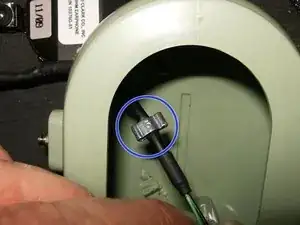
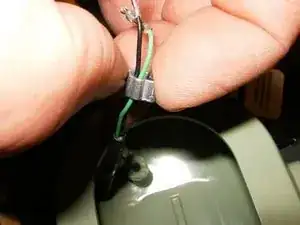
Pull the speaker wire (overhead cord) to the inside of the dome to free the cord clip
-
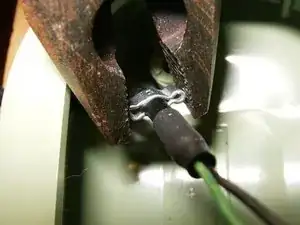
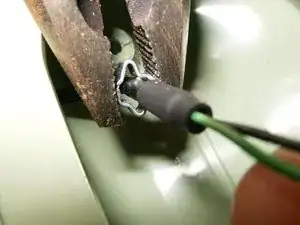
Using a pair of combination pliers, squeeze the two tabs of the cord clip
-
-
-
This will open the cord clip
-
Remove the cord clip
-
Pull the speaker wire (overhead cord) out of the dome.
-
-
-
Here is the damage of the speaker standoff
-
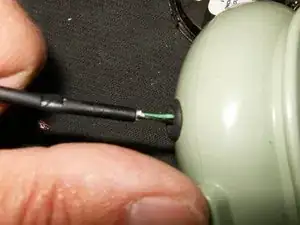
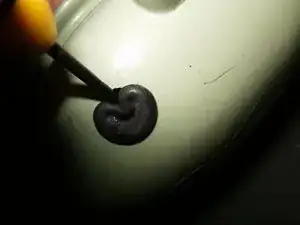
Remove the rubber grommet from the speaker cable opening by using a jewelers screw driver. Gently use the screw driver to push the lip out of the opening.
-
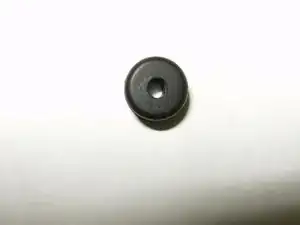
Removed rubber grommet.
-
To reassemble your device, follow these instructions in reverse order.
