Einleitung
If the variable speed trigger switch is loose when pressed or the device is simply not powering on, you may need to repair or replace the trigger assembly. This guide will address the steps required to access the trigger assembly and how to fix or replace it with a new assembly. For this guide, you will need an iFixit Precision Bit Driver, a Torx T20H bit, a Torx T15H bit, a Phillips #2 screwdriver head, and a metal spudger.
Werkzeuge
-
-
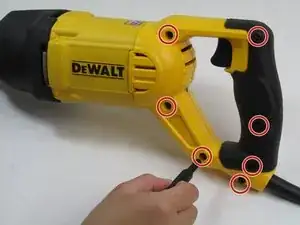
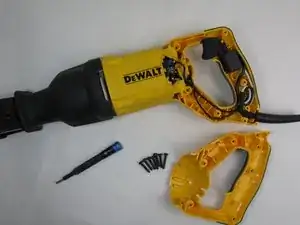
Remove the seven 3/4" Button Head Torx Security screws out of the handle with the Torx T20H bit and IFixit Precision Bit Driver.
-
-
-
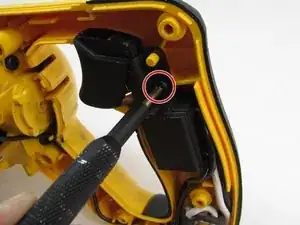
Remove the single 3/4" Button Head Torx Security screw that is securing the trigger assembly using the Torx T15H bit.
-
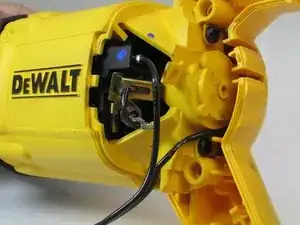
Pull the entire trigger assembly from the handle.
-
-
-
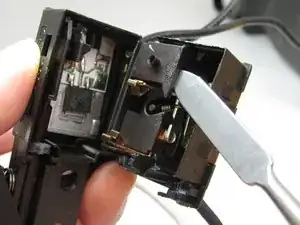
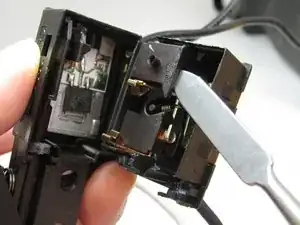
Use the pointed end of the metal sludger to pry open the rectangular casing that houses the electrical contacts and wiring of the trigger assembly.
-
Assess the condition of the assembly by checking the inside of the casing for any dust, dirt, or misalignment.
-
-
-
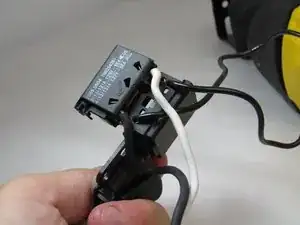
Look on the back of the assembly by turning it over to the casing where the wires protrude and see if there is any damage to the cables which are connected to the motor assembly.
-
-
-
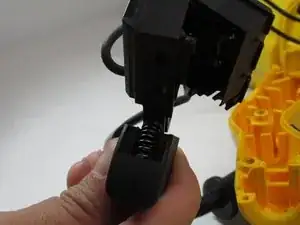
If any part of the trigger assembly such as electrical contacts, wiring, or the spring is damaged beyond repair, then replace the assembly and reconnect the new component to the wiring attached from the motor assembly.
-
To reassemble your device, follow these instructions in reverse order.
