Einleitung
In this guide, we will show you how to remove and replace the Primary Hard Drive.
Werkzeuge
-
-
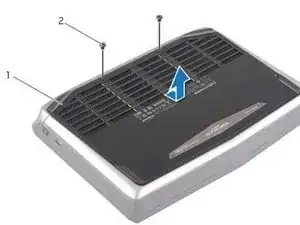
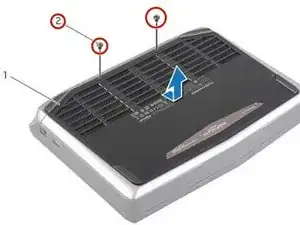
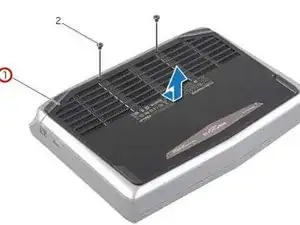
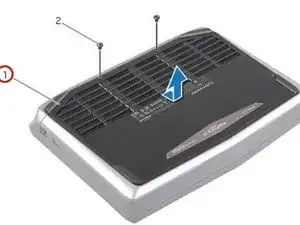
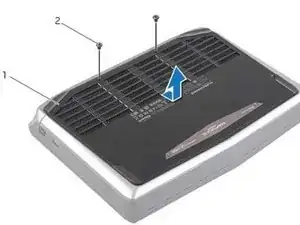
Align the tabs on the NEW base cover with the slots on the computer base and slide the base cover into place.
-
-
-
Using the battery cable, lift the battery and release it from the tabs on the computer base.
-
-
-
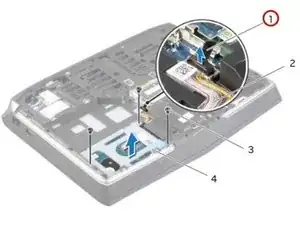
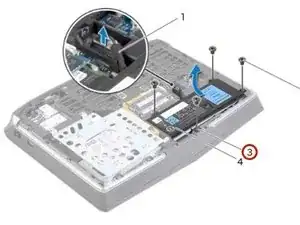
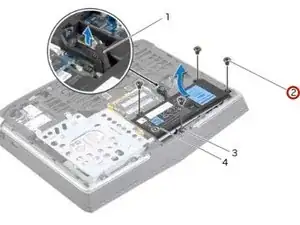
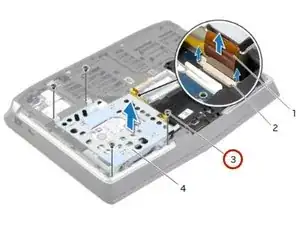
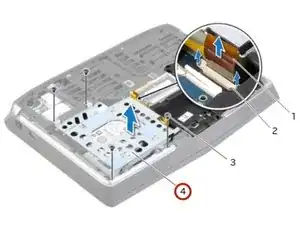
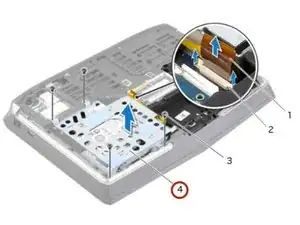
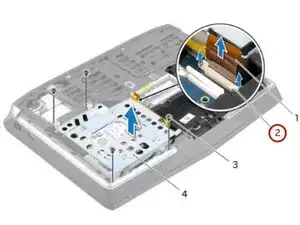
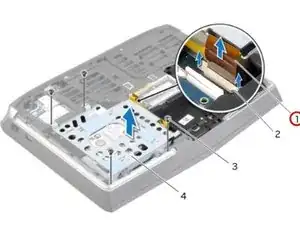
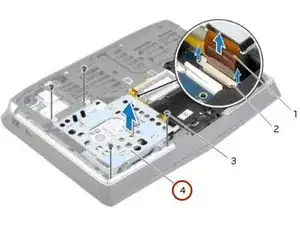
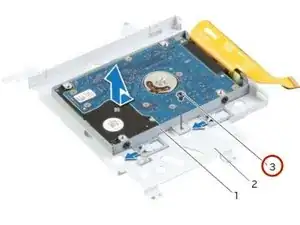
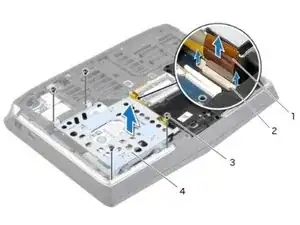
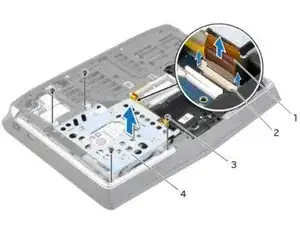
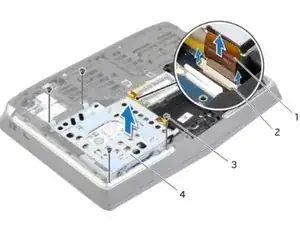
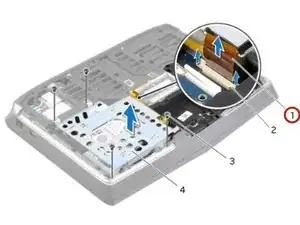
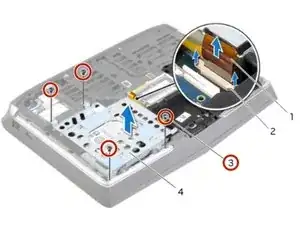
Carefully lift the secondary hard-drive assembly and then lift the latches to release the secondary hard-drive cable from the system-board connector.
-
-
-
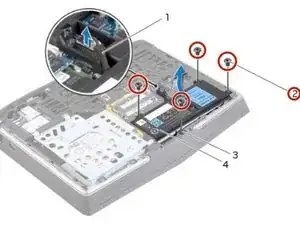
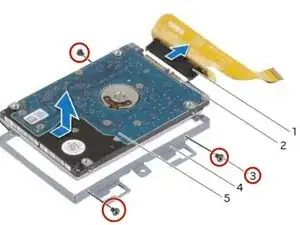
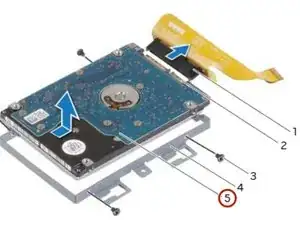
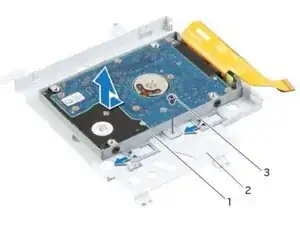
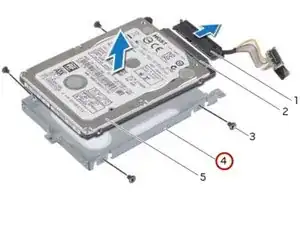
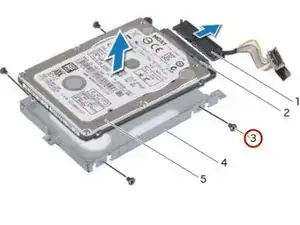
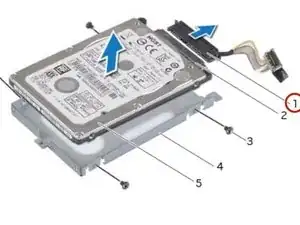
Remove the screws that secure the secondary hard-drive to the secondary hard-drive bracket.
-
-
-
Align the screw holes on the secondary hard-drive with the screw holes on the secondary hard-drive bracket.
-
-
-
Replace the screws that secure the secondary hard-drive to the secondary hard-drive bracket.
-
-
-
Align the screw hole on the secondary hard-drive assembly with the screw hole on the main bracket.
-
-
-
Slide the secondary hard-drive cable into the system-board connector and press down on the connector latches to secure the cable.
-
-
-
Align the screw holes on the secondary hard-drive assembly with the screw holes on the computer base.
-
-
-
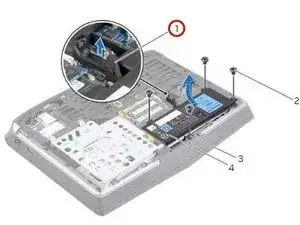
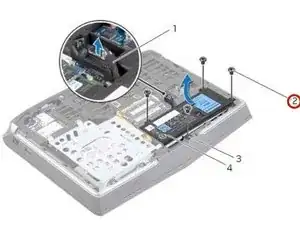
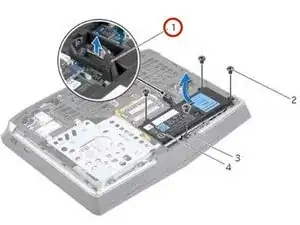
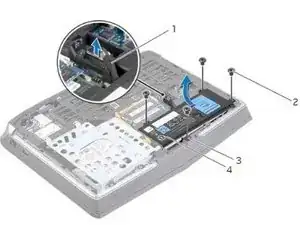
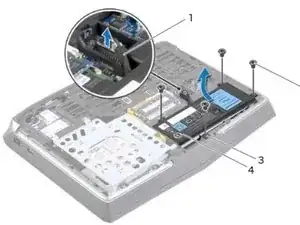
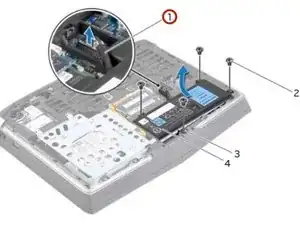
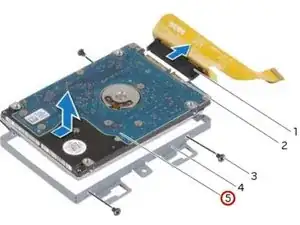
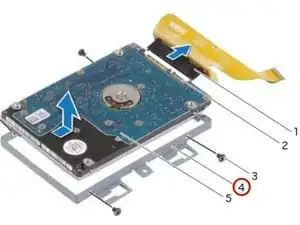
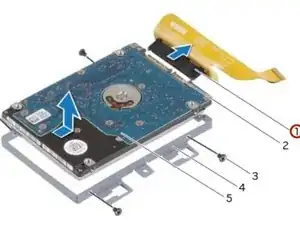
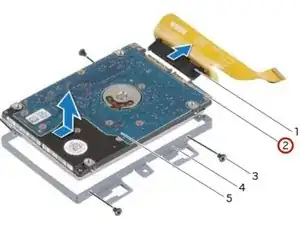
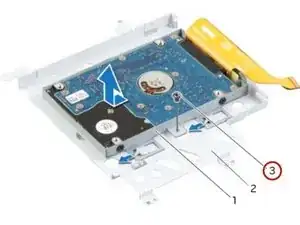
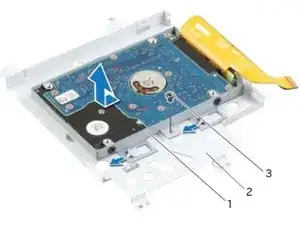
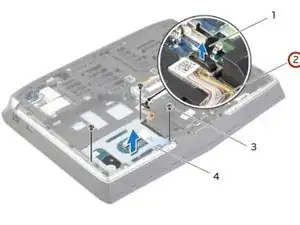
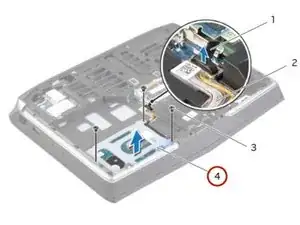
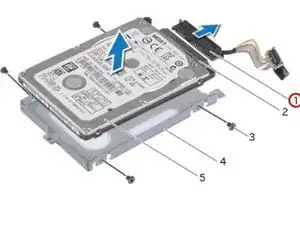
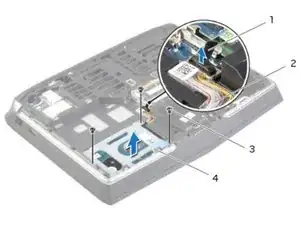
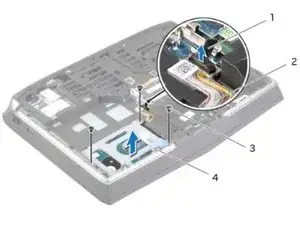
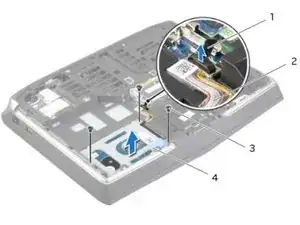
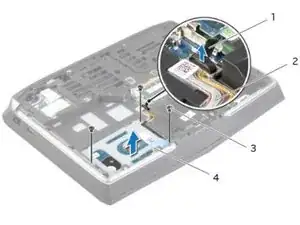
Lift the pull-tab to disconnect the primary hard-drive cable from the system-board connector.
-
-
-
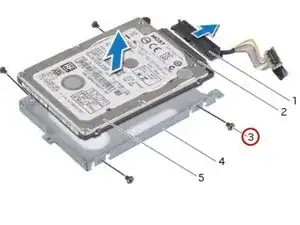
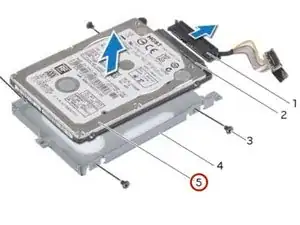
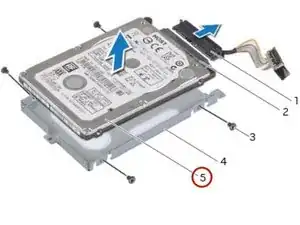
Align the screw holes on the primary hard-drive with the screw holes on the primary hard-drive bracket.
-
-
-
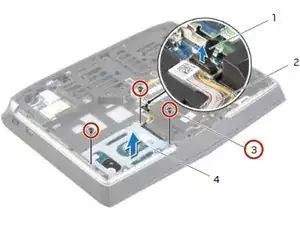
Align the screw holes on the primary hard-drive assembly with the screw holes on the computer base.
-
To reassemble your device, follow these instructions in reverse order.
