Einleitung
Werkzeuge
-
-
Flip the laptop over so that the backside is facing up.
-
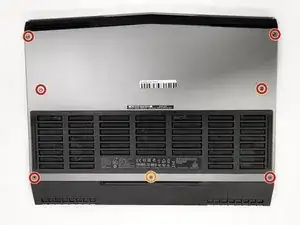
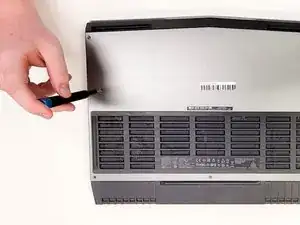
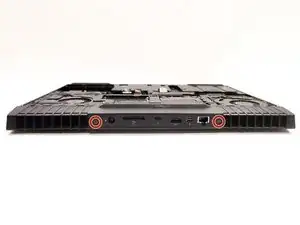
Use a Phillips #00 screwdriver to remove the six 13.0 mm screws from the sides of the back case.
-
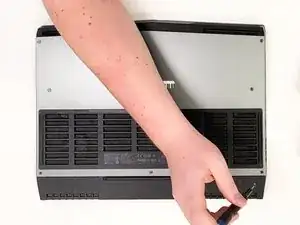
Use a Phillips #00 screwdriver to remove one 5.0 mm screw from the back of the laptop.
-
-
-
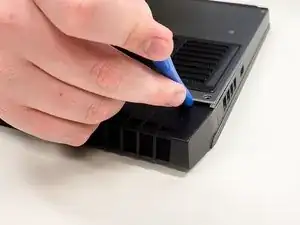
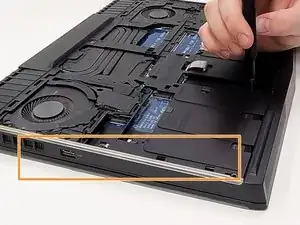
Use the opening tool to pry the back case from the computer.
-
Use the opening tool and work your way around the perimeter of the back case to gently release the clips.
-
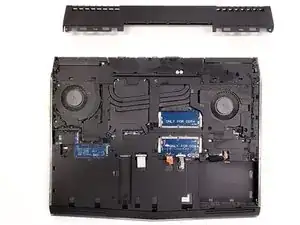
Lift the back case off of the laptop.
-
-
-
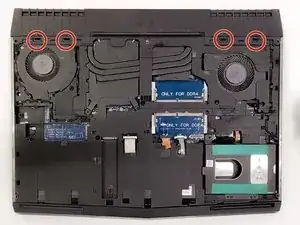
Use a Phillips #00 screwdriver to remove nine screws from the chassis.
-
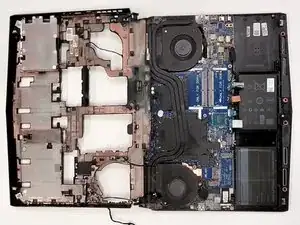
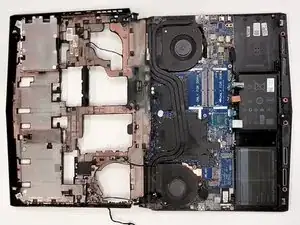
Use a spudger or opening tool to remove the chassis and reveal the battery, fan, motherboard, and other components.
-
Abschluss
To reassemble your device, follow these instructions in reverse order.
