Einleitung

In this guide, we will show you how to remove and replace the Hard Drive.

  1. U2O1R46R6H3ICjQM
    • WARNING: Before working inside your computer, read the safety information that shipped with your computer.

    • CAUTION: To avoid electrostatic discharge, ground yourself by using a wrist grounding strap or by periodically touching an unpainted metal surface (such as a connector on your computer).

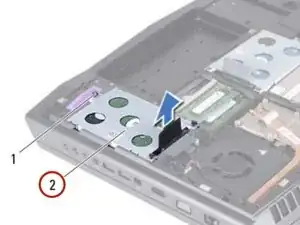
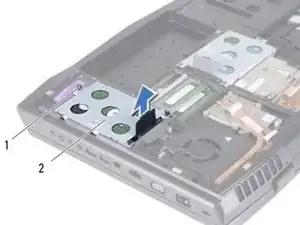
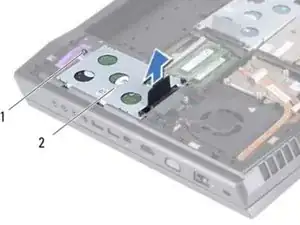
    • Loosen the three captive screws that se cure the hard-drive assembly to the computer base.

  2. 23Kd6BdmsEodEuR1
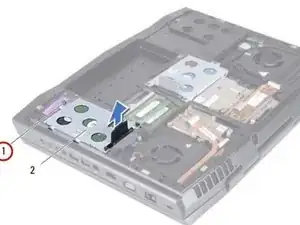
    • Using the pull-tab, lift the hard-drive assembly to disconnect it from the connector on the system board.

  3. G4ItGgTPJlaS2WLW
    • Lift the hard-drive assembly out of the computer base.

  4. X6JHZoyVgKiIBMnA
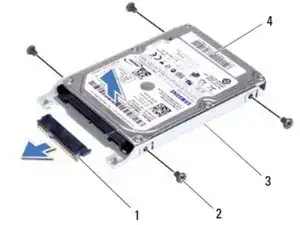
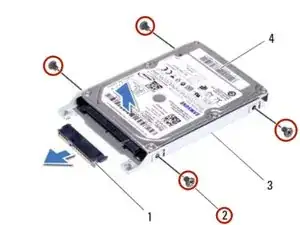
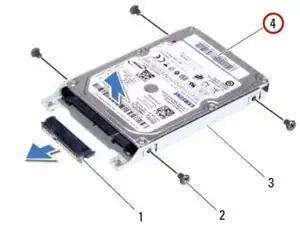
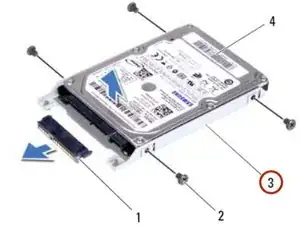
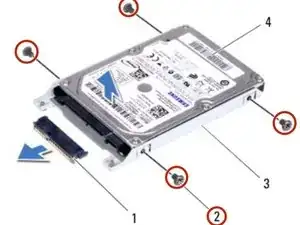
    • Remove the four screws that secure the hard drive to the hard-drive bracket.

  5. EIIFSIjeSVWRAkSI
    • Lift the hard-drive off the hard-drive bracket.

  6. RKJ6YKHVVbb2OEZP
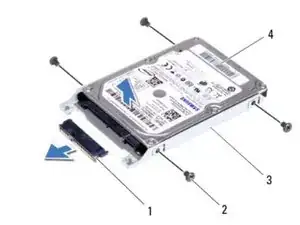
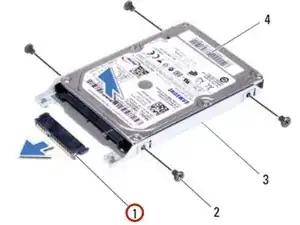
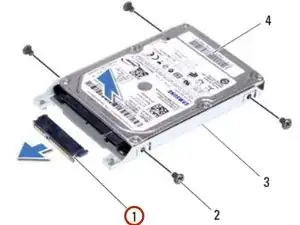
    • Remove the interposer from the hard drive.

  7. ZCTOnrZHu1Fikjkp
    • Connect the interposer to the NEW hard drive.

  8. mFEkY2BkhIm6gMAK
    mFEkY2BkhIm6gMAK
    iXIC4jqNQrm2HHiv
    • Place the hard drive in the hard-drive bracket.

  9. mO1K1jy1tcY5PNb5
    • Replace the four screws that secure the hard drive to the hard-drive bracket.

  10. jFIhB2ttZSrMoUPN
    • Align the connector on the hard drive with the connector on the system board and press the hard drive until it is fully seated.

  11. JglIGd3WyPwmjYXt
    • Tighten the three captive screws that secure the hard-drive assembly to the computer base.

Abschluss

To reassemble your device, follow these instructions in reverse order.
Terrence15

Mitglied seit: 18/12/17

78652 Reputation

0 Kommentare