Einleitung
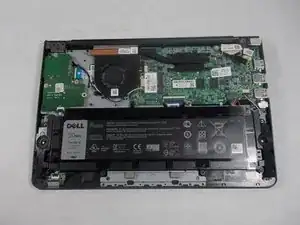
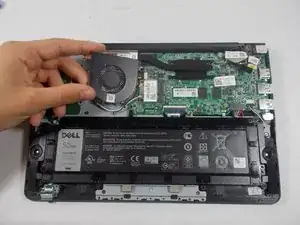
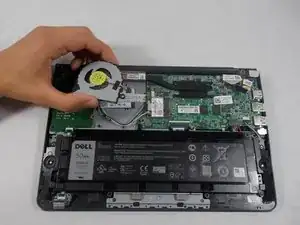
This guide will show you how to replace the fan. It is very common for a fan to collect dust, and without proper cooling, a device may overheat and suffer permanent internal damage. Knowing how to remove a fan for proper cleaning can be beneficial for the condition and longevity of a laptop.
Werkzeuge
Ersatzteile
-
-
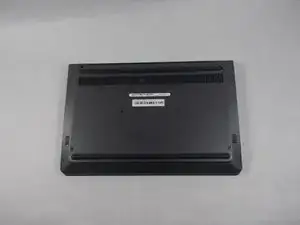
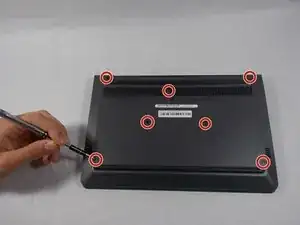
Remove all seven 8 mm Philips #0 screws from the back case with a Philips #0 screwdriver.
-
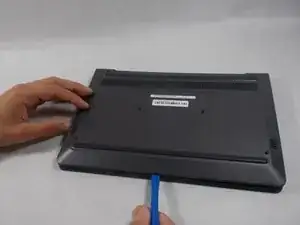
Once all seven screws are removed, you can pry the case off using your fingers or a plastic opening tool.
-
-
-
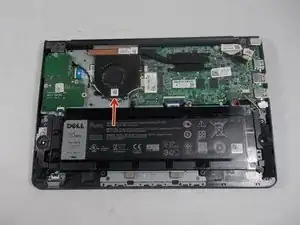
Locate the two wires that connect the fan to the device. One black, and one white.
-
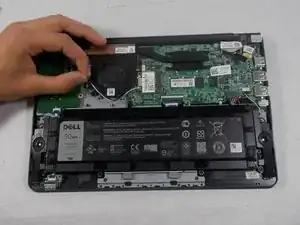
Move these wires off of the fan by gently pulling on them.
-
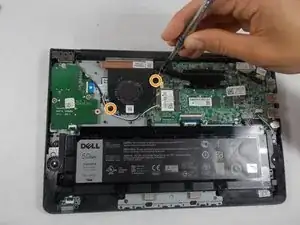
Locate the two 8mm Philips #0 screws that connect the fan to the device.
-
Remove these screws using a Philips #0 screwdriver.
-
-
-
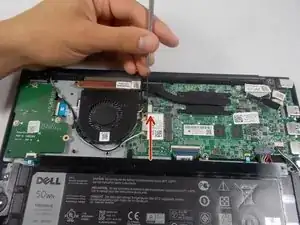
The fan is connected by a 5 pin port. Remove this by gently prying out the fan's port using your fingers or a plastic prying tool.
-
To reassemble your device, follow these instructions in reverse order.
Ein Kommentar
Ram?
Can i change the ram?
flip -
