Einleitung
The LCD screen is the main method for a device to portray information to the user. Even the slightest bit of damage to this can cause major changes in the display, and will require a replacement.
Werkzeuge
Ersatzteile
-
-
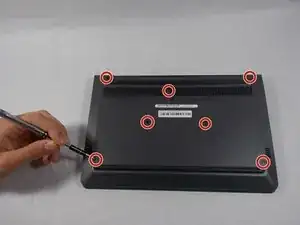
Remove all seven 8 mm Philips #0 screws from the back case with a Philips #0 screwdriver.
-
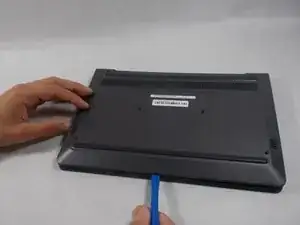
Once all seven screws are removed, you can pry the case off using your fingers or a plastic opening tool.
-
-
-
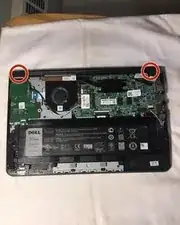
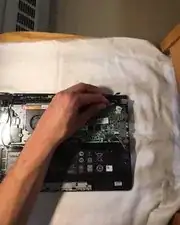
Locate the two hinges on the corners of the device.
-
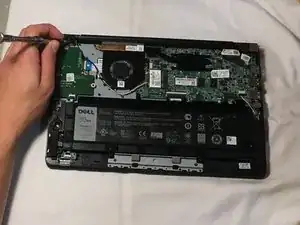
Unscrew the 5 2mm Phillips #00 screws in the hinges.
-
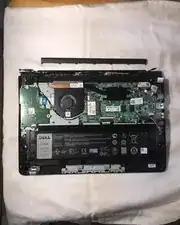
Pull the hinges up and slide bottom cover out
-
-
-
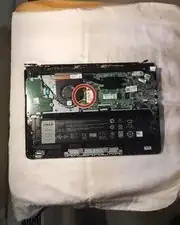
Locate the two cables that connect the top panel to the device. One black, and one white.
-
Remove these two cables by grabbing the golden ends with your fingers, and gently pulling straight up.
-
Remove pin port lifting up the hinge.
-
-
-
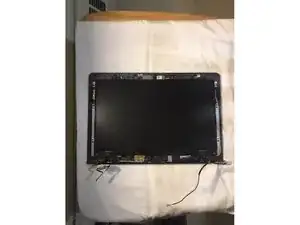
Locate the seam between the screen cover, and the top panel
-
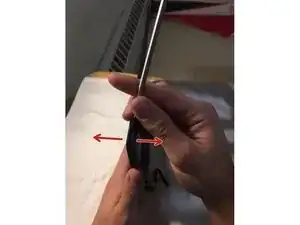
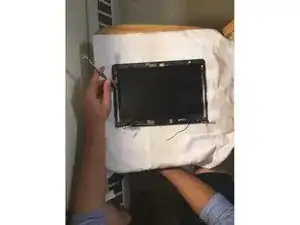
Starting at one of the hinge corners, take a thin metal prying tool and gently insert it into the seam.
-
Gently push the tool down towards the top panel until you feel the screen cover disconnect.
-
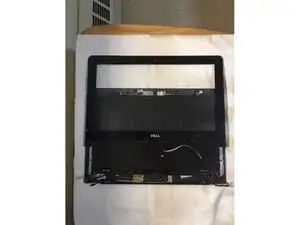
Repeat this process all around the screen cover until it is completely disconnected from the top panel.
-
-
-
Locate 6 2mm phillips #00 screws that connect the LCD display to the screen panel.
-
Unscrew the 6 2mm Philips #00 screws.
-
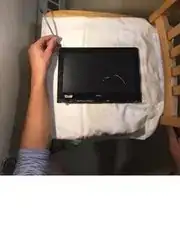
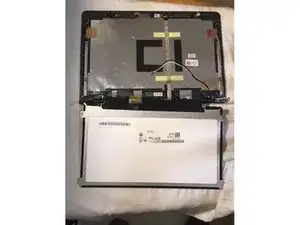
Carefully flip the LCD display, which is still connected to the device, over the hinges so that it is laying down next to the screen panel.
-
-
-
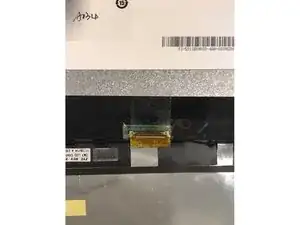
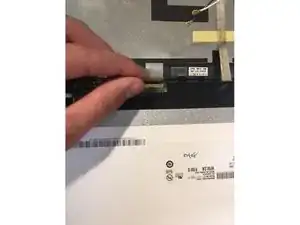
Locate the gold video cable that still connects the LCD cable to the display.
-
There will be a piece of tape on the cable. Carefully peel this off, and the pins should come out easily.
-
Ein Kommentar
Zoom in a little more on the WLAN chip so it’s easier to see what wire goes where.
GanSolo -
