Einleitung
In the case that the screen on your Dell Chromebook 3100 2-in-1 doesn’t show anything or the touch display is unresponsive, your laptop may have a faulty screen.
Note: Some Dell Chromebook 3100 configurations don’t have a touch screen.
Werkzeuge
-
-
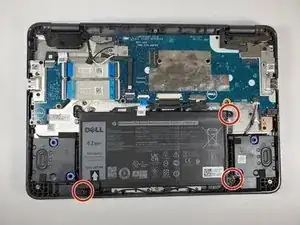
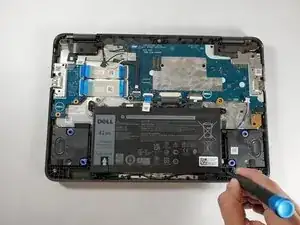
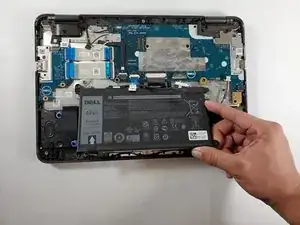
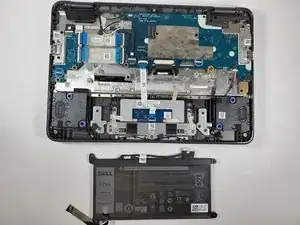
Using a Phillips #1 screwdriver, remove the three 4 mm screws that secure the battery.
-
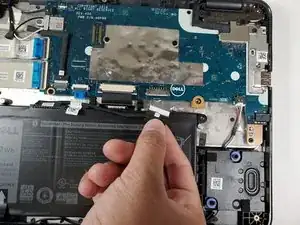
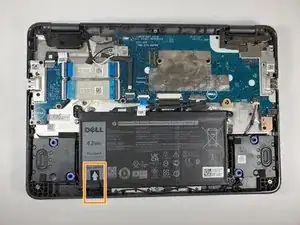
Remove the adhesive tape that secures the battery in place.
-
-
-
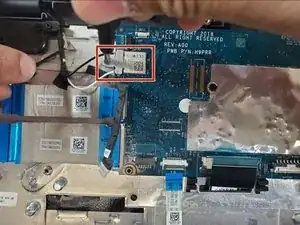
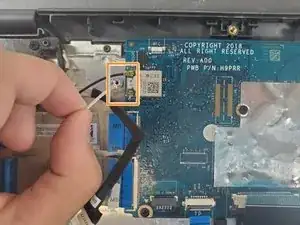
Remove the single 3 mm screw that secures the WLAN bracket to the system board using a Phillips #1 screwdriver.
-
Lift the WLAN bracket from the system board.
-
After lifting the bracket, carefully unplug the two coaxial cables.
-
-
-
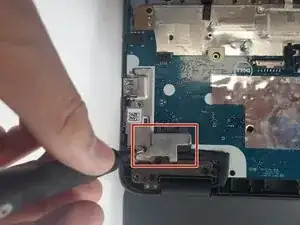
Remove the single 4 mm screw that secures the eDP bracket to the motherboard using a Phillips #1 screwdriver.
-
Remove the eDP bracket.
-
-
-
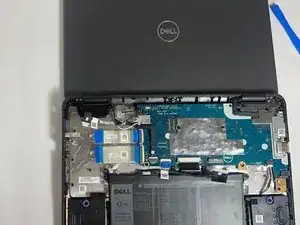
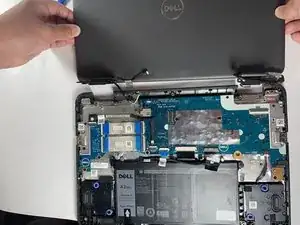
Open the system to 180 degrees and place the computer on a flat surface, with the display hinges facing up.
-
-
-
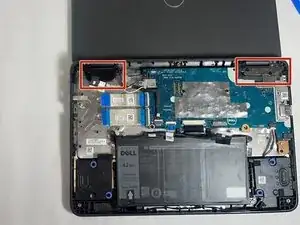
Remove the three (on both hinges) 5 mm display hinge bracket screws that secure the display assembly to the system using a Phillips #1 screwdriver.
-
-
-
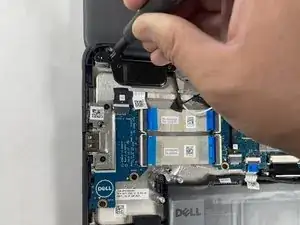
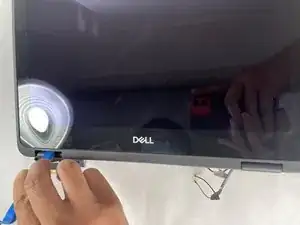
Use the opening tool to open the display panel starting from the pry points located above the left and right hinges.
-
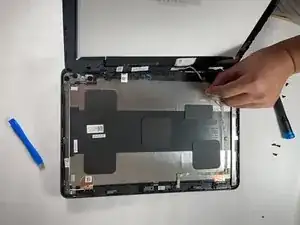
Work your way around, through the left and right side of the panel, and carefully flip the display panel over.
-
-
-
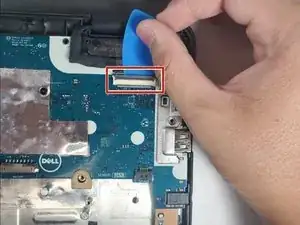
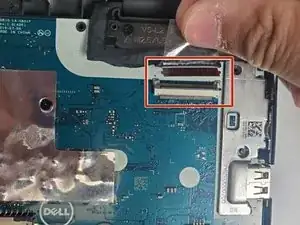
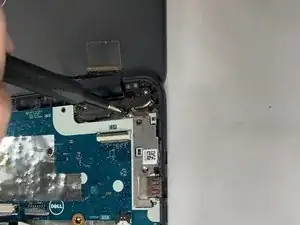
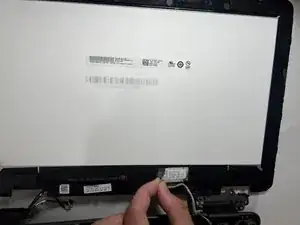
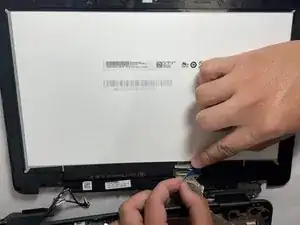
Peel back the adhesive tape securing the display cable on the back of the display panel and separate the display.
-
To reassemble your device, follow these instructions in reverse order.
