Einleitung
This guide should be followed closely before attempting to repair your device. Follow the steps in great detail to ensure the success of your repair.
Werkzeuge
-
-
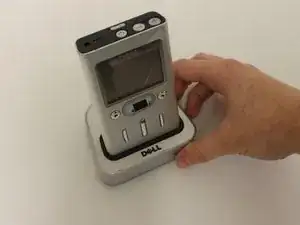
Inspect your device and be sure that it matches the device that this guide is disassembling.
-
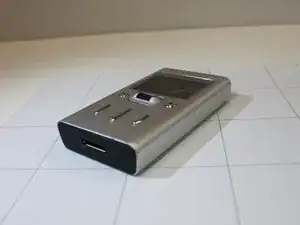
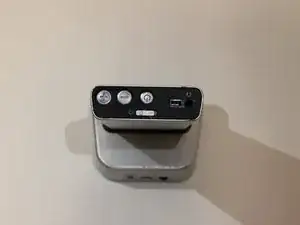
Familiarize yourself with the specific design of the device.
-
-
-
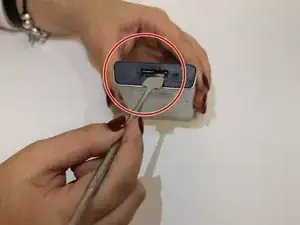
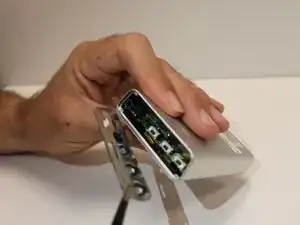
Remove the bottom panel with the metal spudger. This panel may be fused to the outer shell with a dot of adhesive.
-
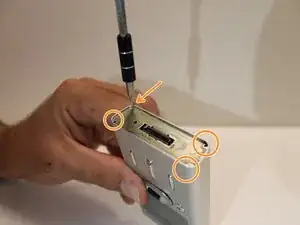
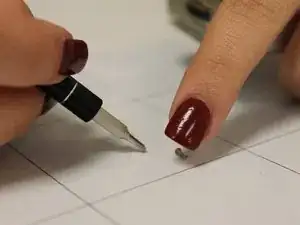
Four screws fasten a metal plate to the device. Using the device magnetic mat and 54 bit (Phillips J000) driver, remove the screws.
-
-
-
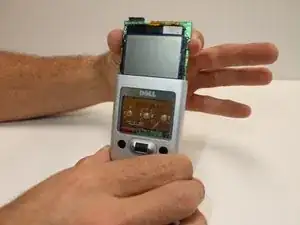
The top plate of the device is attached by a dot of glue. Use the metal spudger to pry the plate off.
-
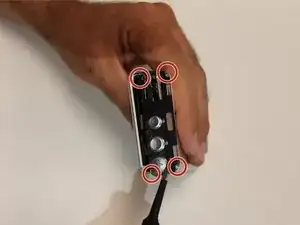
After the top plate is removed, remove the four 4mm screws that attach the inner plate.
-
When the plate is removed, the motherboard will be ready to be removed.
-
-
-
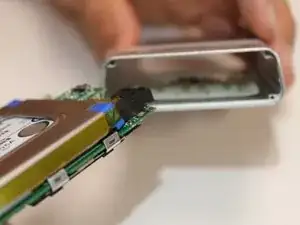
Slide the motherboard out of the protective case.
-
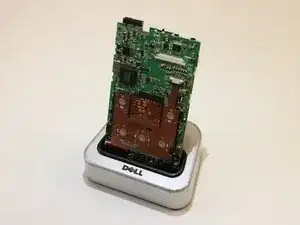
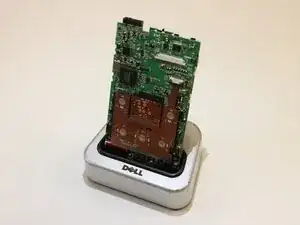
When the motherboard is exposed the device is ready to be inspected and repaired.
-
Ein Kommentar
How did you get the logic board to slide past the scroll wheel ?
kf4qic -
