Einleitung
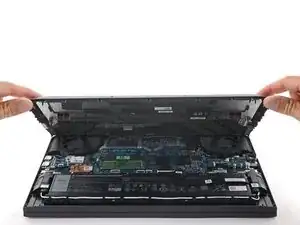
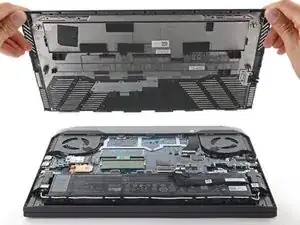
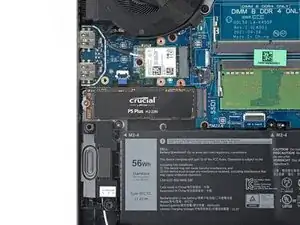
This guide will walk you through the process of replacing the SSD in your Dell G15-5510 Gaming laptop.
Your laptop might not come with a standoff bracket to install an additional SSD. In this case, you'll need to purchase one.
Before you perform this repair, back up your existing SSD if possible. If you’re replacing the SSD where your operating system is installed, familiarize yourself with a disk cloning utility so you’ll be ready to migrate your data to the new SSD.
Werkzeuge
Ersatzteile
-
-
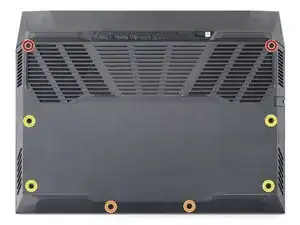
Use a Phillips #1 screwdriver to remove the four screws securing the back cover.
-
Two 8 mm screws
-
Two 5.8 mm screws
-
Loosen the four captive screws.
-
-
-
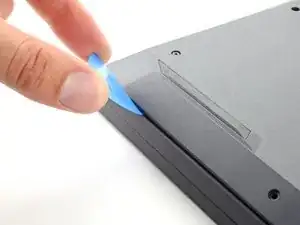
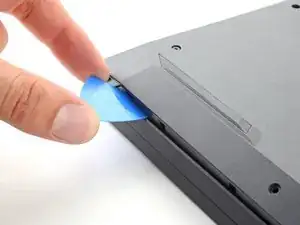
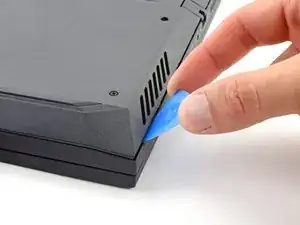
Insert an opening pick between the bottom-left corner of the back cover and the chassis.
-
Pry upward to release clips holding the cover in place.
-
-
-
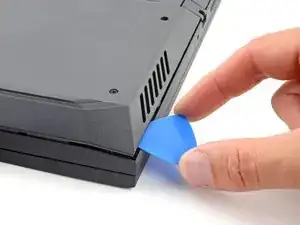
Insert your opening pick again between the bottom-right corner of the back cover and the chassis.
-
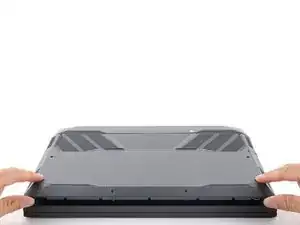
Pry up to release the remaining clips securing the back cover.
-
-
-
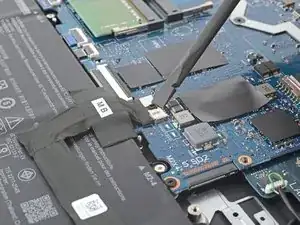
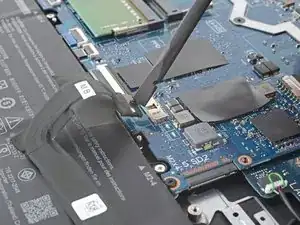
Use the flat end of a spudger to push the battery connector's square tab away from the socket and disconnect it.
-
-
-
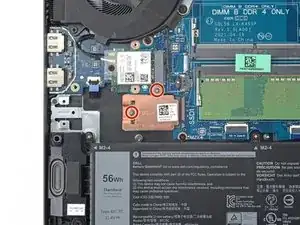
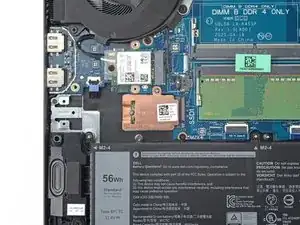
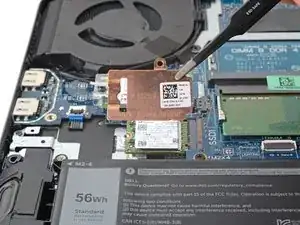
Use a Phillips #0 screwdriver to remove the two 4.2 mm-long screws securing the copper SSD cover.
-
-
-
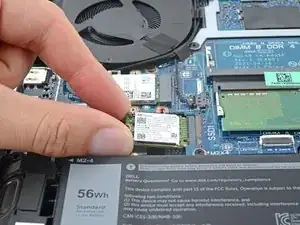
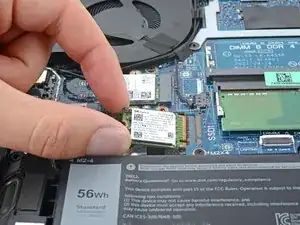
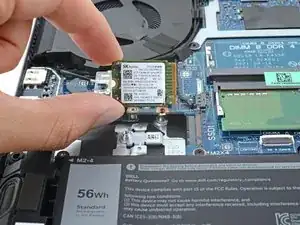
Grip the original SSD by the corners near the screw indent.
-
Pull it straight out of its socket and remove it.
-
-
-
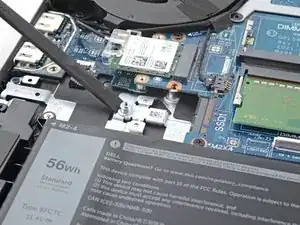
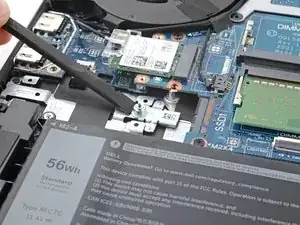
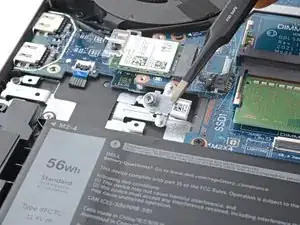
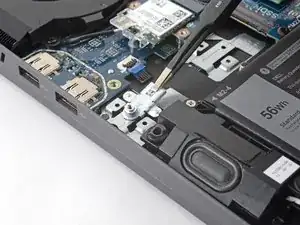
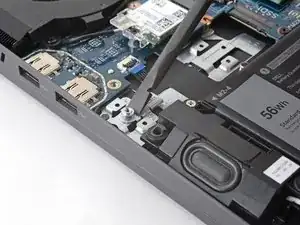
Use the flat end of a spudger to push the metal standoff bracket towards the center of the laptop and out of its slot.
-
Use a pair of blunt nose tweezers or your fingers to remove the bracket.
-
-
-
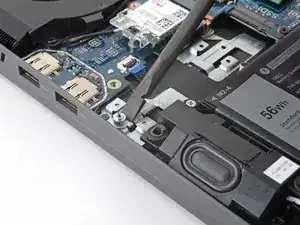
Slide the bracket's standoff edge into the adjacent slot.
-
Use the flat end of a spudger to press the the bracket into the slot. The wings of the standoff will clip underneath the tabs of the slot.
-
-
-
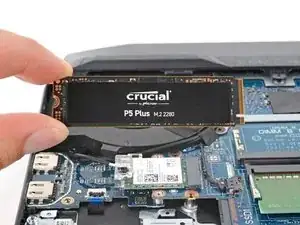
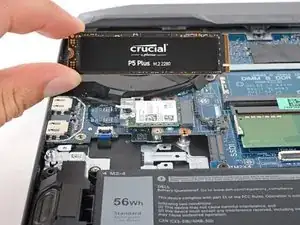
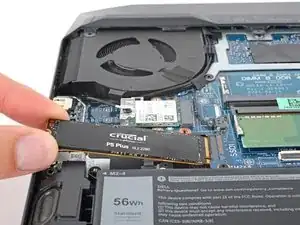
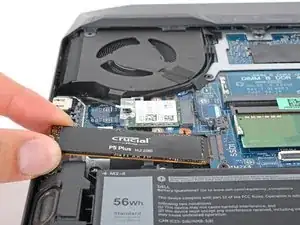
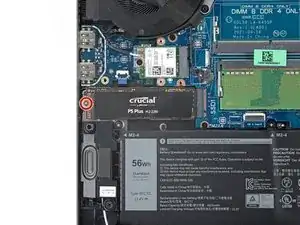
Grip your 80 mm-long (M.2 2280) SSD by the corners near the screw indent.
-
Slide the SSD into the socket.
-
To reassemble your Dell G15, follow these instructions in reverse order.
Take your e-waste to an R2 or e-Stewards certified recycler.
Repair didn’t go as planned? Try some basic troubleshooting, or ask our Dell laptop answers community for help.
Ein Kommentar
Thanks for the guide. I have the same laptop. I bought this laptop for work. I'm a game designer and create 3d character models for video games. There is a shortage of specialists in this field right now. It's good that there are services like DevotedCG, this platform unites top art professionals and a team of ADs and Producers who curate their work.
