Einleitung

In this guide, we will show you how to remove and replace the Display Assembly.

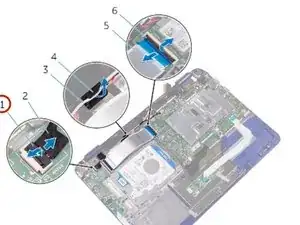
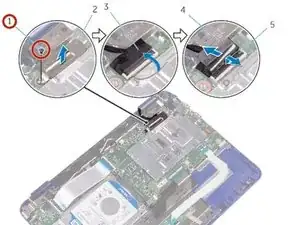
  1. dHwJTYh12XADwmv2
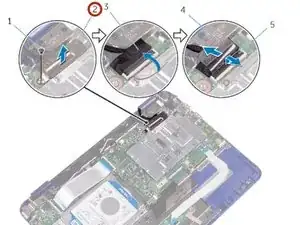
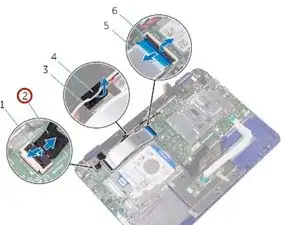
  2. kmVAQRUjtEUA66yF
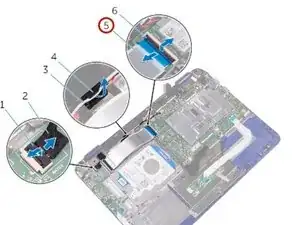
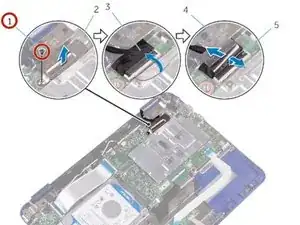
    • Lift the display-cable bracket off the system board.

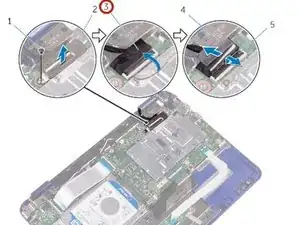
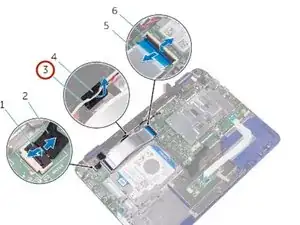
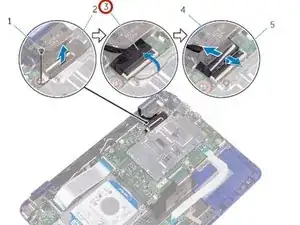
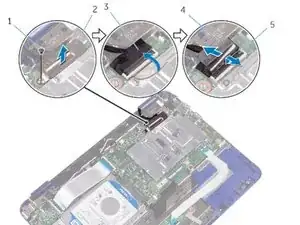
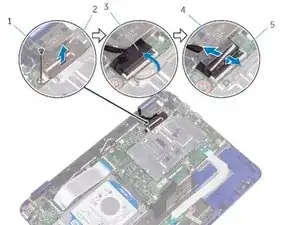
  3. XgpyxKfOvtaqgBXx
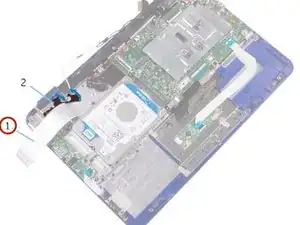
    • Peel off the tape to access the display cable.

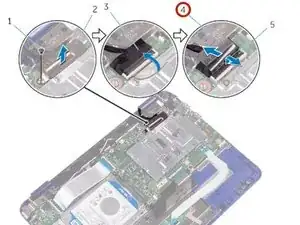
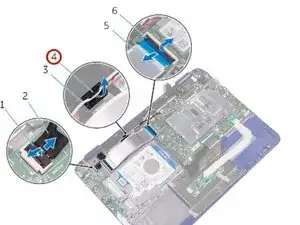
  4. cnWCwiZqGWkiyAZt
    cnWCwiZqGWkiyAZt
    mxHV6HHLXi2nameE
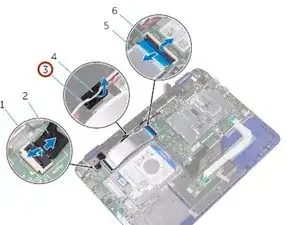
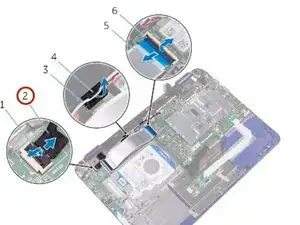
    • Open the latch and disconnect the display cable.

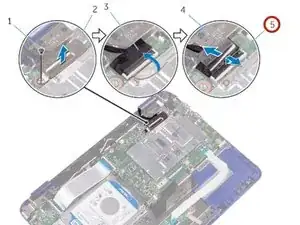
  5. JuG1V4tWLcHIen54
    JuG1V4tWLcHIen54
    cIQLwieDVotrJQcp
    • Open the latch and disconnect the sensor-board cable from the I/O board.

  6. vfuNRnu6WYBsCE6w
    vfuNRnu6WYBsCE6w
    ncKWxAMQ4NANU5DS
    • Remove the antenna cable from the routing guide on the right speaker.

  7. trBaQYnutyBhMlCt
    • Open the latch and disconnect the I/O-board cable from the system board.

  8. iW6GDd2hhKYTmnPO
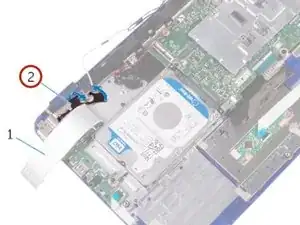
    • Peel the tapes off the display hinges.

  9. f1AFpwBGMlmYDZab
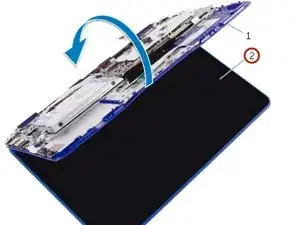
    • Turn the computer over and open the display as far as possible.

    • CAUTION: Place the computer on a soft and clean surface to avoid scratching the display.

  10. MRchn5Y15TKEuKBl
    • Place the computer face down on a flat surface.

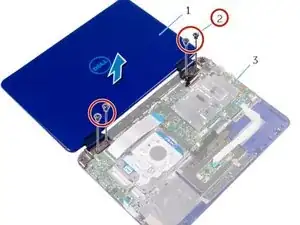
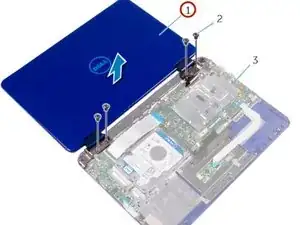
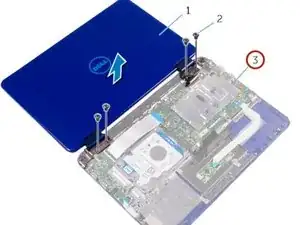
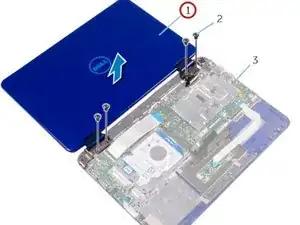
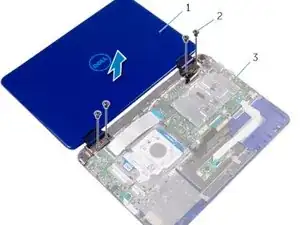
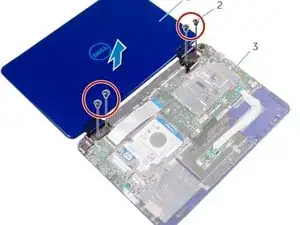
    • Remove the screws that secure the display assembly to the palm-rest and keyboard assembly.

  11. H1gebQSYwWOUlhFF
    H1gebQSYwWOUlhFF
    X2ZI64HYoxdMgIco
    • Lift the display assembly off the palm-rest and keyboard assembly.

  12. eGX2i5rXZvSp31DT
    • Place the NEW display assembly on the palm-rest and keyboard assembly.

  13. 5BYqMAdkrfqDtlUi
    • Align the screw holes on the display hinges with the screw holes on the palm-rest and keyboard assembly.

  14. MuOqvyUyBXXbdsFx
    • Replace the screws that secure the display assembly to the palm-rest and keyboard assembly.

  15. ysIWyNvYEGA26t6Z
    • Turn the computer over and close the display.

    • Slide the I/O-board cable into its slot on the system board and press down the latch to secure the cable.

  16. Xp6t6BSsvLKEx6cF
    • Route the antenna cable through its routing on the right speaker.

  17. uEnapTmm2pWFMDg2
    • Slide the sensor-board cable into its slot on the I/O board and press down the latch to secure the cable.

  18. CQy1KQJ4y5qq2Qdr
    • Slide the display cable into its slot on the system board and press down the latch to secure the cable.

  19. XfObqpAiQUade51J
    • Adhere the tape on the display cable.

  20. VUCbEoSAdm4CdqET
    • Align the screw hole on the display-cable bracket with the screw hole on the system board.

  21. nNhyNwmHOdmSIBDV
    • Replace the screw that secures the display-cable bracket to the system board.

Abschluss

To reassemble your device, follow these instructions in reverse order.
Terrence15

Mitglied seit: 18/12/17

78652 Reputation

0 Kommentare