Einleitung

This guide will tell you how to replace your LCD screen. When working with screens, be careful about electrical discharges, and take steps to assure that the battery is disconnected for awhile before you follow this guide.

  1. LVgLraILs1hL5NXt
    LVgLraILs1hL5NXt
    Nx6fbrxXsbNNEaY5
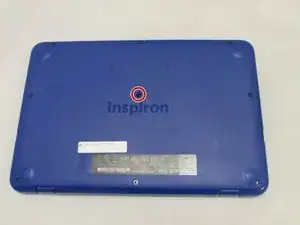
    • Before you begin, be sure to turn off your laptop and unplug it from the outlet.

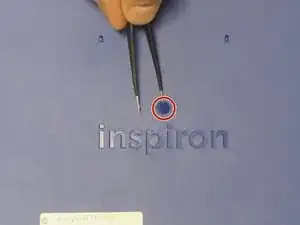
    • Use tweezers to pry and remove the center screw cover on the back cover.

  2. kGWABiOmeOtEHMPO
    kGWABiOmeOtEHMPO
    jmbimuQo2JAYUkVi
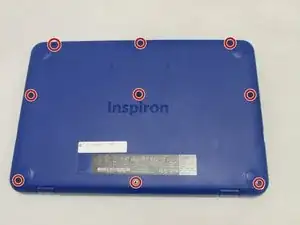
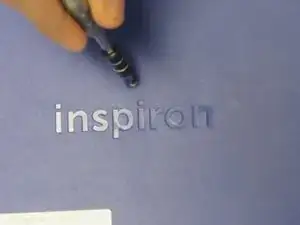
    • Use a Phillips screwdriver to unscrew the nine 6.8 mm screws securing the back cover.

  3. qhfwVOolBCB6PTAa
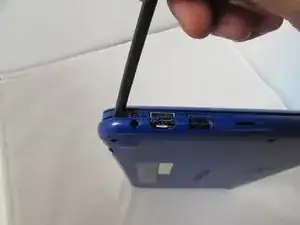
    • Use a spudger to pry around the base edges of the back cover to loosen it from the laptop.

    • Do not fully remove the cover, as it is still attached to the laptop with cables.

  4. PrU1LVaSZjfDrKWP
    PrU1LVaSZjfDrKWP
    wKxZwBUUPX5hIRCf
    cbhbJJoBGDUSjxoF
    • If you are only replacing the battery, you can skip this step. Be careful not to strain the still-connected cable as you work.

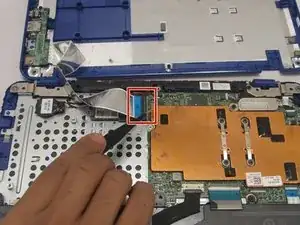
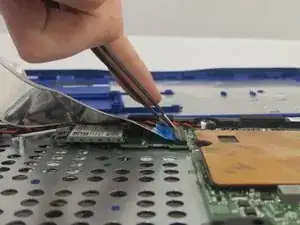
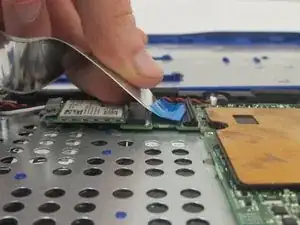
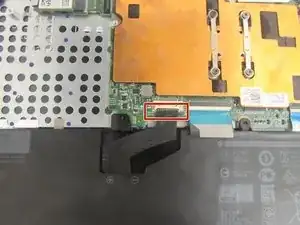
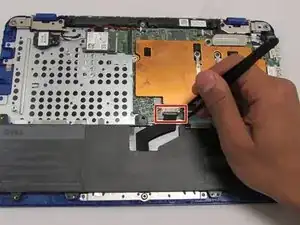
    • Unlock the wide ZIF connector securing the flex cable.

    • To unlock a ZIF connector, use the tip of a spudger or your fingernail to flip up the small, hinged locking flap.

    • Pull the ribbon cable outwards to disconnect the back cover from the motherboard.

  5. TysZpsNroiKfHcuA
    TysZpsNroiKfHcuA
    cRL6yolh4PCYx5x2
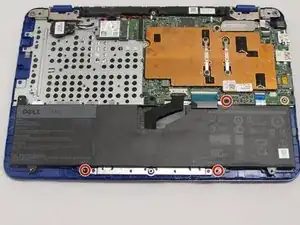
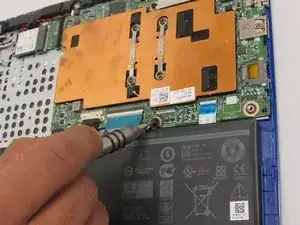
    • Use a Phillips screwdriver to unscrew the three 4 mm screws securing the battery.

  6. jaGPIeXbm3tMJZlo
    jaGPIeXbm3tMJZlo
    E1pjA6SC6cpWrfFT
    XAVGF6lP5OENqqNB
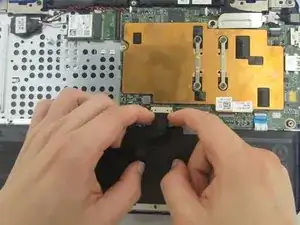
    • Use your fingers (or a set of tweezers) to disconnect the battery cable from the motherboard by gently pulling it towards the battery.

    • Pull parallel to the battery, not straight up.

    • Lift and remove the battery from its recess.

  7. M2gqTaHCSWKeNfVA
    M2gqTaHCSWKeNfVA
    WYK2MuF2HlN46gao
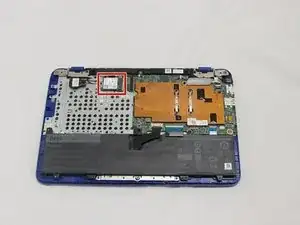
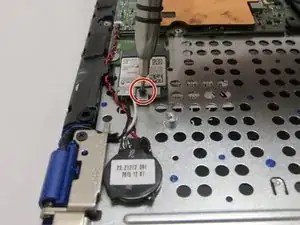
    • Use the phillips screwdriver with the PH000 head to unscrew the 3.8mm screw.

  8. vj1NEqoLKCeTNts4
    vj1NEqoLKCeTNts4
    RwZZZbXdeNEYroEo
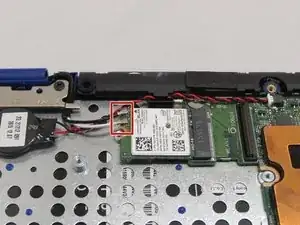
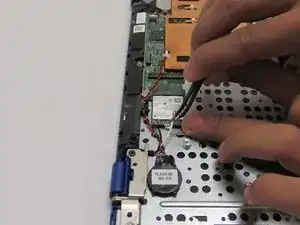
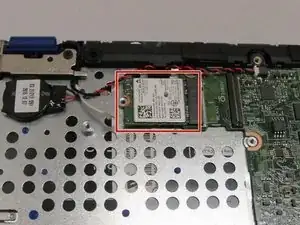
    • Using the tweezers, pull the white and black wires off of the WiFi Chip.

  9. 2ICikp1lxuhn2QRN
    • Pull out the WiFi Chip.

  10. EaBVimcWcqDg1HYu
    EaBVimcWcqDg1HYu
    cFpgvUQQoA1DZ3Gb
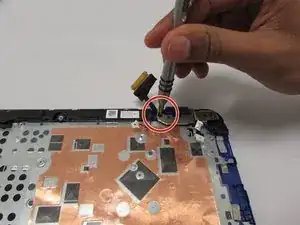
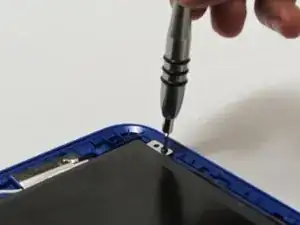
    • Remove the two screws that hold down the LCD hinges.

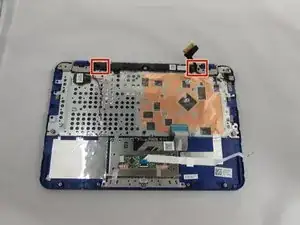
    There is a step missing before this one.

    Katrina Dalrymple -

    Yeah, you missed the step where you disconnect the screen from the motherboard.

    shawnmft -

  11. fwjHXj1BUAY1rPi6
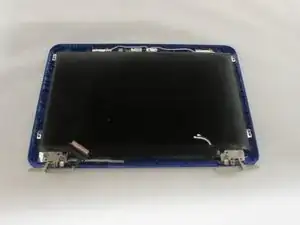
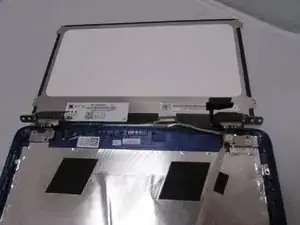
    • Pull the hinges back and remove the screen.

  12. JmvDUxYmC5dvjZ6C
    JmvDUxYmC5dvjZ6C
    XZWAdFrKHV1l1ZXj
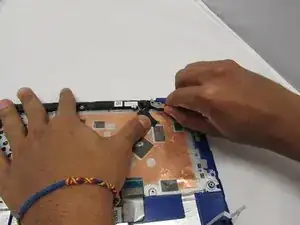
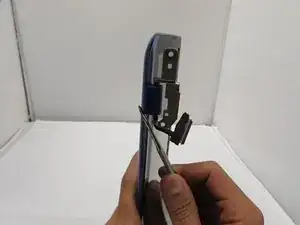
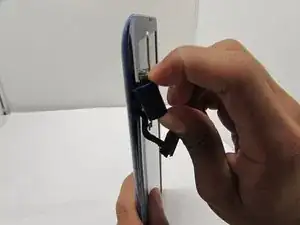
    • Remove the hinge covers with your spudger tool.

  13. DfkHtC4JvFTWUIKF
    DfkHtC4JvFTWUIKF
    XJqit1JedFgYYpSM
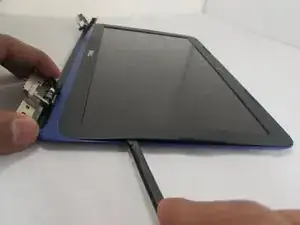
    • Carefully remove the LCD Bezel with your regular black nylon spudger tool by bringing it all the way around the outer edges of your screen.

  14. gvgi5nYBZwapxfLv
    gvgi5nYBZwapxfLv
    jdgCPMO1SI1T4r2g
    RDbJeBjPhDNsElHJ
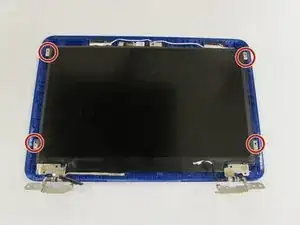
    • Remove the four screws with a PH00 sized bit.

    • Flip the screen over.

  15. ZBUHcqUsZmNJNWUE
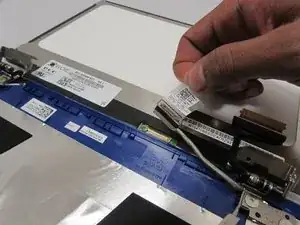
    • Loosen the tape, and remove the LCD Cable.

    • Remove the screen.

Abschluss

To reassemble your device, follow these instructions in reverse order.

Jared Johnson

Mitglied seit: 29/09/16

555 Reputation

2 Kommentare

Between steps 9 and 10, the motherboard is removed and no description photos are provided for this. I undid the cable on the right hinge and then removed the hinges and screen with the motherboard in place, but the pictures definitely show it removed. Otherwise a very easy to follow process.

Philip Blakemore -

I agree with Philip’s comment re: the missing step between 9 and 10. I successfully followed these very clear instructions to repair my daughter’s Chromebook. Thank you!
Katrina Dalrymple -