Einleitung
This guide will require one screwdriver with a Phillips bit from the approved iFixit toolkit.
Werkzeuge
Ersatzteile
-
-
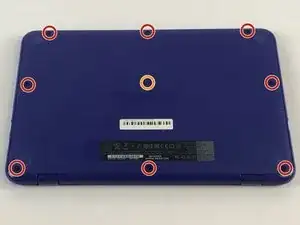
Start by placing the laptop upside down to expose the first set of screws on the bottom of the laptop. Use your J1 Phillips head screwdriver bit to unscrew the 8 size 6 mm screws.
-
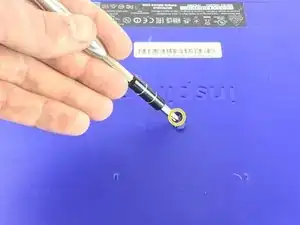
Remove the plastic cover to unveil the final screw holding the front and back frame together.
-
Remove this last screw of size 6mm with the J1 phillips head bit found in the approved iFixit toolkit.
-
-
-
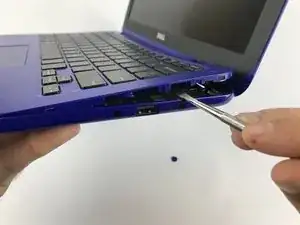
Using your metal pry tool, slowly pry the two halves apart by gently moving your tool around the laptop . Once all the way around the top and bottom half will separate.
-
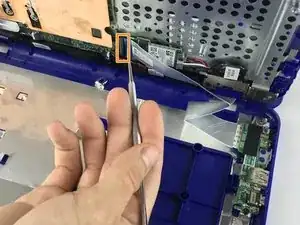
Use your metal pry tool again to push the ribbon holding clip up and remove the ribbon cable.
-
-
-
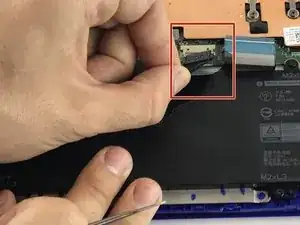
While using one hand to hold the laptop grab the power wire with the other hand and pull it out of it's port.
-
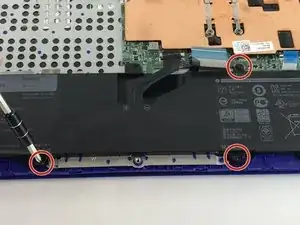
Carefully remove the battery pack from the case.
-
To reassemble your device, follow these instructions in reverse order.
