Einleitung
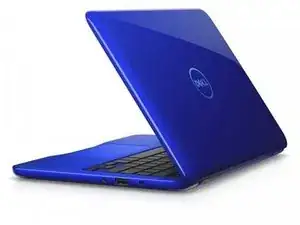
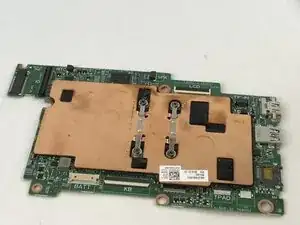
Replacing a motherboard is a multi-step process. All devices within the laptop must be disconnected and some must be removed before the motherboard can be replaced. So, the very first step should be running diagnostic on the computer. Dell has a website that can diagnose the problems automatically by clicking here.
Werkzeuge
-
-
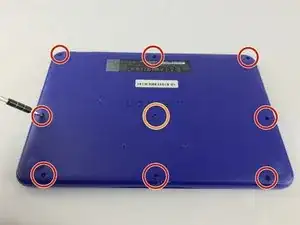
Start by placing the laptop upside down to expose the first set of screws on the bottom of the laptop. Use your J1 Phillips head screwdriver bit to unscrew the 8 size 60 mm screws.
-
Remove the plastic cover to unveil the final screw holding the front and back frame together.
-
Remove this last screw of size 60mm with the J1 phillips head bit found in the approved iFixit toolkit.
-
-
-
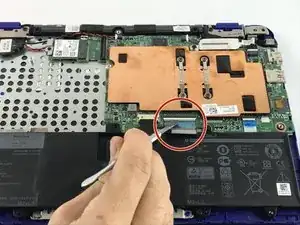
Open the latches and disconnect the touch-pad cable and keyboard cable from the system board.
-
-
-
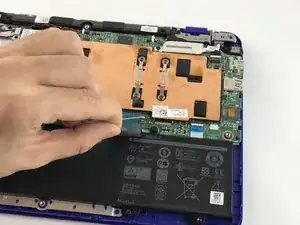
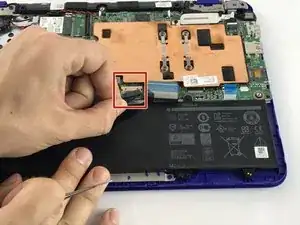
Disconnect the battery cable from the system board.
-
Remove the screws that secure the battery to the palm rest and keyboard assembly by using the PH1 screw driver to unscrew the three size 40 mm battery screws.
-
-
-
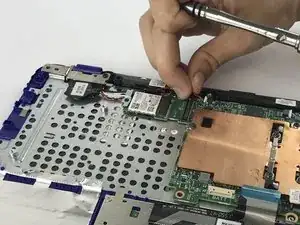
Removing the Wireless WLAN Card
-
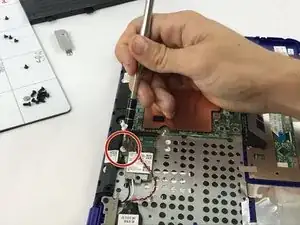
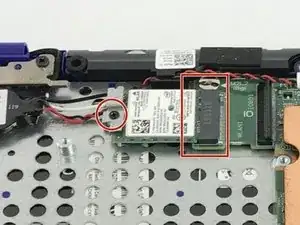
Remove the M2 x 3mm bracket screw.
-
Remove the metal bracket.
-
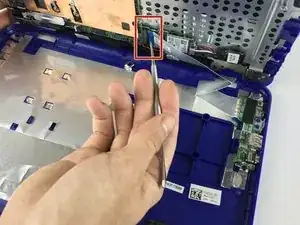
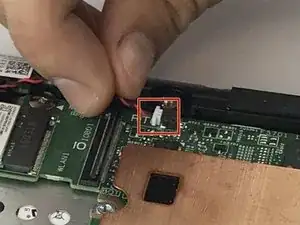
With tweezers, detach the white and black antenna cables connected to the Wireless WLAN Card.
-
Remove the Wireless WLAN Card by slide the assembly out of motherboard wireless socket.
-
-
-
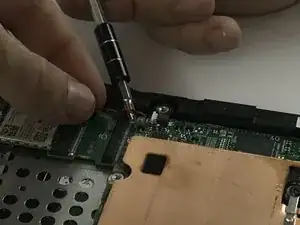
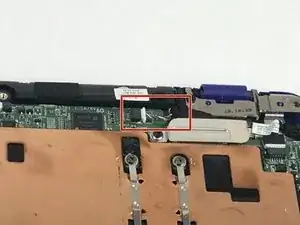
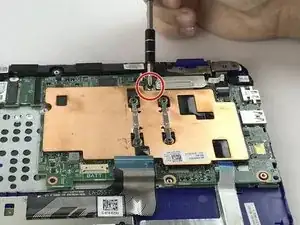
Remove the M2xL3 screw on display-cable guard to the system board.
-
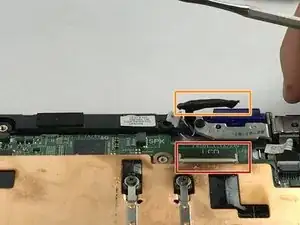
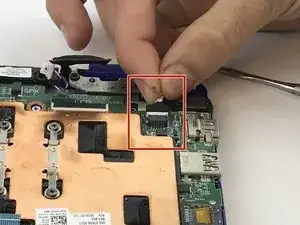
Detach the cable beneath.
-
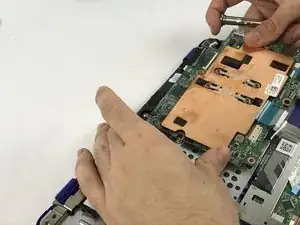
To reassemble your device, follow these instructions in reverse order.
