Einleitung
In this guide, we will show you how to remove and replace the Hard Drive of the Dell Inspiron 11z
This guide is based on the Dell™ Inspiron™ 11 Service Manual. Said manual describes steps to replace most other parts of the Inspiron 1110 P03T series (including removal of the keyboard, in order to gain access to the Hard Drive).
In case of the first link breaking, a copy of the Service Manual has been reuploaded to ifixit here.
Werkzeuge
-
-
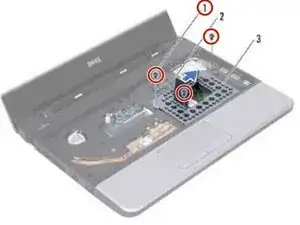
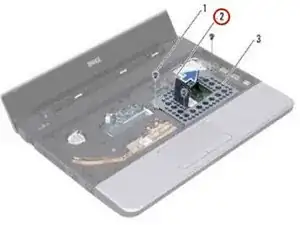
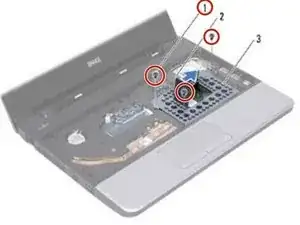
Pull the pull-tab on the hard drive bracket towards the right to disconnect the hard drive assembly from the interposer.
-
-
-
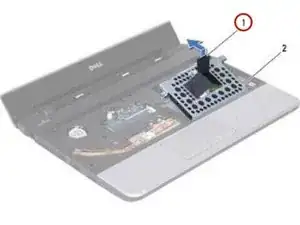
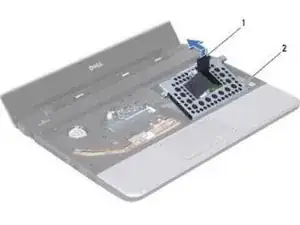
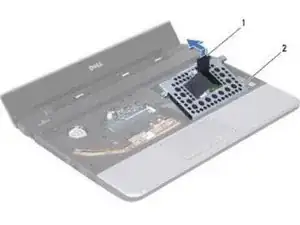
Pull the pull-tab on the hard drive bracket to lift the hard drive assembly at an angle and out of the hard drive compartment as shown in the illustration.
-
-
-
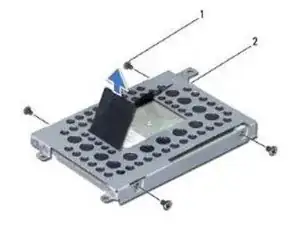
Remove the four screws that secure the hard drive bracket to the hard drive and remove the hard drive bracket.
-
-
-
Replace the hard drive bracket and the four screws that secure the NEW hard drive bracket to the hard drive.
-
-
-
Push the hard drive assembly towards the left until it is fully connected to the interposer.
-
To reassemble your computer, follow these instructions in reverse order.
