Einleitung

The fan in a laptop is responsible for keeping the the laptop cool so that it can properly function. Without the fan the laptop can overheat or run slowly.

  1. akxXgwxmgJOTuot3
    akxXgwxmgJOTuot3
    xZBxpl1Z4mVckBdF
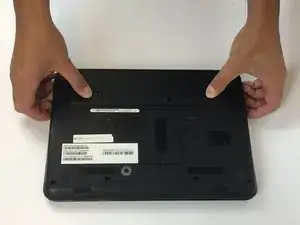
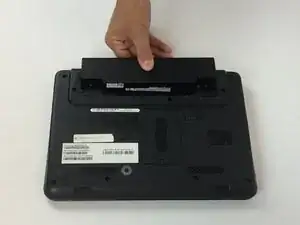
    • Slide the latches outward to release the battery.

    • Pull the battery outward to remove.

    • The latches should lock in place, allowing for easy removal.

    • The battery must be removed for safety reasons when replacing other components of the laptop.

  2. XecikE15LkNBVg2Z
    XecikE15LkNBVg2Z
    4wxyIxk5ljVerWiu
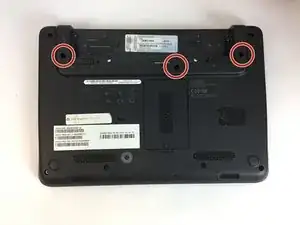
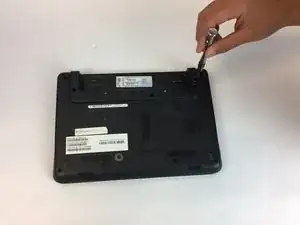
    • Unscrew three black 1mm screws using the PH1 Phillips-head screwdriver on the bottom of the laptop around the battery.

  3. x1h5natyJohiUOvj
    x1h5natyJohiUOvj
    4bDqPHHdRXBAHkPf
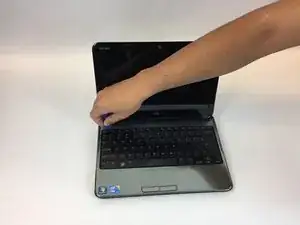
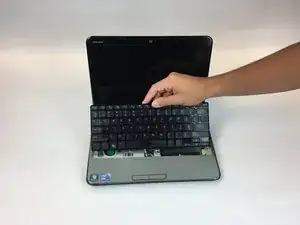
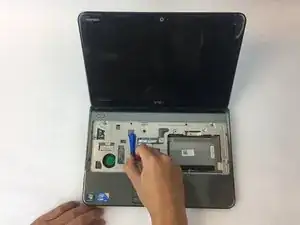
    • Flip the laptop over and open it to expose the keyboard.

    • Use a plastic opening tool to pry up the keyboard, starting in the upper corner and working your way around.

    • Once the keyboard is pried up, do not remove the keyboard. There is still a ribbon attaching the keyboard to the laptop.

  4. yKn4xSF5oJdckhWR
    yKn4xSF5oJdckhWR
    FbuxSyOlFQlgl3iD
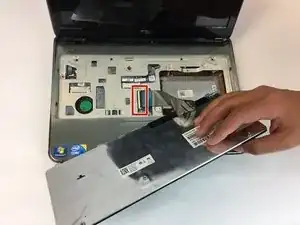
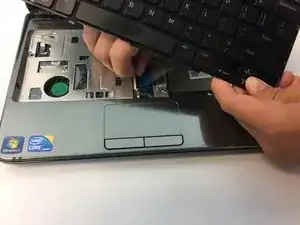
    • Lift the keyboard to expose the ribbon attaching the keyboard to the laptop.

    • Flip up the black retaining flap on the ZIF connector and then pull the ribbon cable away.

    • Remove the keyboard from the laptop.

  5. bXOfRHFuEwdgIo5N
    bXOfRHFuEwdgIo5N
    EbXqVefrXPYoR4MI
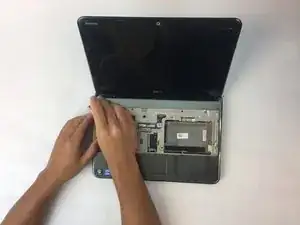
    • Start by prying the outer casing of the laptop using the plastic opening tool. Start from the bottom and work your way around the edges.

  6. wk1HvbRO1IHNOmnD
    wk1HvbRO1IHNOmnD
    i5cBvGJtJojQdhPN
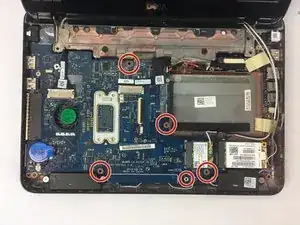
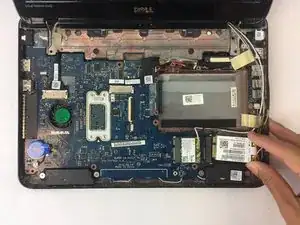
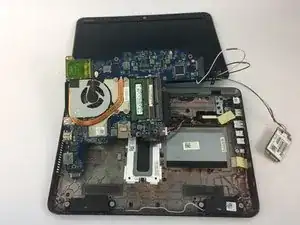
    • Remove the outer casing to expose the motherboard.

    • Remove five .75 mm screws using a PH1 screwdriver.

    • Make sure to keep track of your screws.

  7. f6ZPaBBKKUFIgcJs
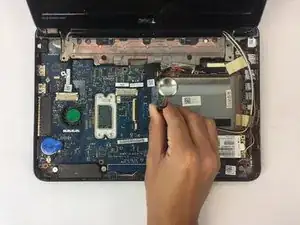
    • Remove wireless wide area network (WWAN) card by sliding it out of position.

    • Make sure the wires attached to the WWAN card are not detached when doing this step.

  8. 3feiy1cNWAE12gdE
    3feiy1cNWAE12gdE
    fnoUbYbGAKVSMuZN
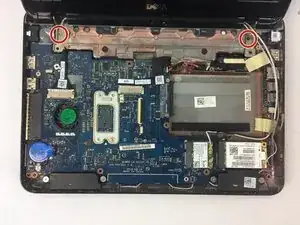
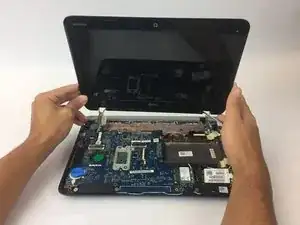
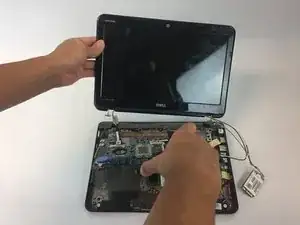
    • Unscrew the two 0.9 mm screws that are holding down the screen.

    • Lift the screen up and towards yourself to detach the screen from the laptop.

  9. yOZN1ywLIcJlEjLF
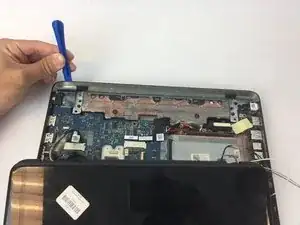
    • Lay the screen down and pry the left corner of the plastic casing that is located behind the screen.

  10. bLqvX2sC4SWaNFaK
    • While holding screen, remove the motherboard by wiggling it around and pulling outwards.

    • In this step you are trying to pull the motherboard out from the VGA socket it is attached to in the back left corner of the laptop.

  11. DrPSLjffTORrSmMN
    DrPSLjffTORrSmMN
    ptSFn3frbQ4HQlkH
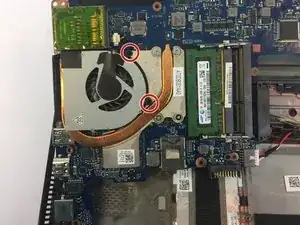
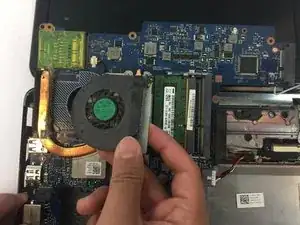
    • Unscrew the two black 0.5 mm screws holding the fan in place.

    • Remove the fan by gently lifting the component upwards.

Abschluss

To reassemble your device, follow these instructions in reverse order.
Cassidy Chen

Mitglied seit: 04/10/16

289 Reputation

0 Kommentare