Einleitung
This is a simple step-by-step guide on how to remove and replace a webcam for a Dell Inspiron 13-5368. You will need a Philips Head J-0 screwdriver and a pry tool in order to perform this task. This task requires a great amount of care because you are working with glass and will take approximately 15 minutes to complete.
Werkzeuge
-
-
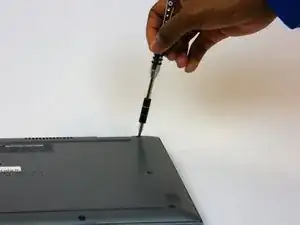
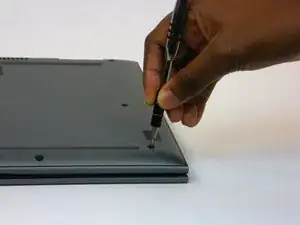
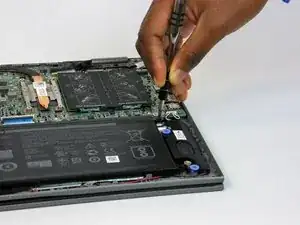
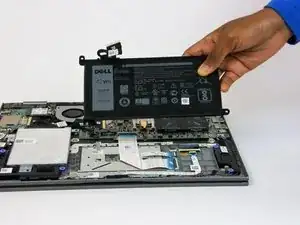
Remove the four 3mm Phillips #0 screws at the corners of the battery that secure it to the laptop.
-
-
-
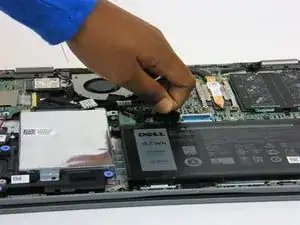
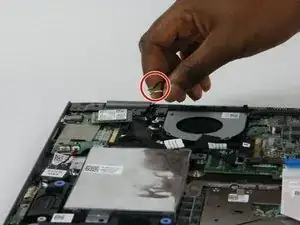
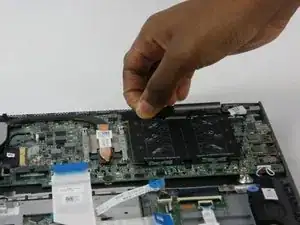
Pull the battery cable's black tab towards the battery to disconnect it from the motherboard.
-
-
-
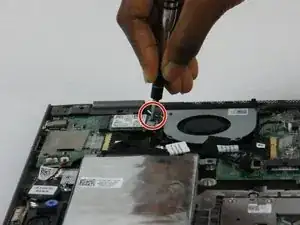
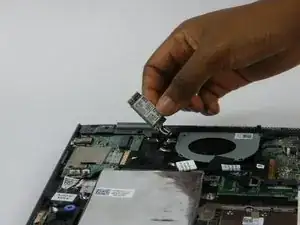
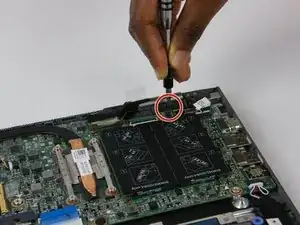
Unscrew the 2mm screw that holds the WLAN card. Then carefully remove the WLAN card from the motherboard.
-
-
-
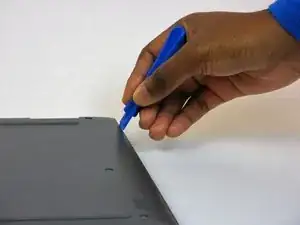
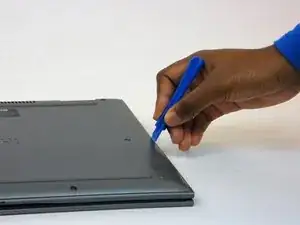
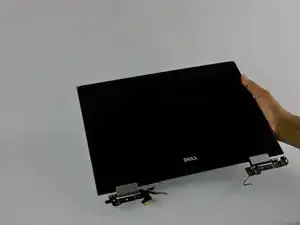
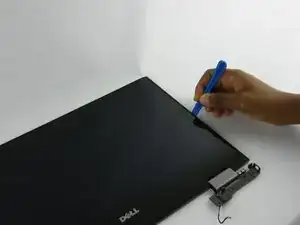
Carefully separate the back cover from the LCD screen.
-
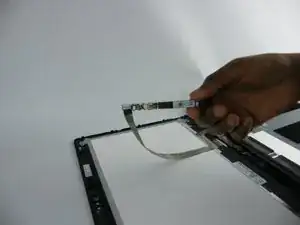
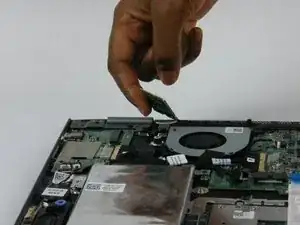
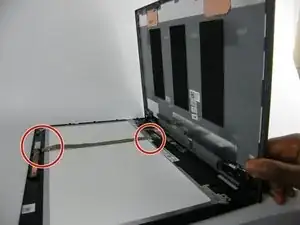
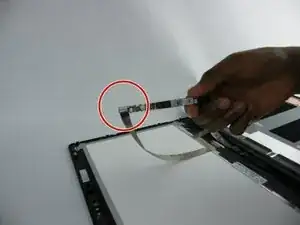
Carefully remove the ribbon cable that holds the webcam to the screen, then unplug the webcam from the ribbon cable.
-
To reassemble your device, follow these instructions in reverse order.
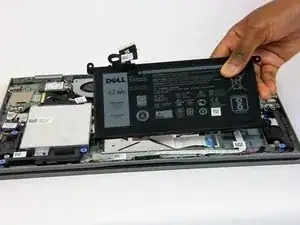
Note that Dell Inspiron 13s have had a rash of bad batteries that swell as they age, causing them to press hard against the trackpad. This can cause it to track poorly or make it difficult or impossible to left or right click the pad. Replacing the bad battery often fixes these kind of trackpad issues on these models where the battery is directly under the trackpad.
Heath Connett -