Einleitung
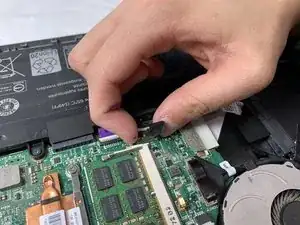
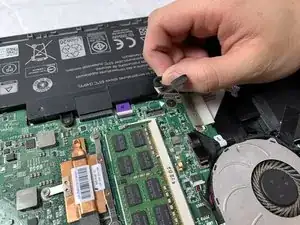
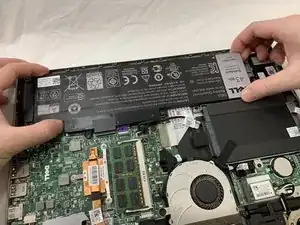
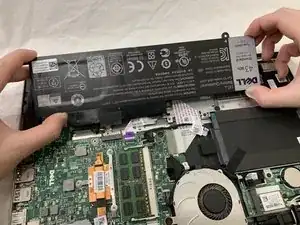
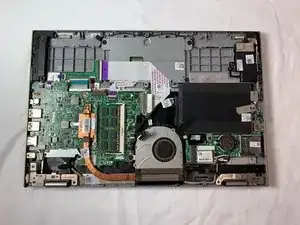
This guide will show you how to remove and replace the hard drive from a Dell Inspiron 13-7347.
Before you begin, power off the system and unplug all external devices and power sources including the AC adapter.
Before the laptop is opened, ground yourself by using a wrist grounding strap or by periodically touching an unpainted metal surface during the process to prevent electrostatic discharge (ESD).
Werkzeuge
-
-
Flip the device over, so that the back is facing up.
-
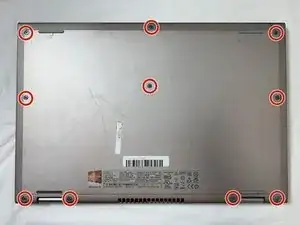
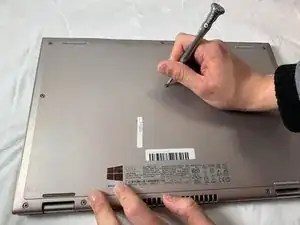
Remove the ten, 7 mm, Phillips #1 screws on the back of your Dell Inspiron 13-7347.
-
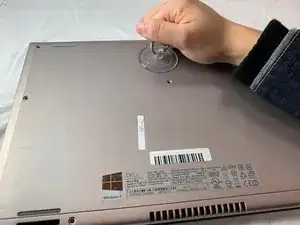
Use the suction cup to lift off the back case.
-
-
-
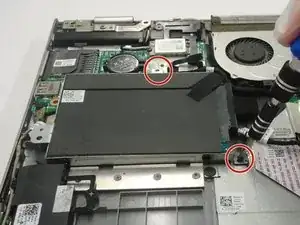
Using a Phillips #0 screwdriver, loosen and remove the two 3.0 mm hard drive screws.
-
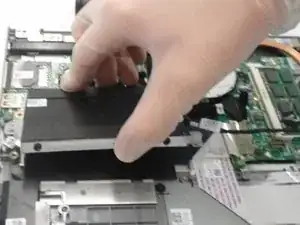
Lift the hard drive up and out of the device.
-
To reassemble your device, follow these instructions in reverse order.
