Einleitung
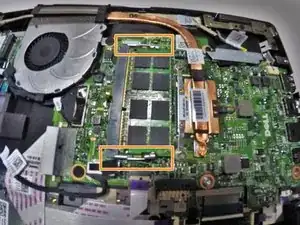
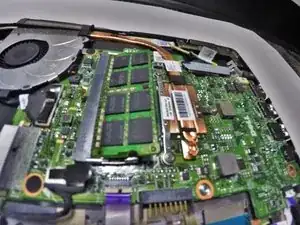
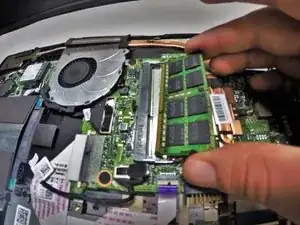
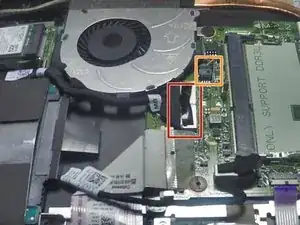
This guide will show users through the steps required to replace the main system board.
Werkzeuge
Ersatzteile
-
-
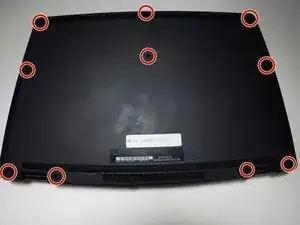
Use a Phillips screwdriver to remove the ten 7.5mm screws that securing the back panel.
-
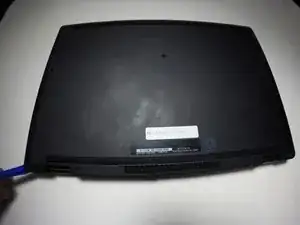
Use the plastic opening tool to pry up and loosen the back panel.
-
Remove the back panel.
-
-
-
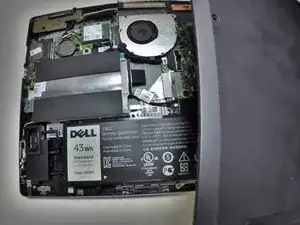
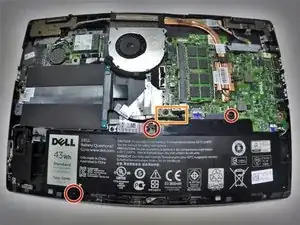
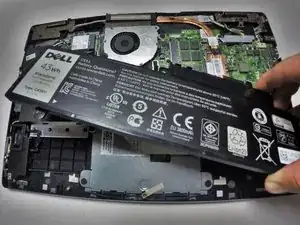
Use a Phillips screwdriver to remove the two 3 mm screws securing the battery.
-
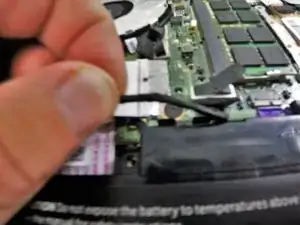
Unclip the hard drive wire from the battery.
-
-
-
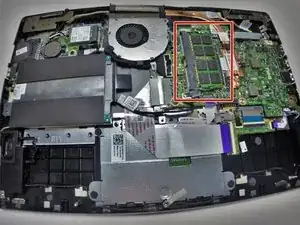
Locate your memory module (RAM).
-
Release the clips from the Memory Module by gently pushing down. This should cause the Memory Module to pop up and separate from the device base.
-
-
-
Pull the Memory Module from its slot by grasping each side with thumb and middle or index finger to pull from the rest of the device.
-
-
-
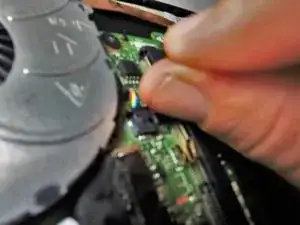
Remove cord that runs from system board to the I/O board.
-
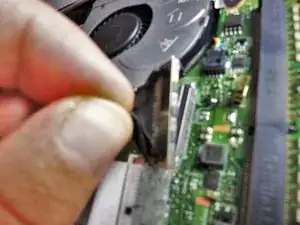
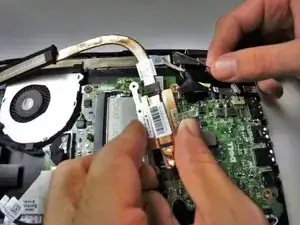
Remove connecting wire that runs from fan to system board.
-
-
-
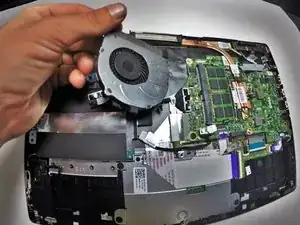
Lift the fan from the system board by using your thumb and index or middle finger to gently pull away from the rest of the device.
-
-
-
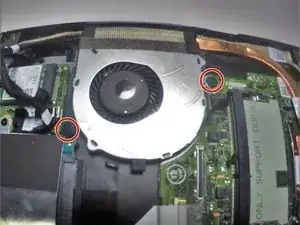
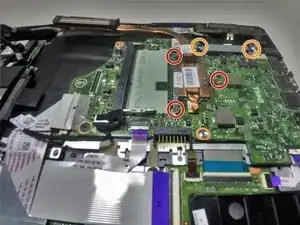
Remove the three 4mm screws with the Phillips #0 holding down the heat sink.
-
Remove the two 4mm screws with the Phillips #0 holding down the metal bracket.
-
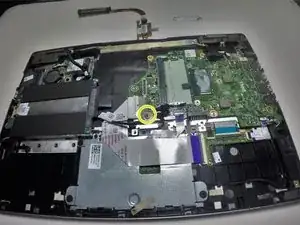
Unscrew the single 3mm screw using the Phillips #0 head securing the system board.
-
-
-
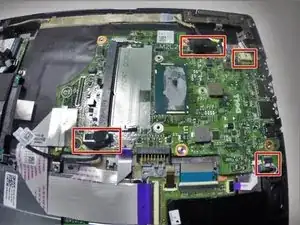
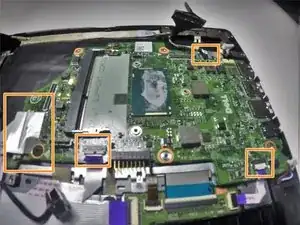
Remove the wire connections attached to the system board.
-
Remove the tape wires from the system board.
-
-
-
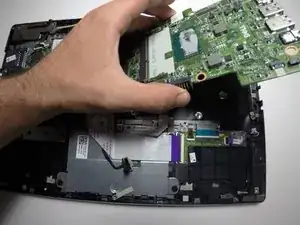
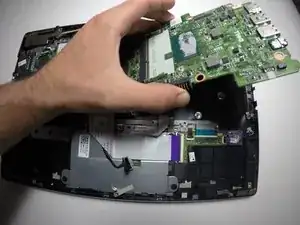
Carefully remove the system board from the base by grasping with thumb and index or middle finger and pulling away from the rest of the device.
-
To reassemble your device, follow these instructions in reverse order.
