Einleitung

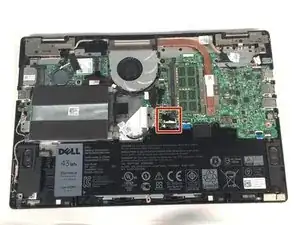
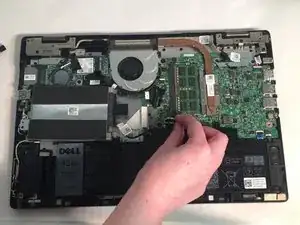
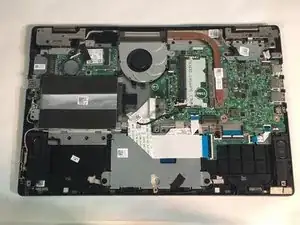
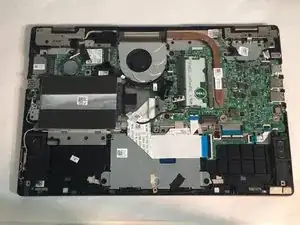
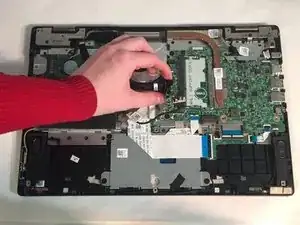
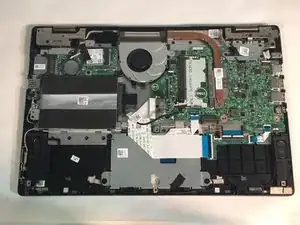
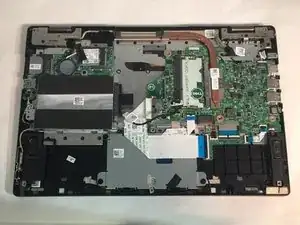
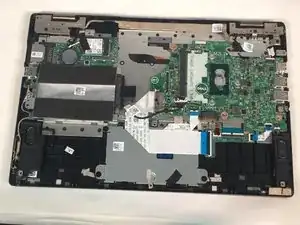
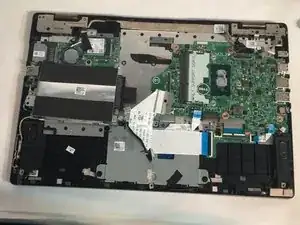
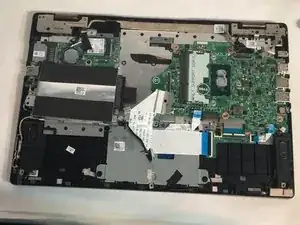
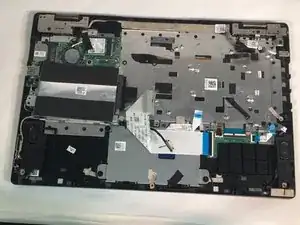
If you notice that your computer programs are slow and your computer is taking long to load any programs, this guide may be able to help. The motherboard is responsible for running your computer, and if it is damaged or too old, your computer's performance may not be optimal. The motherboard may also need to be replaced in order for your computer to work at all. The process of replacing your computer’s motherboard requires removing parts of the computer and the way and putting them back in order. These prerequisites can be found in prior guides on this page.

  1. gFDYQDFgSyZfSIhQ
    • WARNING: Please read the safety information shipped with your computer and follow recommended steps before working inside your computer. When finished working inside your computer, follow the instructions included in the safety information.

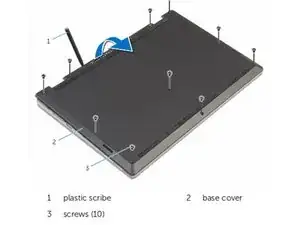
    • Close the computer display and turn the computer over so that the base of the computer is facing up.

  2. ZCEhODqCAQIwwh6J
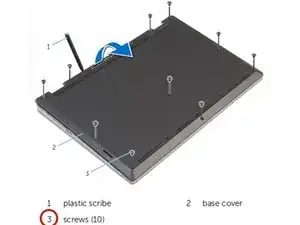
    • Remove the ten screws that secure the base cover to the base of the computer.

  3. IX3VUruclVptJja3
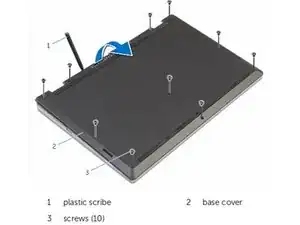
    • Using a plastic scribe (plastic opening tool), pry the base cover off of the base of the computer.

  4. EhnRxm3ZEMhXPWmY
    EhnRxm3ZEMhXPWmY
    IGGy4Sor6HtINCYY
    • Before opening your device, ensure that all data is backed up on a hard drive to prevent data loss.

    • Loosen and then unplug the hard drive cable.

  5. LXCPiAHKTEmFhbyF
    LXCPiAHKTEmFhbyF
    Omv2Gaik2hVHHSIJ
    • Remove the two M2 3mm screws attaching the battery using the Phillips #1 screwdriver.

    • Remove the battery.

  6. uBAMHVpPJeFwxaoI
    uBAMHVpPJeFwxaoI
    DMRu3o1YiVo1OnrC
    cCDYn5LajR2YsJhY
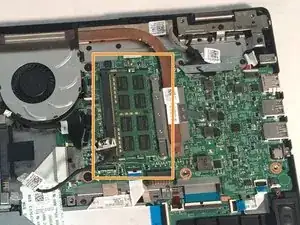
    • Pry open the two clips.

    • Gently lift the RAM stick and pull it out of the motherboard.

  7. mHuHFEPUWsYGoCqH
    mHuHFEPUWsYGoCqH
    Q2cJF5MXZalSstOE
    jlNFDkV4ugOyLeWm
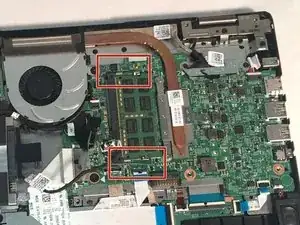
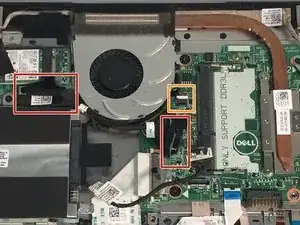
    • Unplug the daughterboard cable in two places, then remove the daughterboard.

    • Unplug the fan cable.

  8. GRh4vDnHGK4Dp3Of
    GRh4vDnHGK4Dp3Of
    gZIBBODdSUUM5KEj
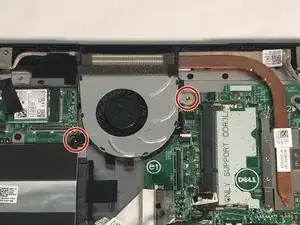
    • Remove two 3mm screws from the cooling fan using the Phillips #1 screwdriver.

    • Remove the cooling fan from the laptop.

  9. bsOKGSHYKWKDsFPA
    bsOKGSHYKWKDsFPA
    nIbHwMpIHkH1crJw
    YKWoDbMY3BYuXgxq
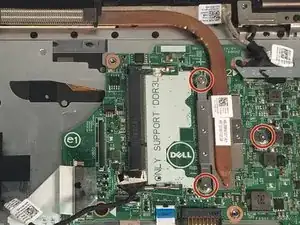
    • Remove three 2mm screws from the heat sink using a Phillips #0 screwdriver.

    • Remove the heat sink.

  10. fQRVOfvJu2HRYXuw
    fQRVOfvJu2HRYXuw
    HRm5ekahPTLM5DlD
    5eCrZQTfynkIXxt5
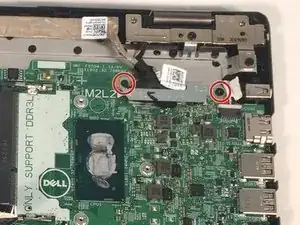
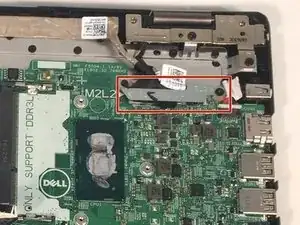
    • Remove 2 M2 3mm bracket screws, using the Phillips 1 screwdriver, on the LCD cable bracket.

    • Remove the bracket on the LCD cable.

  11. lCNoCOlKIglWvxv6
    lCNoCOlKIglWvxv6
    6ZrKLdFeKIQjLKQr
    TXELDrOlpOQTsBAl
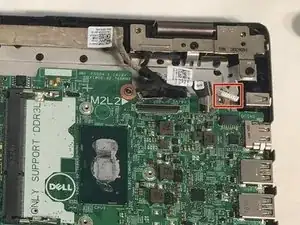
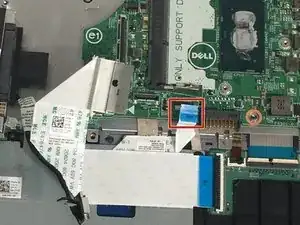
    • Remove the plug of the LCD cable.

    • Remove the plug of the touchscreen cable.

  12. XEQImDcWYRKnsMLd
    XEQImDcWYRKnsMLd
    EEyqMaptXV1YCsWm
    mQWOQWiQbEF1SDTM
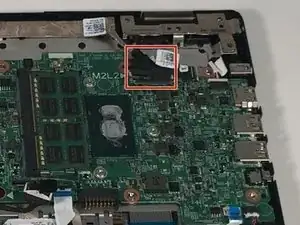
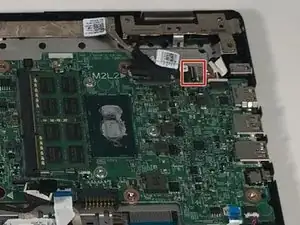
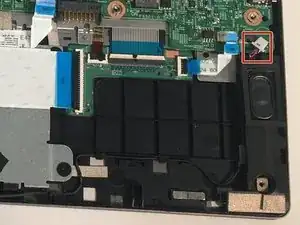
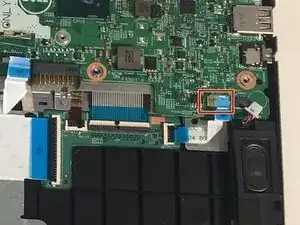
    • Remove the plug of the DC Jack cable.

    • Remove the plug of the speaker cable.

  13. ndtRI2LHKvE45Y5A
    ndtRI2LHKvE45Y5A
    NyXRUwuyqaJaIkb2
    • Be gentle and slow when loosening the keyboard cable tape.

    • Loosen the top of the keyboard tape.

    • Loosen the latches of the keyboard cable with a screwdriver.

    • Remove the plug of the keyboard cable.

  14. K3nq5HUYOdYKurWs
    K3nq5HUYOdYKurWs
    skjWkLXVfmGRiYAI
    pKFJI425hMmbGdxP
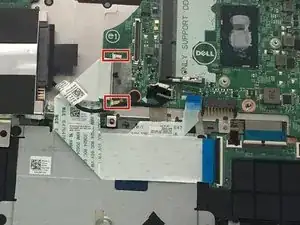
    • Remove the plug of the touchpad cable.

    • Remove the plug of the keyboard backlight cable.

  15. EkRwCIUSuOpsnryT
    EkRwCIUSuOpsnryT
    W5QlRIxROguVrgBY
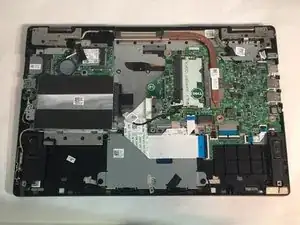
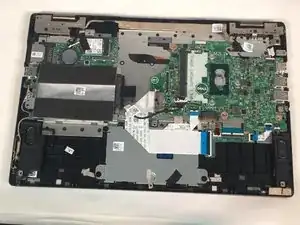
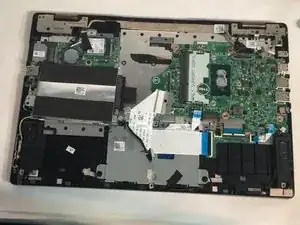
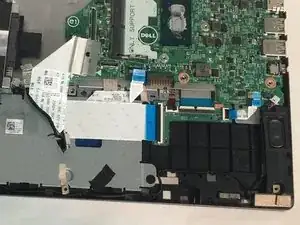
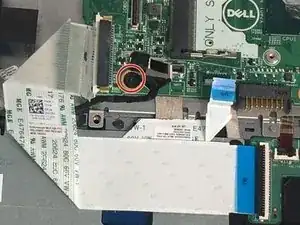
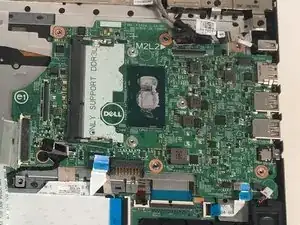
    • Remove one M2 2mm wafer screw, using the Phillips 1 screwdriver, from the motherboard.

    • Remove the motherboard.

Abschluss

To reassemble your device, follow these instructions in reverse order.
Stephany Marin Restrepo

Mitglied seit: 19/03/18

613 Reputation

0 Kommentare