Einleitung
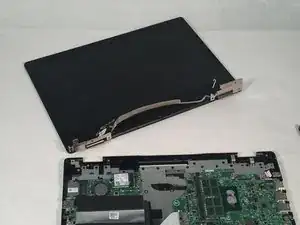
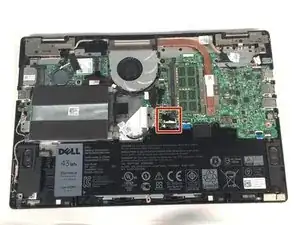
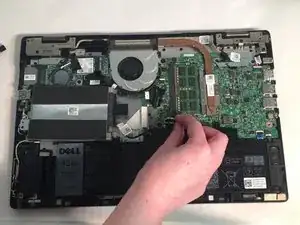
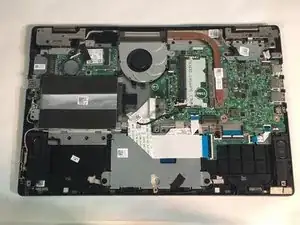
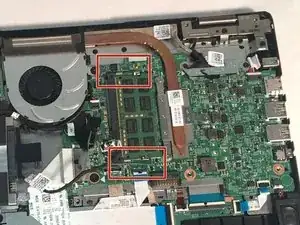
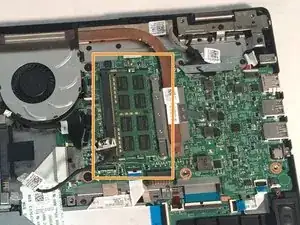
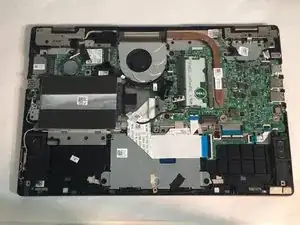
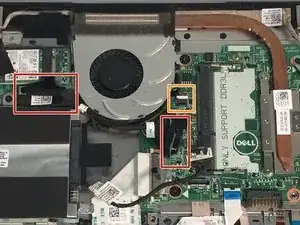
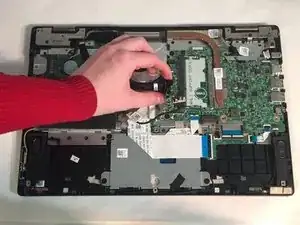
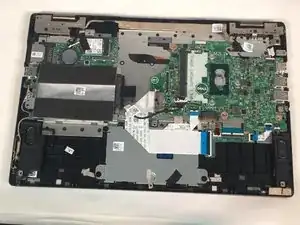
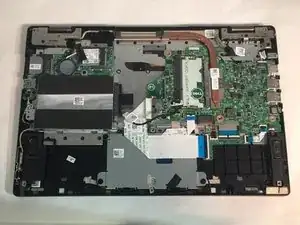
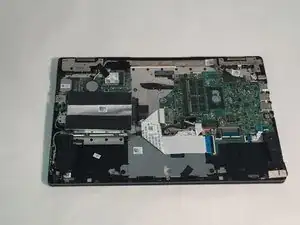
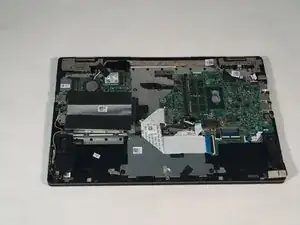
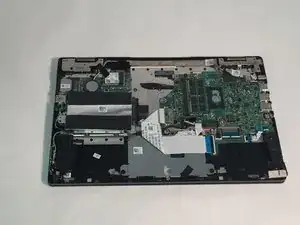
If you notice the screen of your Dell Inspiron 13-7353 laptop is damaged and needs to be replaced, this guide may help. This guide will show you how to replace the display screen in a few steps.
Before beginning the repair, turn off the laptop and unplug from the charging cord.
Werkzeuge
-
-
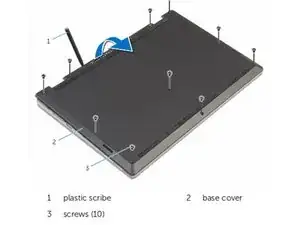
Close the computer display and turn the computer over so that the base of the computer is facing up.
-
-
-
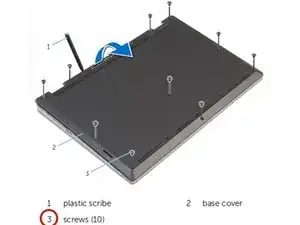
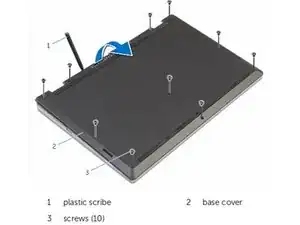
Using a plastic scribe (plastic opening tool), pry the base cover off of the base of the computer.
-
-
-
Remove the two M2 3mm screws attaching the battery using the Phillips #1 screwdriver.
-
Remove the battery.
-
-
-
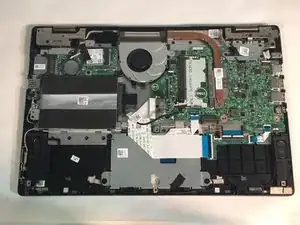
Unplug the daughterboard cable in two places, then remove the daughterboard.
-
Unplug the fan cable.
-
-
-
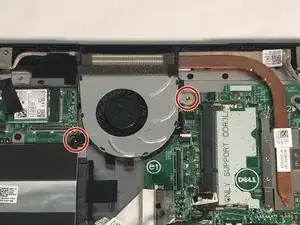
Remove two 3mm screws from the cooling fan using the Phillips #1 screwdriver.
-
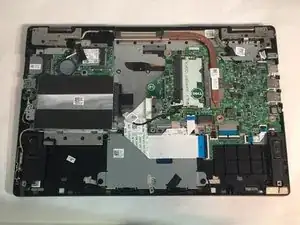
Remove the cooling fan from the laptop.
-
-
-
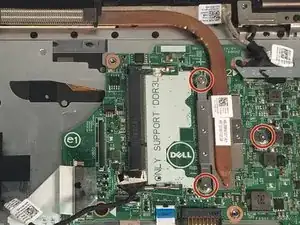
Remove three 2mm screws from the heat sink using a Phillips #0 screwdriver.
-
Remove the heat sink.
-
-
-
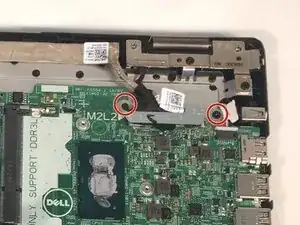
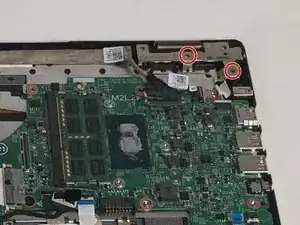
Unscrew 2 M2.5 7mm screws, using the Phillips 1 screwdriver, on the right screen hinge.
-
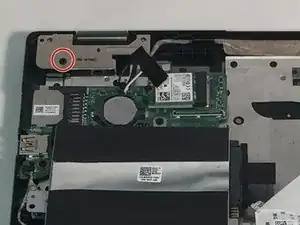
Unscrew 1 M2.5 7mm screw, using the Phillips 1 screwdriver, on the left screen hinge.
-
-
-
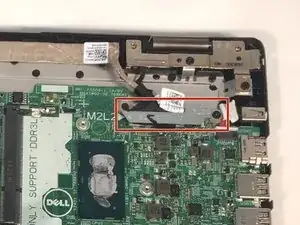
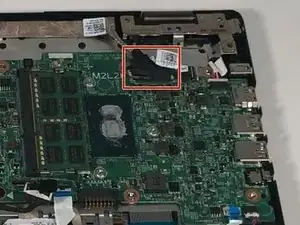
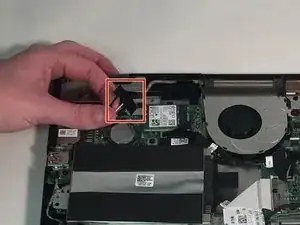
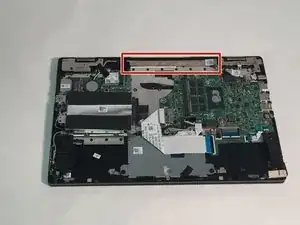
Remove the tape outlined in red.
-
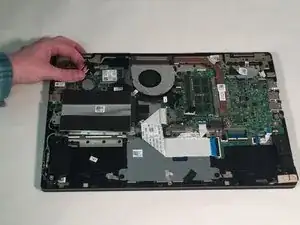
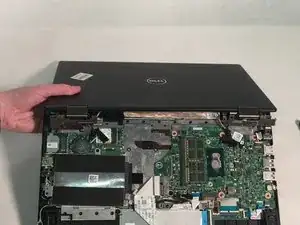
Adjust the screen so that the laptop is open flat against the surface.
-
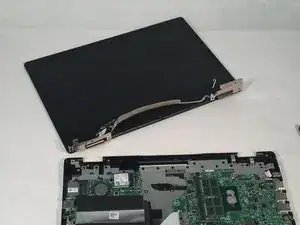
Remove the LCD display screen by pulling it gently away from the back.
-
To reassemble your device, follow these instructions in reverse order.
2 Kommentare
Wow. Thank you so much. I will do this when I get my replacement screen.
Finally tried this and noticed you left out the most difficult part which is the part of putting on the actually replacing the screen. This is only for removal of the screen. And the instructions are definitely not the same backwards. You left out the part with the cable/wires closing with the hinges being the most difficult part. I actually forced the cable too much stripped the cable that goes around the new screen. Have to order new cable now ugh
