Einleitung
Werkzeuge
-
-
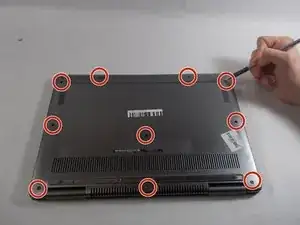
Remove the ten 7.5mm Phillips #00 screws from the bottom of the laptop.
-
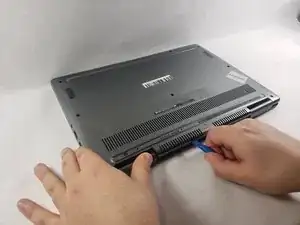
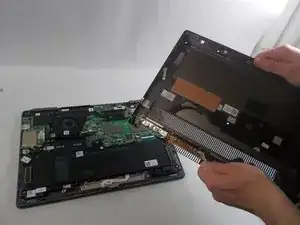
Use an opening tool to remove the bottom half of the case from the laptop.
-
-
-
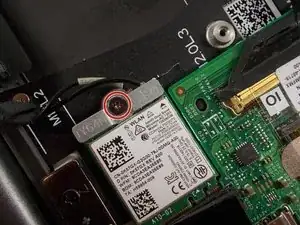
Use the Phillips #00 screwdriver to remove the single screw holding in the network card.
-
Remove the network card from the laptop.
-
-
-
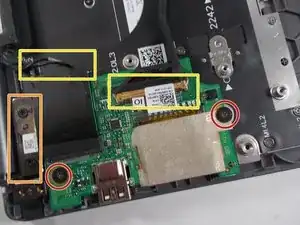
Use the Phillips #00 screwdriver to remove the two 1mm screws holding in the daughterboard.
-
Remove the metal piece holding in the daughterboard.
-
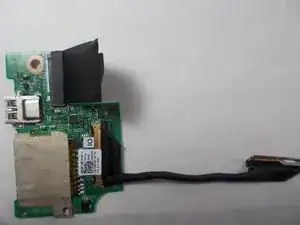
Disconnect the two cable connectors from the daughterboard.
-
If the cables are stuck, gently wiggle them until they disconnect.
-
-
-
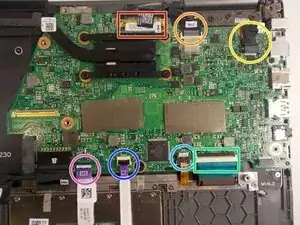
Release the IO Board Cable.
-
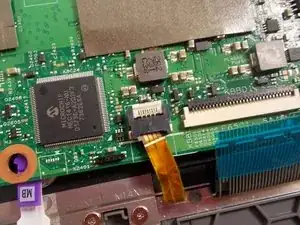
Release the Touchpad cable.
-
Release the keyboard back-light cable.
-
Release the keyboard cable.
-
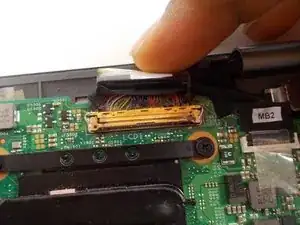
Release the eDP cable.
-
Release the dc-in cable.
-
Release the cable for the LED charging indicator by gently pulling up on the connector.
-
-
-
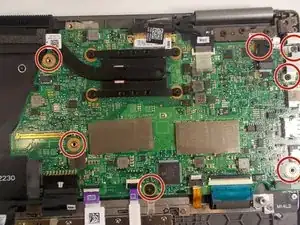
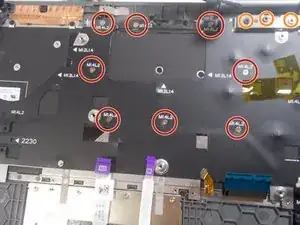
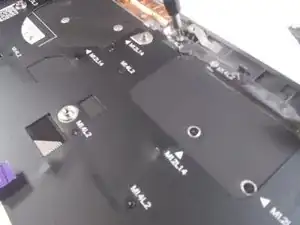
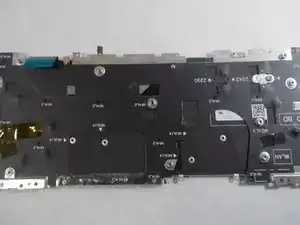
Use the Phillips #00 screwdriver to remove the eight 1mm screws at the back of the keyboard.
-
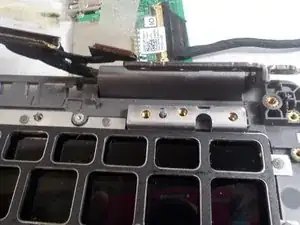
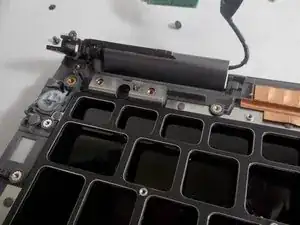
Remove the 3 screws holding the hinges of the laptop on each side.
-
To reassemble your device, follow these instructions in reverse order.
