Einleitung
Werkzeuge
-
-
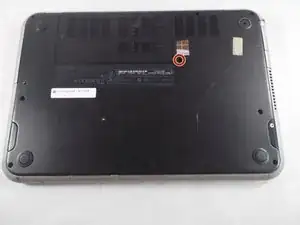
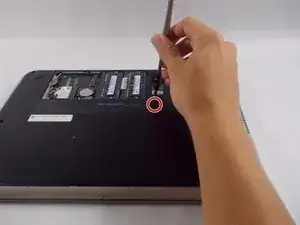
First flip the device over, so the bottom is facing you. Then you will remove the highlighted screw.
-
-
-
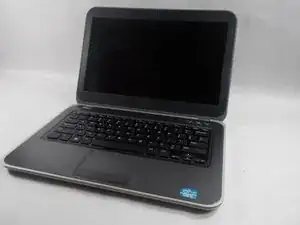
Flip over the laptop and open it so that the screen is facing you.
-
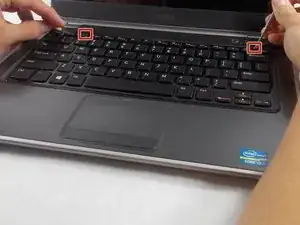
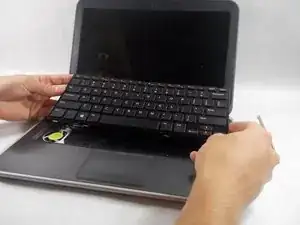
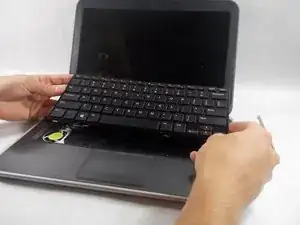
At the top side of the Keyboard closest to the screen you will find 2 inset plastic clips. The clips are shown here in red. Using the flat and of the metal prying tool bend the clips in and at the same time lift the keyboard up.
-
-
-
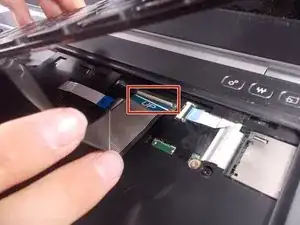
The ribbon connector seen in yellow can be removed by flipping up the plastic hinge clamp with a thin plastic pry lever
-
Abschluss
To reassemble your device, follow these instructions in reverse order.
