Einleitung
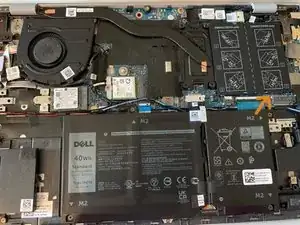
Adding additional RAM to this laptop is rather simple since Dell opted to not solder in the ram and left an additional slot unoccupied.
To add RAM all we have to do is open up the laptop, find the unoccupied slot, put the RAM in and close it again.
While opening your devices always comes with a small risk of damaging them, this upgrade is pretty beginner friendly and if you’re cautious, chances of your device or you being hurt are really low.
Werkzeuge
-
-
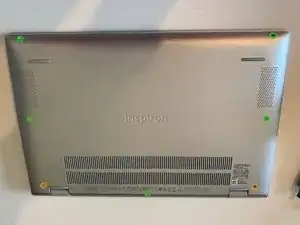
Using a Philipps head screw driver remove all screws marked with a green ring.
-
Also loosen the ones with an orange ring as far as possible. (They are the two screws closest to the hinges of the screen) Since these are retaining screws, they should not come out completely
-
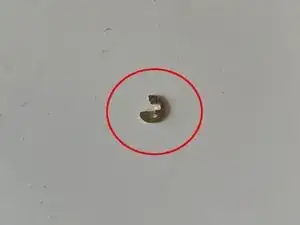
If one (or both) do come out, that's no big deal. Just make sure to find and remove the metallic ring that was supposed to hold them in.
-
-
-
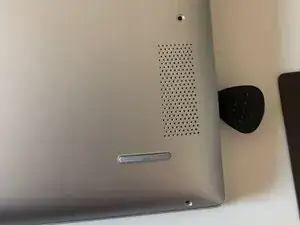
Using a plastic prying tool (or guitar pick) go around the fringe of the device to open the plastic clips holding it together.
-
It is easiest if you start at the display hinge next to one of the retaining screws.
-
If you've never opened these kinds of clips before, you may need a bit more force than you're comfortable with.
-
-
-
Carefully lift up the back cover of the laptop.
-
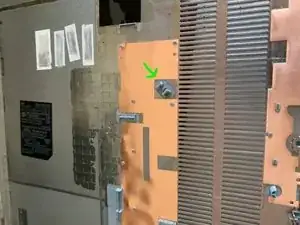
You will need a bit of force to unclip this plastic thing that attaches to the back of the device. (Marked with an arrow in the picture.)
-
-
-
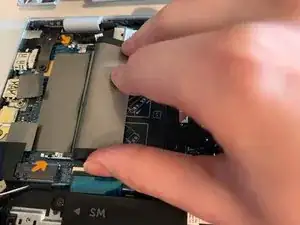
Once you're in the machine, lift up the outer part of this rubber covering to reveal the unoccupied RAM slot.
-
Now put in your ram.
-
It is only possible to seat it in the correct orientation because of a small non-symmetrical indentation in both the slot and the ram.
-
You may need to bend these little metal arms out a bit to get the ram to fit in.
-
Dell has also provided a small instruction using pictographs on the rubber covering.
-
When the RAM is properly seated, you will hear it "click" into place.
-
-
-
Put the back cover back on but don't yet close the plastic clips or screw in the screws.
-
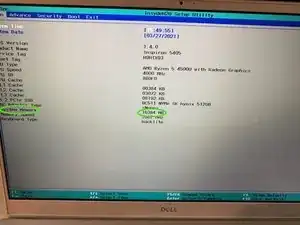
Firstly, boot up the computer while hitting F2 to open the BIOS configuration.
-
Check if the detected memory matches with what you have installed.
-
If it doesn't, you may have to take out the ram and put it back in again, making sure it really is all the way in.
-
Turn off the computer by hitting the power key.
-
-
-
Finally, push against the plastic clips to close them again.
-
Tighten both of the retaining screws. (Or put them back in if they came out)
-
Put the remaining screws back in.
-
Luckily there still are some companies out there, that still make devices with user serviceable ram.
Adding in new RAM is pretty easy and the fact that they even include pictographs of how to seat the ram correctly inside the device is a nice bonus.
