Einleitung
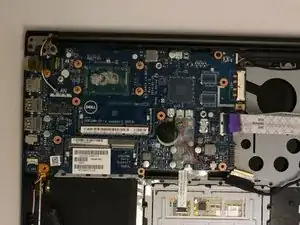
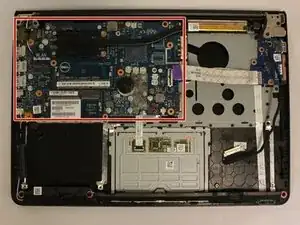
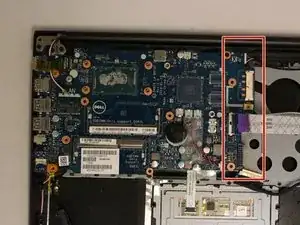
A damaged motherboard can cause severe issues with a PC. The Inspiron 14-5447's motherboard is hidden behind several components and a plastic barrier. This guide will show how to remove the remaining components and the barrier, as well as the motherboard itself.
Before beginning this guide, make sure that your computer is OFF, and that the components in the prerequisite replacement guides are removed. The tools needed to remove the motherboard are a Philips head screwdriver, tweezers, and a spudger (or any small prying tool).
Werkzeuge
-
-
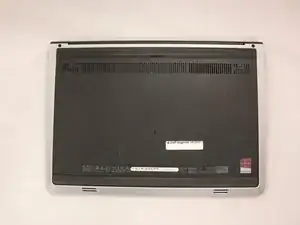
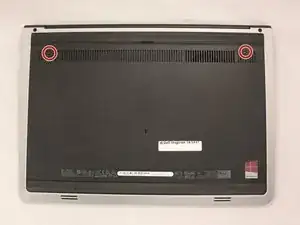
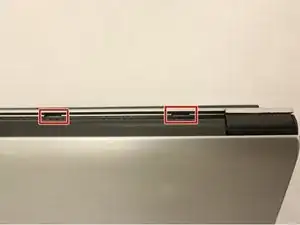
Remove the two black 5.70mm Phillips#0 screws on the case's back.
-
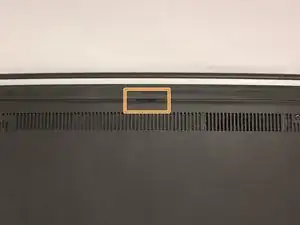
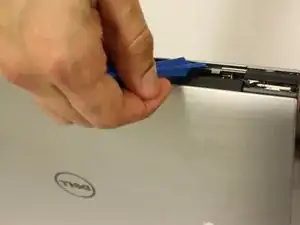
Insert a plastic opening tool into the small slit, centered between the removed screws, and pry open the back cover
-
-
-
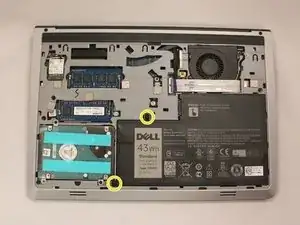
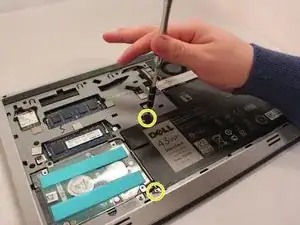
Remove the two 5.70mm Phillips #0 screws that secure the battery in place on its left side .
-
-
-
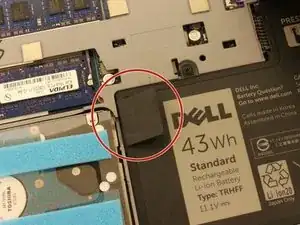
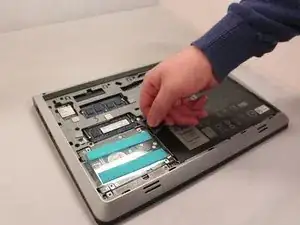
Use the black, plastic flap on the left side to pull the battery out.
-
Slowly lift the flap up and the battery should slide out.
-
-
-
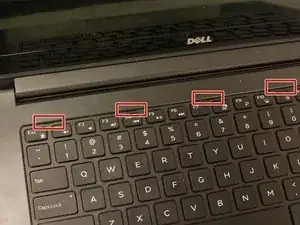
Locate the five small slits at the top of the keyboard.
-
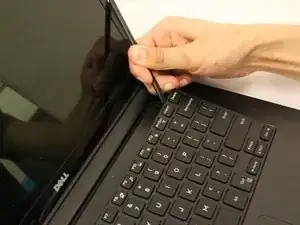
Using a plastic opening tool, carefully pry each slit to loosen the keyboard.
-
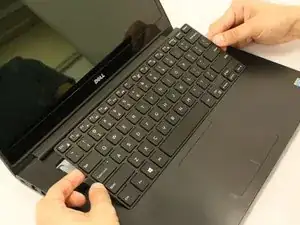
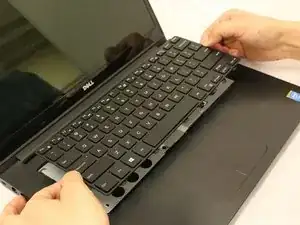
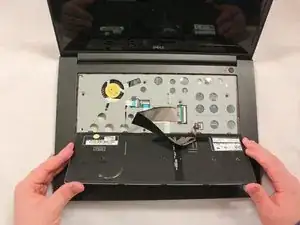
Slide the keyboard towards the screen at an angle for removal.
-
-
-
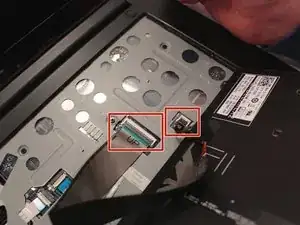
Locate the two cable connectors. These connectors secure the cables to the laptop with small, securing flaps.
-
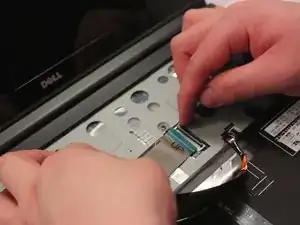
To release the cables, take each flap and flip them upwards to the unlocking position.
-
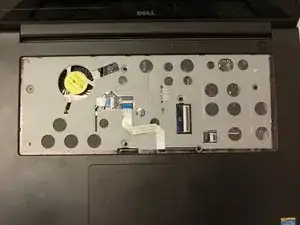
Pull both the cables out after unlocking and set aside the keyboard.
-
-
-
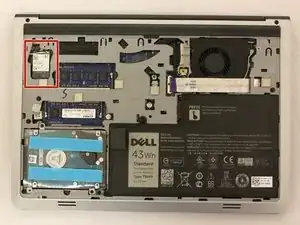
Locate the Wifi card on the top left of the laptop.
-
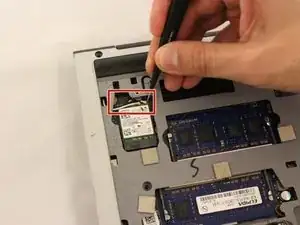
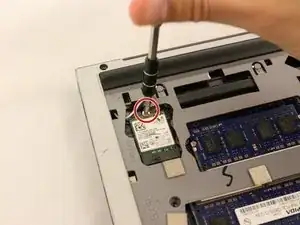
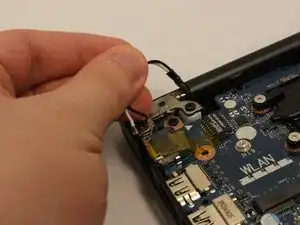
Use the tweezers to release the black and white cables.
-
-
-
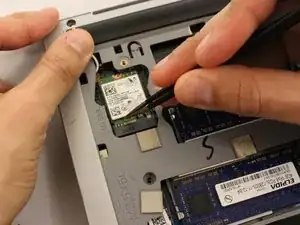
Use tweezers to push the white part of the Wi-Fi card up towards the top of the device to remove.
-
Remove the card with the tweezers.
-
-
-
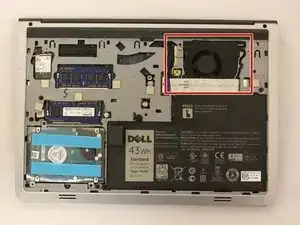
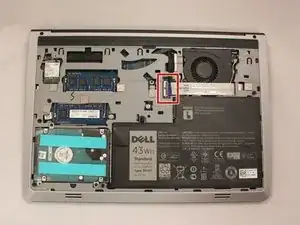
Look along the wide line of white cable until you find the tab insert.
-
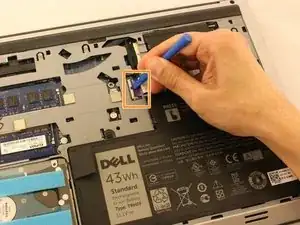
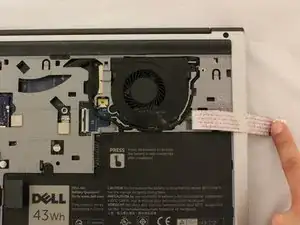
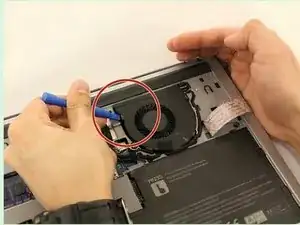
Remove the thick white cable crossing over the fan, using the blue spudger shown, to flip the securing flap holding down the cable.
-
-
-
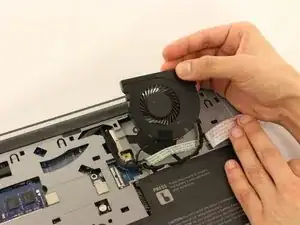
Move the cable over to the side to reveal the fan screws.
-
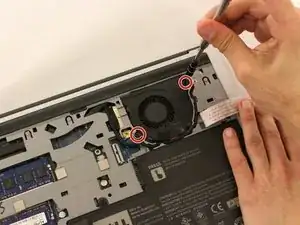
Remove the two black 5.70 mm screws from the fan.
-
-
-
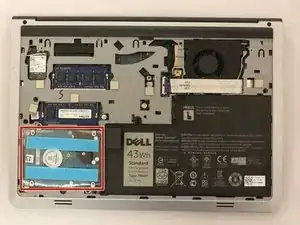
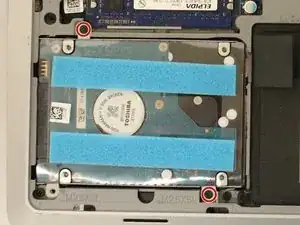
Locate and unscrew the black (5.70mm) screws on the top left and bottom right of the Hard drive.
-
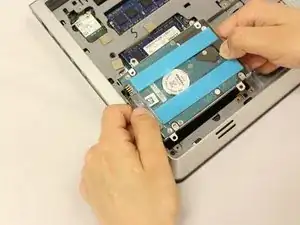
Lift up the hard drive from the right side with caution as wires are connected to this unit.
-
Holding the right side the hard drive and and with the other hand on the black connector (left side). Pull apart from each other carefully.
-
-
-
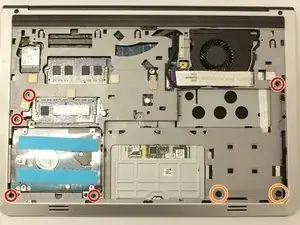
Unscrew the five (5.70 mm) screws in the gray plating
-
Unscrew the two black (2.50mm) screws underneath the area where the battery would be.
-
-
-
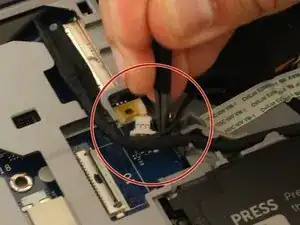
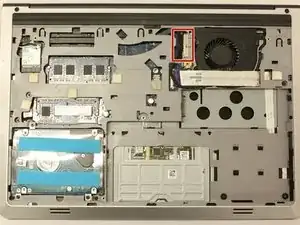
Locate the black plug connector next to the fan.
-
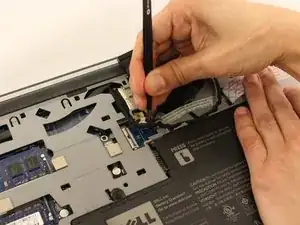
Using tweezers, gently pull the metallic part of the plug from its input.
-
Remove and loosen the wire from the gray plating.
-
-
-
Flip the laptop back over and open it.
-
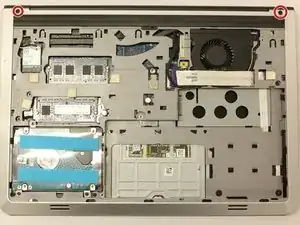
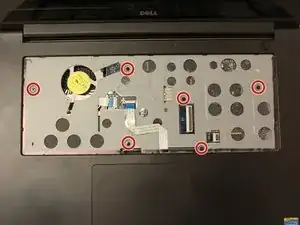
Unscrew the six black (5.70 mm) screws from under the keyboard.
-
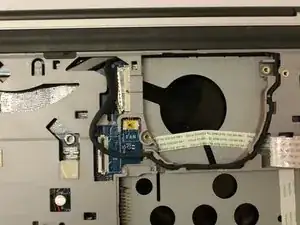
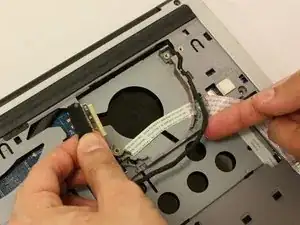
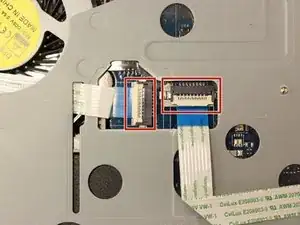
Locate the ends of the white cables and flip the white securing flaps upwards.
-
Remove the cables from inside the connectors.
-
-
-
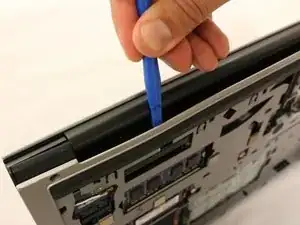
Using the blue spudger pry the gray plastic plating off. Be mindful of the openings along the top side between the hinges.
-
-
-
Slip the Wi-Fi card wires (black and white pair) out from under the yellow translucent tape.
-
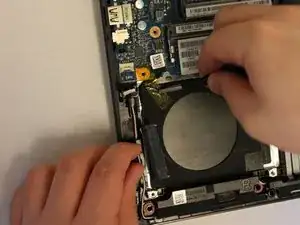
Peel back the yellow translucent tape at the bottom of the motherboard which secured the hard drive connector.
-
-
-
Locate the heat-sink. This will be a black metal bar at the top of the laptop, which covers the motherboard.
-
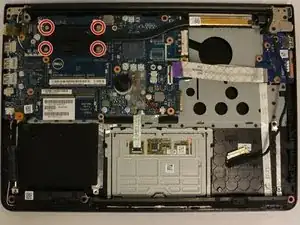
Unscrew the four metallic-colored (2.9mm) screws securing the heat-sink.
-
Locate and unscrew the top two black (5.70mm) screws, which secure the motherboard to the base of the laptop.
-
Lift the heatsink, and set aside.
-
-
-
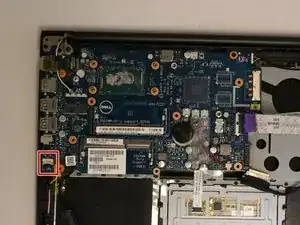
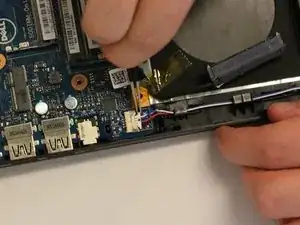
Locate the small wire plug on the bottom left of the motherboard.
-
Gently remove the wire plug with tweezers.
-
-
-
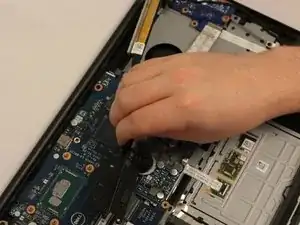
To remove, slowly lift upwards on the left side of the mother board and pull to the right. Wiggling it around may help loosen from the USB connectors on the left side.
-
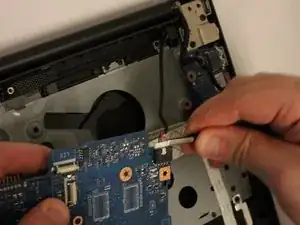
Lift the motherboard up slowly, and flip it upside down. Remove the white wire plug on the underside of the motherboard.
-
To reassemble your device, follow these instructions in reverse order.
