Einleitung

In this guide, we will be showing you how to remove and replace the Display Assembly.

  1. DODHXuhrIcUleIm1
    DODHXuhrIcUleIm1
    BYBcwCe3ZiOPgTHU
    • WARNING: Before working inside your computer, read the safety information that shipped with your computer. Follow the procedures in Before You Begin.

    • CAUTION: To avoid electrostatic discharge, ground yourself by using a wrist grounding strap or by periodically touching an unpainted metal surface.

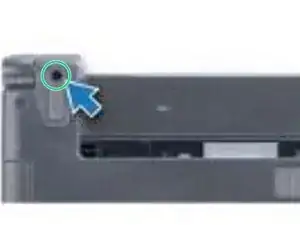
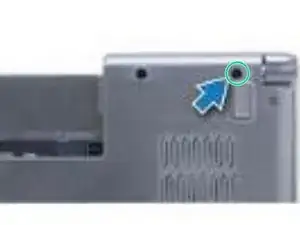
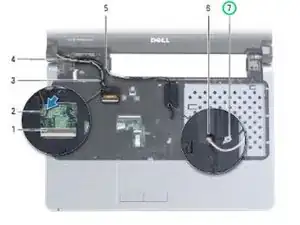
    • Remove the two screws on the base of the computer that secure the display assembly to the computer base.

  2. TSE2ZQ23siq3hOTU
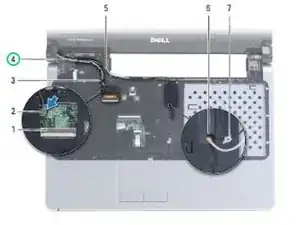
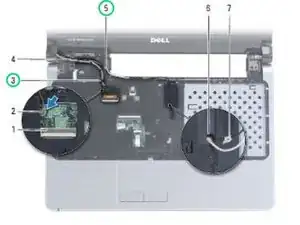
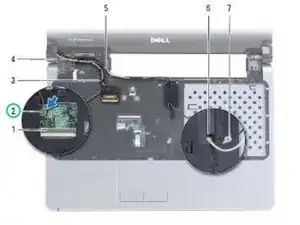
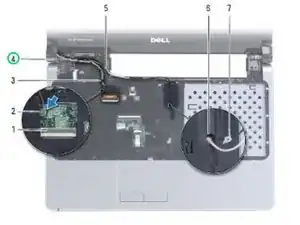
    • Disconnect the display cable and remove the screw from the system board.

  3. ZnSWZlFfTvcyNAD5
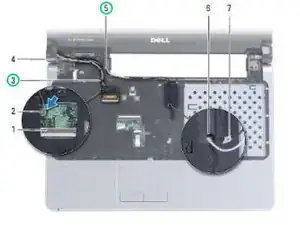
    • Pull the Mini-Card antenna cables up through the slot in the computer base.

  4. wE3nCS53SXLPsQQI
    • Note the routing of all the cables and remove them from their routing guides.

  5. GTP3NB3uGoNxYMB6
    GTP3NB3uGoNxYMB6
    a6s3XT2LaTePrMYN
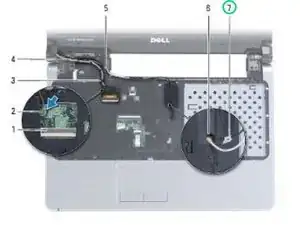
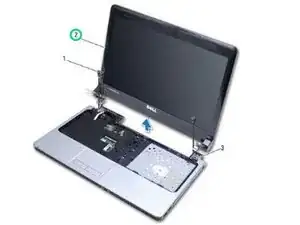
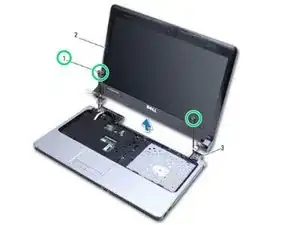
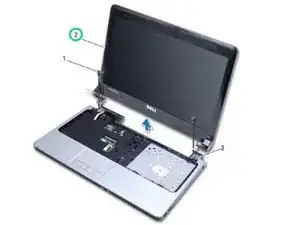
    • Hold the display while you remove the three screws that secure the display assembly to the computer base.

  6. j2GSAqOJLoUvITCK
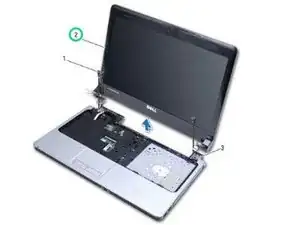
    • Lift and remove the display assembly from the computer base.

  7. olIXcurTGtFQYGgj
    • Using the alignment posts, place the NEW display assembly in position and replace the three screws that secure the display assembly to the computer base.

  8. UZPRD3cBgdZobhBy
    • Route the Mini-Card antenna cables and display cable through their routing guides.

  9. BGwjnijBpbIiCScY
    • Route the antenna cables through the slot in the computer base.

  10. BdLfhYCJxCaUWwaO
    BdLfhYCJxCaUWwaO
    DqoZs6pvG4ZJjxpW
    • Replace the screw and connect the display cable.

Terrence15

Mitglied seit: 18/12/17

78652 Reputation

0 Kommentare