Einleitung
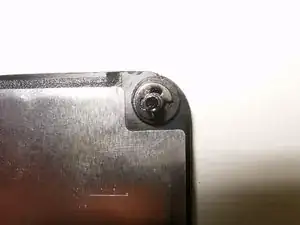
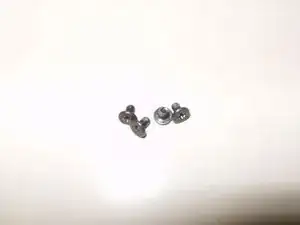
Pretty straight forward repair. Biggest issue I found while doing it, is that spring clip that holds the screw to the cover. It does have a tendency to come off during the removal of the cover. It could theoretical fall into the opening of the drive bay. Make sure you know where it is so that it does not get lost.
Werkzeuge
Ersatzteile
-
-
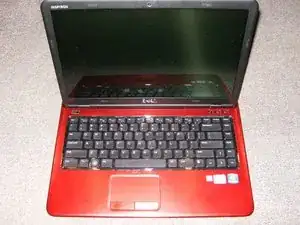
Here is a Dell Inspiron 14z N411z with a defective hard drive.
-
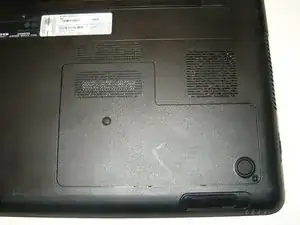
On the back side is only one cover for the hard drive as well as the memory module.
-
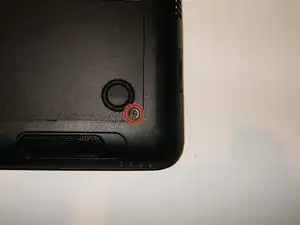
Remove the Phillips screw on the bottom right corner of the cover.
-
-
-
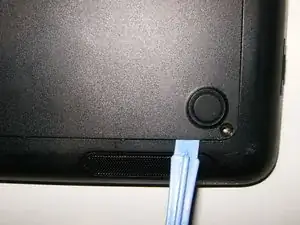
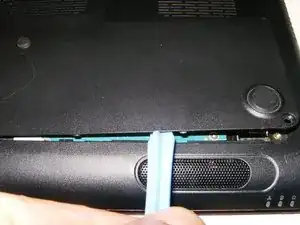
Use a plastic opening tool to unsnap the cover from the back case.
-
Move the tool gently along the corner of the cover.
-
The screw that holds the cover on, has a spring clip that keeps the screw attached to the cover. during removal of the screw, this clip might come off.
-
-
-
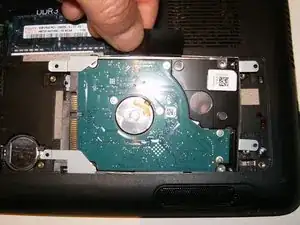
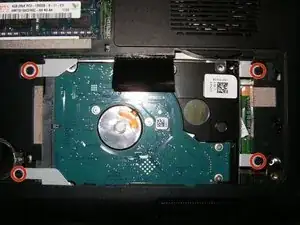
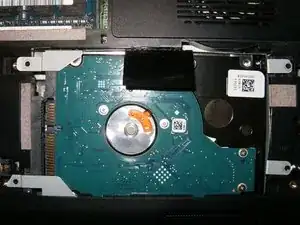
With the removal of the cover, the hard drive is immediately visible. Remove the four screws securing the hard drive bracket.
-
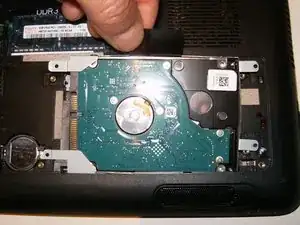
Slide the hard drive to the opposite end of the connector. This will free the connection.
-
-
-
Pull gently on the black tab on the hard drive. This will remove the drive and caddy from the computer.
-
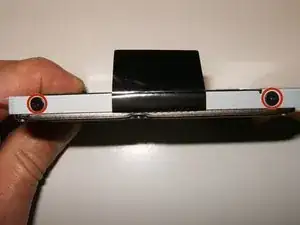
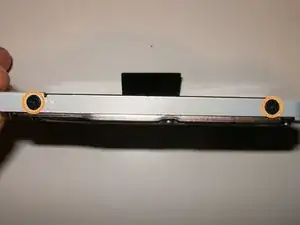
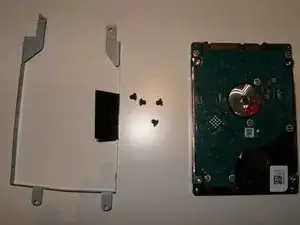
Remove the two Phillips screws on the right side,
-
and the two Phillips screws on the left side.
-
To reassemble your device, follow these instructions in reverse order.
