
Einleitung
The replacement of a fan is needed if the laptop if it is malfunctioning without an outside entity (i.e. dust jamming the fan). This guide will include the steps in both the pre-requisite teardown guide and the touch-pad replacement guide.
Werkzeuge
-
-
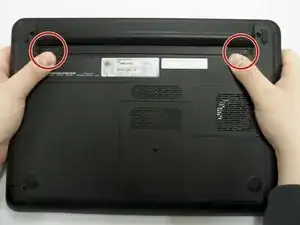
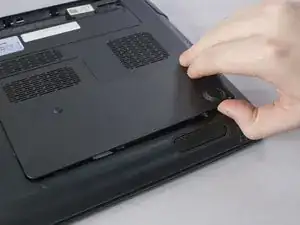
Using your thumbs, push out on both side tabs simultaneously. You should hear a soft click and see the battery slightly pop out.
-
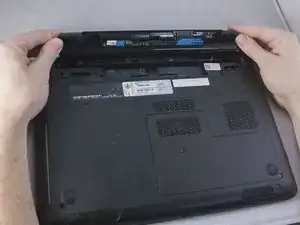
Grab and lift the battery off from the underside of the laptop.
-
-
-
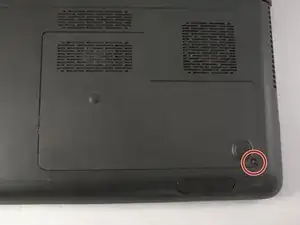
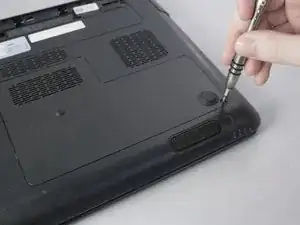
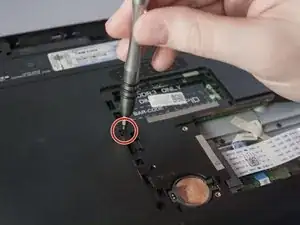
Unscrew one 6.75mm screw on the bottom of the plate using a PH0 tip.
-
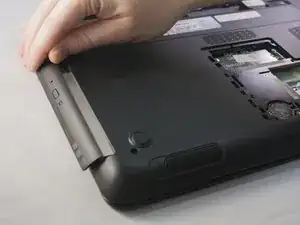
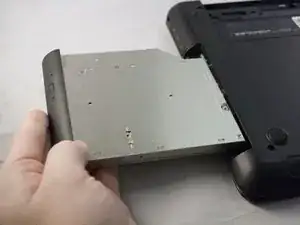
Lift off the back plate and set aside
-
-
-
Unscrew four 3.85mm screws holding the hard-drive in place using the ph0 tip.
-
Slide hard drive to the left and gently lift off.
-
-
-
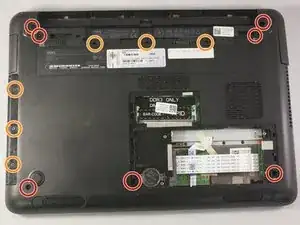
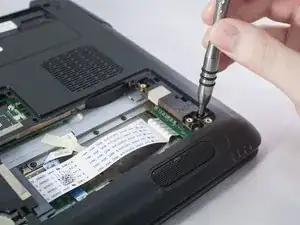
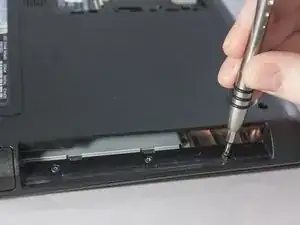
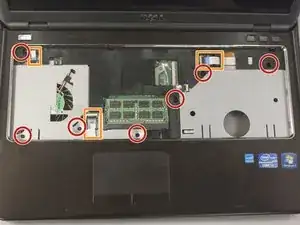
Unscrew seven 5.70mm screws using the PH0 tip.
-
Unscrew six 3.85mm screws using the PH0 tip.
-
-
-
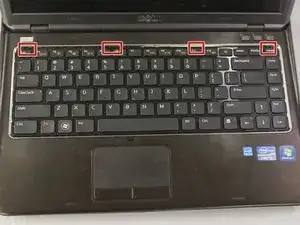
Carefully flip laptop right side up and open to view the keyboard.
-
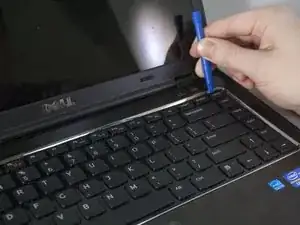
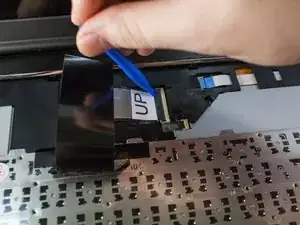
Using a plastic opening tool, pry up on the four tabs holding the keyboard in place. Be careful not to damage the keys on the top of the keyboard. You will know when it has been successfully pried open when you hear four clicks from the top of keyboard.
-
Gently lift the keyboard out from the rest of the laptop and immediately flip over without damaging the ribbon cable.
-
Carefully disconnect the ribbon cable by flipping up the tab holding the cable in place by using a plastic opening tool. Set keyboard and ribbon cable aside.
-
-
-
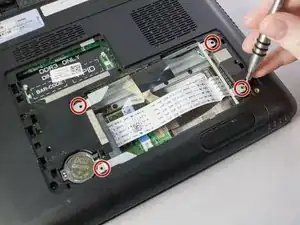
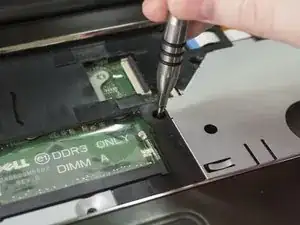
Remove the seven 5.70 mm screws using the PH0 bit.
-
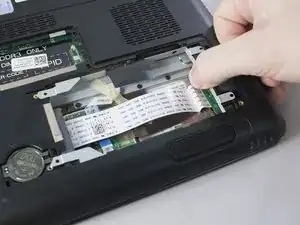
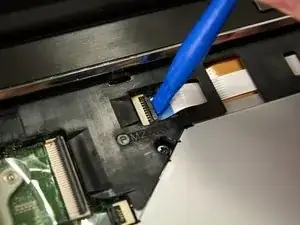
Remove the three ribbon cables by using the plastic opening tool to release the latch holding the cable.
-
-
-
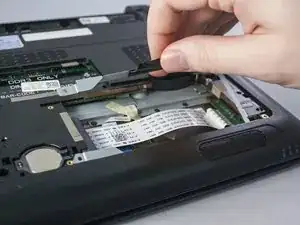
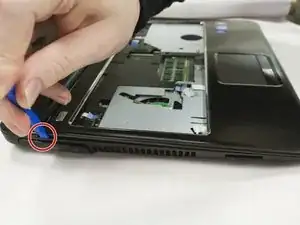
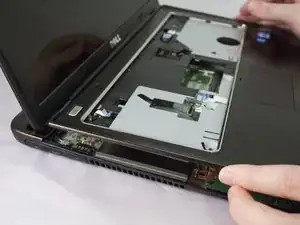
Pry up on the edge of the seam of the laptop using the plastic opening tool. Continue prying around the entire outside of the laptop until you feel separation.
-
Pull the top portion off.
-
-
-
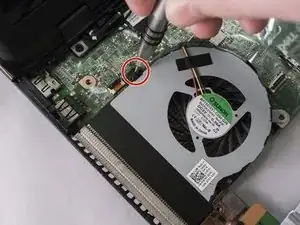
Remove one 3.5mm screw using Ph0 tip.
-
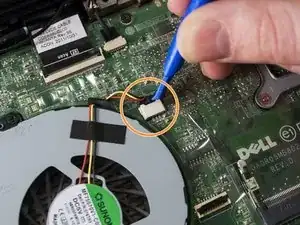
Carefully pull cable from connecter.
-
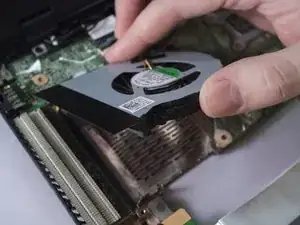
Gently lift fan out.
-
To reassemble your device, follow these instructions in reverse order.