Einleitung
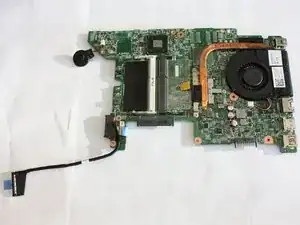
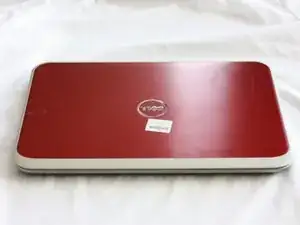
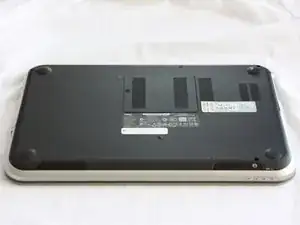
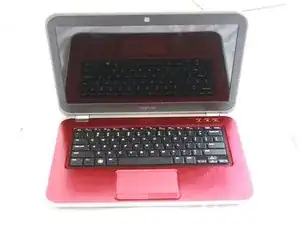
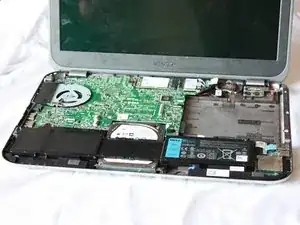
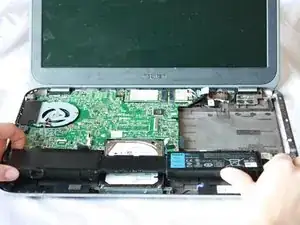
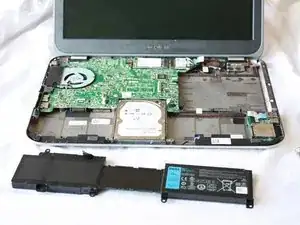
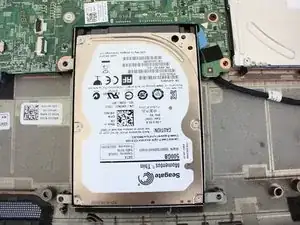
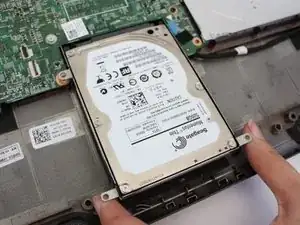
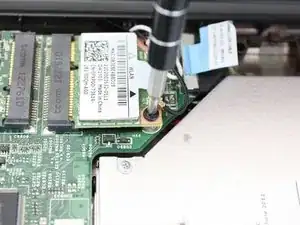
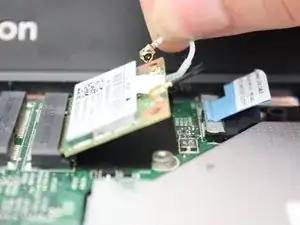
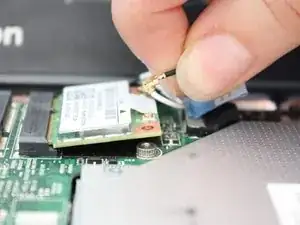
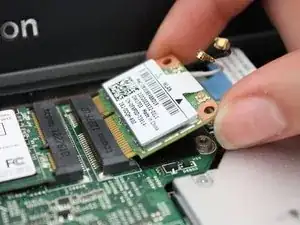
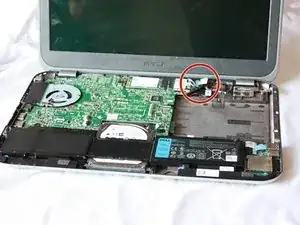
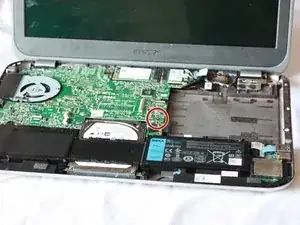
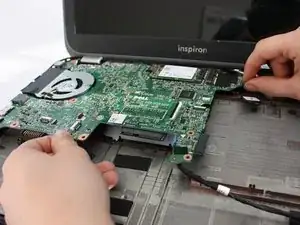
The motherboard for this computer allows all of the hardware of the computer to communicate. If this becomes damaged, major problems will occur.
Werkzeuge
-
-
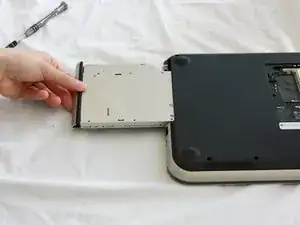
Slide the CD/DVD drive on the side of the laptop out using your fingers.
-
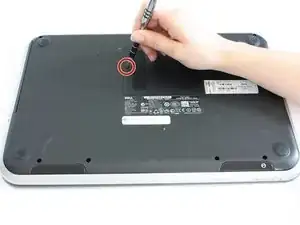
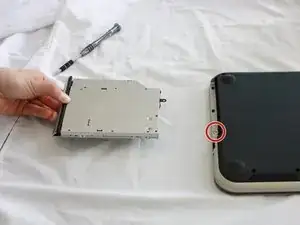
Using a J0 bit screwdriver, unscrew the one 2 mm Phillips screw.
-
-
-
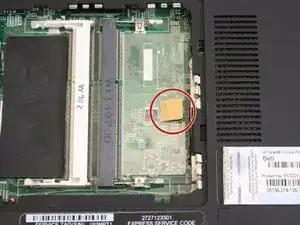
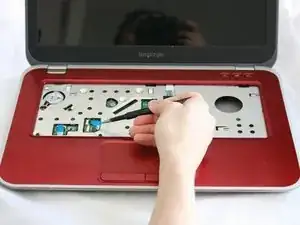
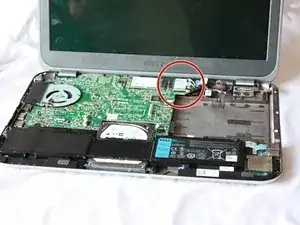
Lift the plastic yellow flap on the system board.
-
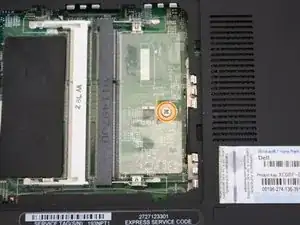
Use the J0 Bit screwdriver to remove the one 6 mm Phillips screw in center of the system board that is connected to the keyboard.
-
-
-
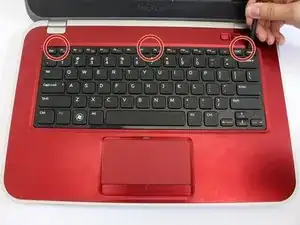
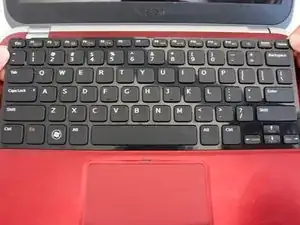
Insert a spudger next to the plastic indents located at the top of the keyboard and gently pry to release the securing clips.
-
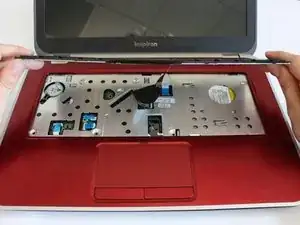
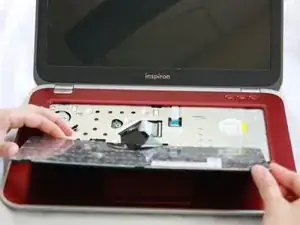
Lift the keyboard off of the computer.
-
-
-
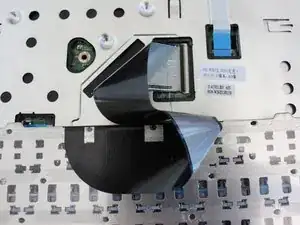
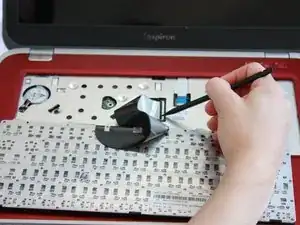
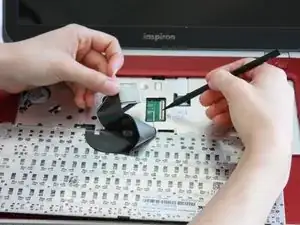
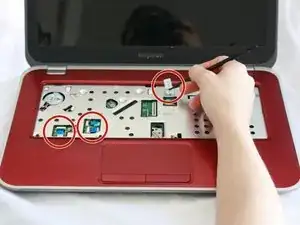
Flip the little black securing bar near the base of the ribbon with a spudger to release the ribbon from the computer.
-
-
-
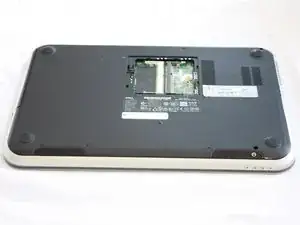
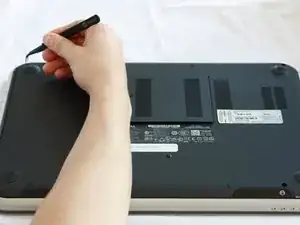
Remove all 7 rubber screw caps with tweezers.
-
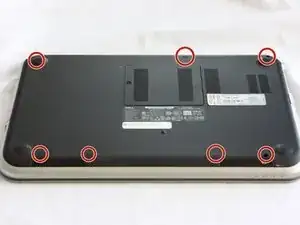
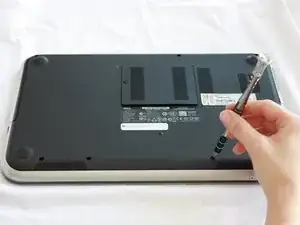
Use a J0 Bit tipped screwdriver unscrew the seven 6 mm Phillips screws on the back casing of the laptop.
-
-
-
Flip the computer over and open the display.
-
Pull on the blue tabs to disconnect the palm rest assembly from the computer.
-
-
-
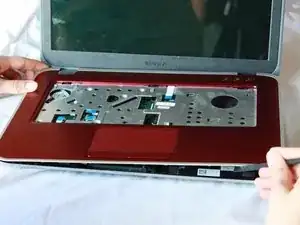
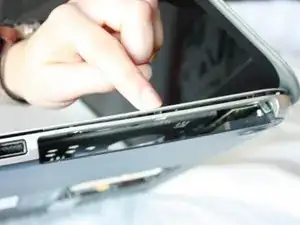
Gently wedge the nylon spudger underneath the palm-rest assembly to release the latches.
-
Continue this process on all sides of the computer edges until the assembly pulls off.
-
Remove the palm rest assembly.
-
-
-
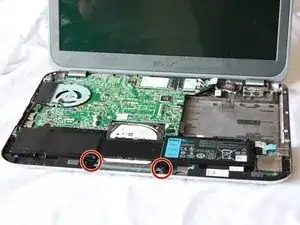
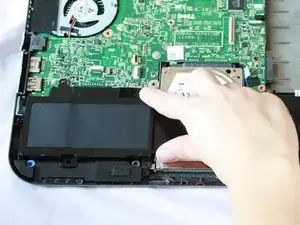
Use a J0 Bit screwdriver to remove the two 6 mm Phillips screws securing the battery located near the bottom of the laptop.
-
-
-
Lift up the bottom of the hard drive which is located at the bottom of the laptop.
-
Gently pull the drive out at an angle using your fingers.
-
-
-
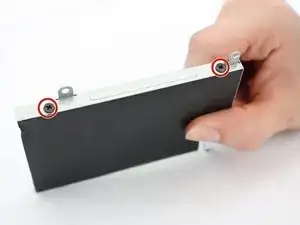
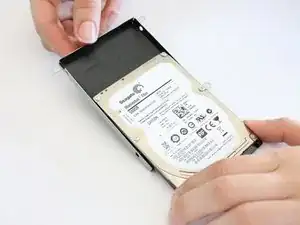
Using a J0 bit tipped screwdriver, remove the four 3 mm black screws on both sides of the hard drive bracket.
-
-
-
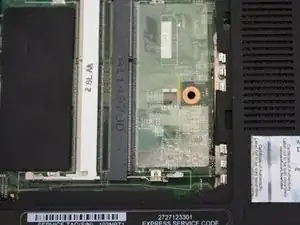
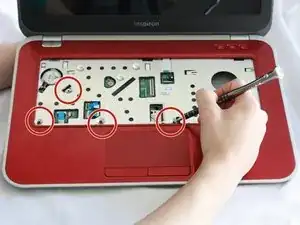
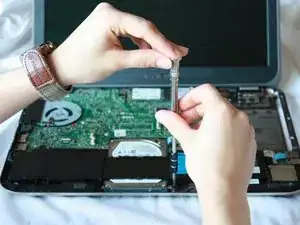
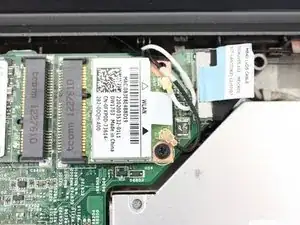
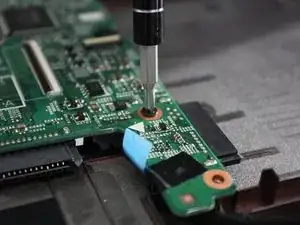
Using a J0 tipped screwdriver remove the 6 mm Phillips head screw located at the center of the laptop on the motherboard.
-
To reassemble your device, follow these instructions in reverse order.
