Einleitung

In this guide, we will be showing you how to remove and replace the Hard Drive.

  1. r6fwPfgL2pIxNbij
    • WARNING: Before working inside your computer, read the safety information that shipped with your computer and follow the steps in Before Working Inside Your Computer. After working inside your computer, follow the instructions in After Working Inside Your Computer.

    • CAUTION: Hard drives are fragile. Exercise care when handling the hard drive.

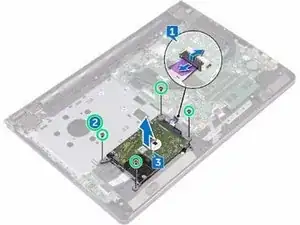
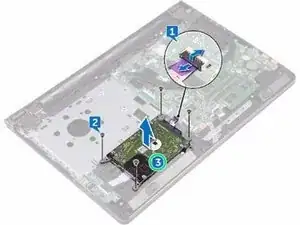
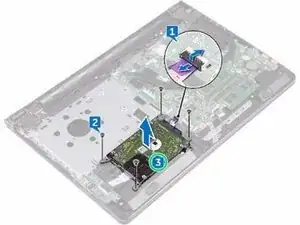
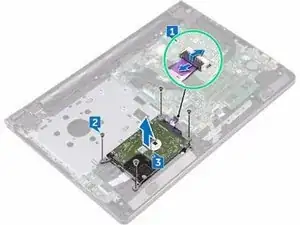
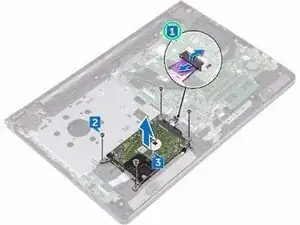
    • Open the latch and disconnect the hard-drive cable from the system board.

  2. EgqPKFYF1UAviQmm
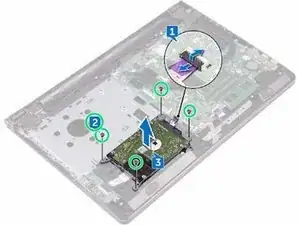
    • Remove the four screws (M2x3) that secure the hard-drive assembly to the palm-rest assembly.

  3. XSOqN2VlgceJq1Ov
    • Lift the hard-drive assembly off the palm-rest assembly.

  4. s11gys1EQvikqwm4
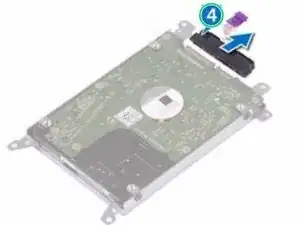
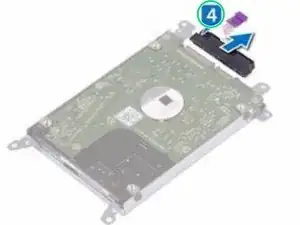
    • Disconnect the interposer from the hard-drive assembly.

  5. IDA5wIfrrr11Y5mB
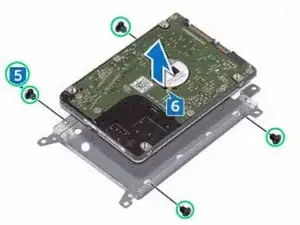
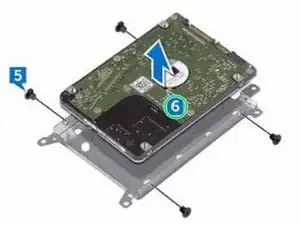
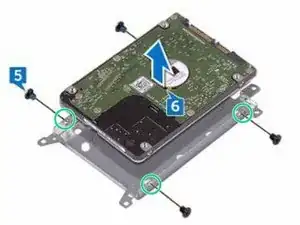
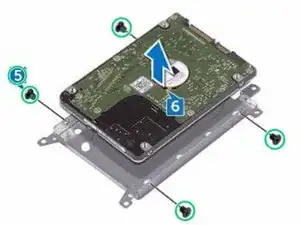
    • Remove the four screws (M3x3) that secure the hard-drive bracket to the hard drive.

  6. JFQPgdUMAMLgNnkP
    • Lift the hard drive off the hard-drive bracket.

  7. CZC3s16WKJCtP5pK
    • Align the screw holes on the hard-drive bracket with the screw holes on the NEW hard drive.

  8. ojygY4eHXyoXPGVO
    • Replace the four screws (M3x3) that secure the hard-drive bracket to the hard drive.

  9. WdIlpbAo4rbNTZVP
    • Connect the interposer to the hard drive.

  10. nMMPFuI3yEVaa3yR
    • Place the hard-drive assembly in the palm-rest assembly and align the screw holes on the hard-drive assembly with the screw holes on the palm-rest assembly.

  11. 1FZE2ZuorGngK1LS
    • Replace the four screws (M2x3) that secure the hard-drive assembly to the palm-rest assembly.

  12. JFZfnwNcaZRfQwD6
    • Slide the hard-drive cable into its connector on the system board and close the latch to secure the cable.

    Step one seems to start with a disassembled computer. No information on how to get the back off the laptop (despite removing all screws, there’s no obvious way to separate the back).

    Lewis Butler -

    This guide is not complete at all. To access the hard drive you first need to remove the DVD player, the keyboard and then the back plate.

    Olomorn -

Terrence15

Mitglied seit: 18/12/17

78652 Reputation

4 Kommentare

My Dell Inspiron 15 3567 has a bottom cover which I STRONGLY suggest be removed after REMOVING THE BATTERY.

IMHO Those are important steps - their omission makes me lose any credibility for your site.

[deleted] -

The steps that need to be PRIOR to this guide are to remove the keyboard first, disconnect the keyboard cable, remove the 5 screws under the keyboard attaching the plastic to the motherboard. Then turn over the laptop, remove some 12 screws or so, remove the battery, remove the DVD drive, then separate the bottom case from the rest of the laptop carefully.

Thomas Dillon -

This guide is utterly useless and it neglects all the steps to get the actual bottom cover off to access the hard drive assembly. Zero stars.

pamadeus -
This guide is totally incomplete. It doesn't show how to access the drive in the first place. This guide should be taken down.

DarkAthena -