Einleitung
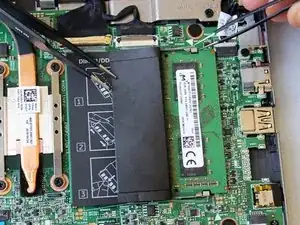
Upgraded RAM can help your computer run smoother. Be cautious when following guide backwards.
Werkzeuge
-
-
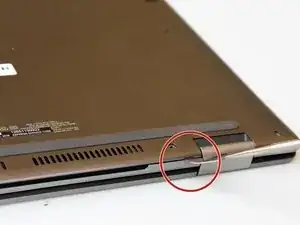
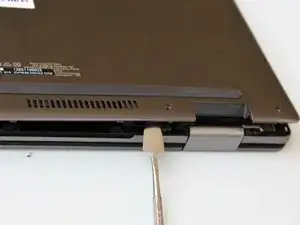
Insert metal spudger into a gap in between the back panel and the back of the screen.
-
Pry off the back panel using the metal spudger as a lever, and remove the back panel by lifting the rest off by hand.
-
-
-
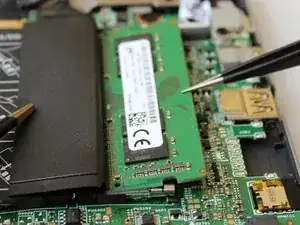
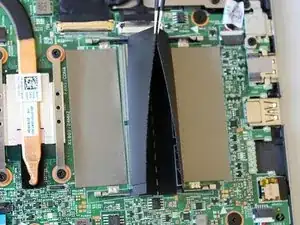
Fold protective flaps to the side on the RAM module located in the upper right corner of the laptop.
-
-
-
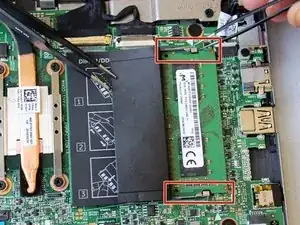
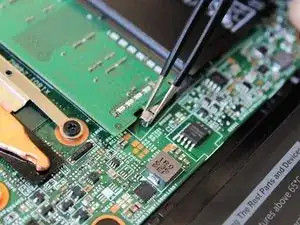
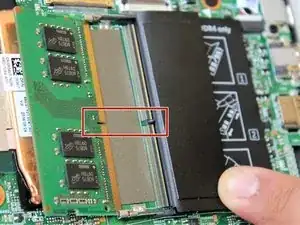
Use the tweezers to push the crimping metal away from the chip. The chip will pop up into an angled position.
-
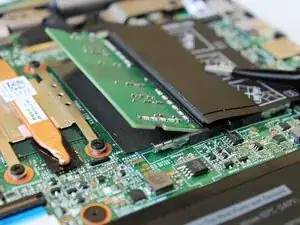
Remove the chip by pulling at the same angle as the chip with the tweezers.
-
-
-
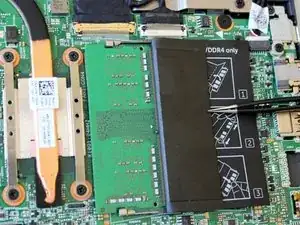
Fold the plastic flap over on the other side.
-
As before, pull the fasteners away from the chip with the tweezers.
-
Remove the chip by carefully pulling it out with the tweezers.
-
To reassemble your device, follow these instructions in reverse order.
