Einleitung
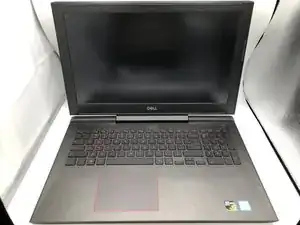
If your Dell Inspiron Gaming 7577 15 laptop is not booting properly (meaning your laptop will turn on, but will not make it to the desktop) or if you are running out of fast storage, use this guide to replace the M.2 NVMe solid state drive.
The M.2 NVMe solid state drive is the fast storage from which your laptop boots into the operating system. A faulty SSD will cause failure to boot. You may also need to upgrade your SSD if you run out of fast storage. The main drive in this laptop is the NVMe drive, which is fast storage to run the operating system. The laptop also has a secondary storage hard drive which is slower to run programs.
Before using this guide, make sure your issues are not caused by something easier to fix. If your laptop is failing to boot, make sure it is fully charged and has an operating system installed. If your laptop is just running slow without your file manager saying that the SSD is out of storage, you will not fix your issues with this guide.
This guide requires only the use of a small Phillips head screwdriver and you can complete it in just a few minutes.
Before beginning, make sure to power off your laptop completely and disconnect from the charger.
Werkzeuge
Ersatzteile
-
-
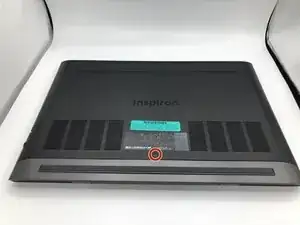
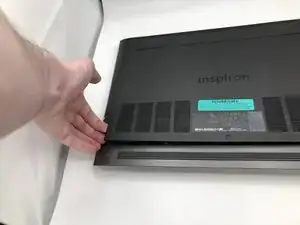
Place the laptop with the bottom panel facing up.
-
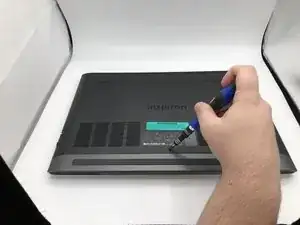
Remove the single screw to access the bottom panel.
-
-
-
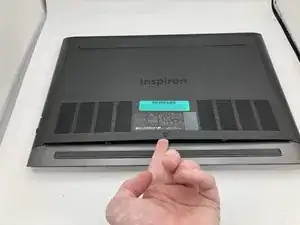
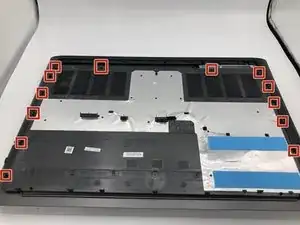
Place a finger under the screw location and move it around the edge to pry the fourteen clips out.
-
Remove the bottom panel.
-
-
-
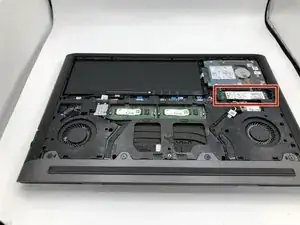
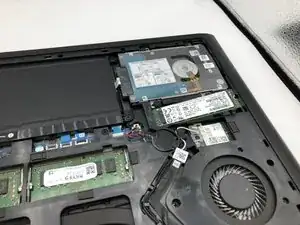
Locate the M.2 drive to the right of the battery, below the hard drive.
-
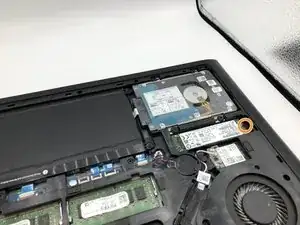
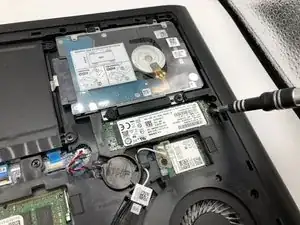
Remove the screw on the edge of the drive.
-
-
-
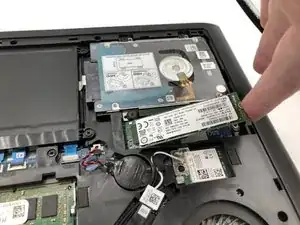
Lift up on the edge of the drive where the screw was.
-
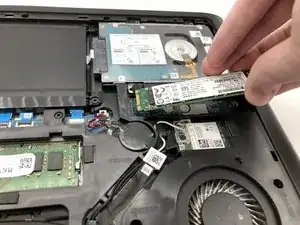
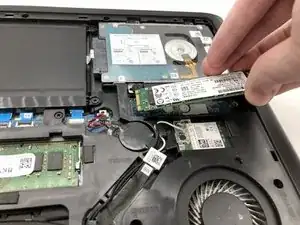
Grab the drive by the two long edges.
-
Pull the drive out.
-
-
-
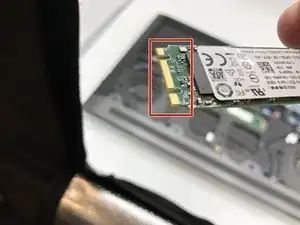
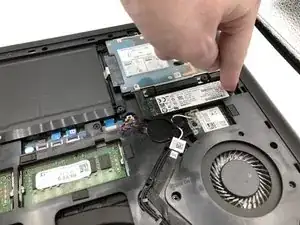
Angle the new drive and insert it into the slot.
-
Apply pressure down on the screw end of the drive.
-
To reassemble your device, follow these instructions in reverse order.
