Einleitung
Learning to replace the battery will help reinstall a new battery if the one inside is dying out. Some special precautions you might need to follow are to carefully remove the battery, so as to you will not puncture it.
Werkzeuge
-
-
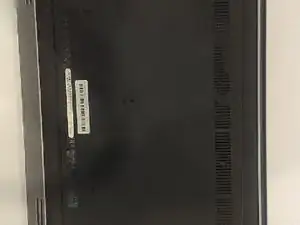
Flip the laptop on it's top and lay to a rest position.
-
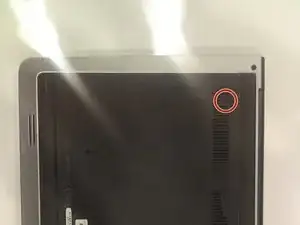
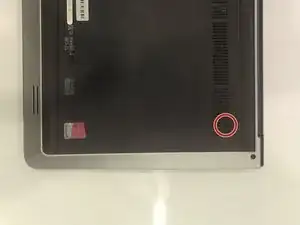
Using the Phillips J0 screwdriver, remove the two indicated screws.
-
-
-
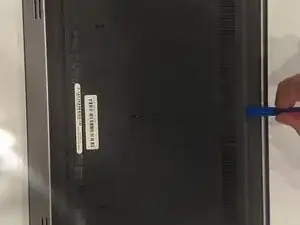
Use the spudger to carefully remove the back cover to get into the internals. Stick the spudger into the slot indicated in the photo by the marker.
-
Pry up from the slot, then pry up around the sides of the panel. The panel can then be removed by lifting the side with the slot and puling in that direction.
-
-
-
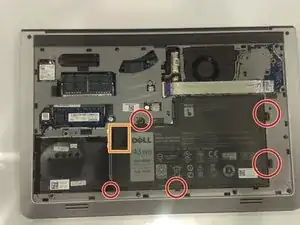
Use a Phillips J0 screwdriver in order to remove the screws indicated by the markers in the picture. It will be a total of 5 screws. Careful not to puncture the battery.
-
Carefully remove the battery by puling on the black tab.
-
To reassemble your device, follow these instructions in reverse order.
