Einleitung
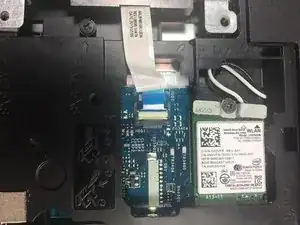
The hard drive is a primary storage component. If you are losing files or experience the Blue Screen of Death, this might be because of a faulty hard drive. This guide shows you how to remove your hard drive in order to replace it.
Werkzeuge
Ersatzteile
-
-
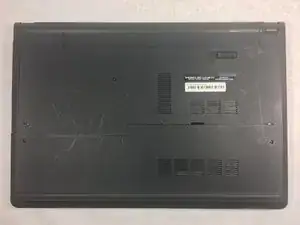
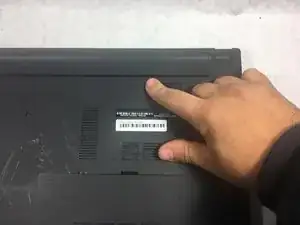
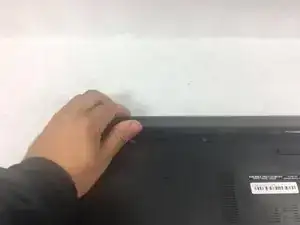
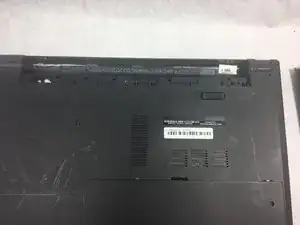
Slide the battery latch all the way to the left until you hear the click and see the battery prop up.
-
-
-
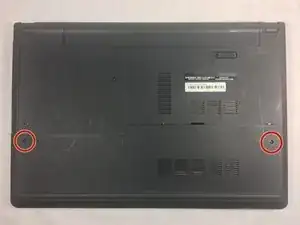
Using a Phillips #0 screwdriver, unscrew the two 8mm screws from the panel.
-
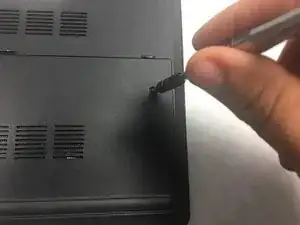
Take a spudger and wedge it between the panel and the base of the device.
-
Push down on the spudger until you hear a click sound.
-
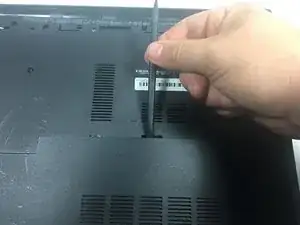
Slide the spudger along the panel and continue to push down until the panel is completely detached.
-
Remove the panel.
-
-
-
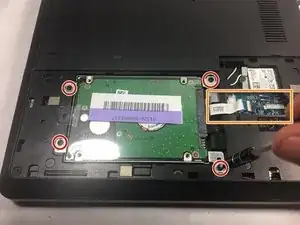
Using the Phillips #0 screwdriver, remove the four 8mm screws holding down the hard drive.
-
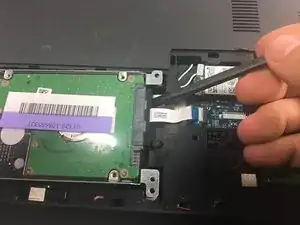
Take the spudger and prop up the connector so it is no longer attached.
-
Use the spudger and prop up the hard drive and remove it.
-
To reassemble your device, follow these instructions in reverse order.
